How to Replace Parking Light 1985-92 Chevy Camaro
Created on: 2011-07-18
How to repair, install, fix, change or replace a broken, damaged, cracked, faded, cloudy, or chipped signal light on Chevy Camaro Iroc-Z, years 85, 86, 87, 88, 89, 90, 91, and 92.
-
step 1 :Removing the Signal Light
- Remove the 10mm bolt from the signal light
- Pull the light out of the bumper
- Twist the bulb socket out of the light
-
step 2 :Installing the Signal Light
- Clean the mounting area with soap and water
- Twist the bulb socket into the light
- Push the light into the bumper
- Insert the 10mm bolt into the signal light
Tools needed
-
Soapy Water
10mm Wrench
10mm Socket
Ratchet
Cloth Rags
Brought to you by 1AAuto.com, your source for quality replacement parts and the best service on the Internet.
Hi, I'm Mike from 1A Auto. I hope this how-to video helps you out, and next time you need parts for your vehicle, think of 1AAuto.com. Thanks.
In this video, we're going to show you the front marker or signal-light replacement on this '86 IROC-Z, same as many Camaros from this decade or from this era. The only tool you'll need is a 10 millimeter wrench or a socket with a ratchet.
Take a quick look before we replace that blinker front-marker light, and then after the new light, much clearer and shinier. It let' the car smile a little more, if you will. Maybe you've got a nicer vehicle than ours, but you just haven't even realized how much that these lights have faded out, and as you can see, replacing them is a quick way to just add just a little more smile to the front end of your Camaro. The last obvious note is we have it up on a lift, but that's not necessary. It just makes it a whole lot easier to film for you.
To change that light, you're going to go up underneath, and you can see that there's a 10 millimeter bolt right here in the back of the light. Remove that bolt using a 10 millimeter socket with a ratchet. I'm just going to speed up through here as I take that bolt out. Again, it's 10 millimeter. I'm using a socket and ratchet, but you can easily use a 10-millimeter wrench, as well. Push the light out. There's a little thumb tab here. Press that down. Twist counterclockwise, and the bolt comes out.
While that light is out, I just take a little bit of soap and water and clean out the socket area, make it look nice and fresh.
The light from 1A Auto has a little shipping protector on it. Pull that off. This goes in just like originally. Just slide it into place. We'll do a little more fast-forwarding here as I just put that 10-millimeter bolt back in, and you can use your original bolt with the new light, no problem. Here's just another quick look at your refreshed and just a little bit happier Camaro on the ground.
We hope this video helps you out. Brought to you by www.1AAuto.com, your source for quality replacement parts and the best service on the Internet. Please feel free to call us toll-free, 888-844-3393. We're the company that's here for you on the Internet and in person.
Shop Products
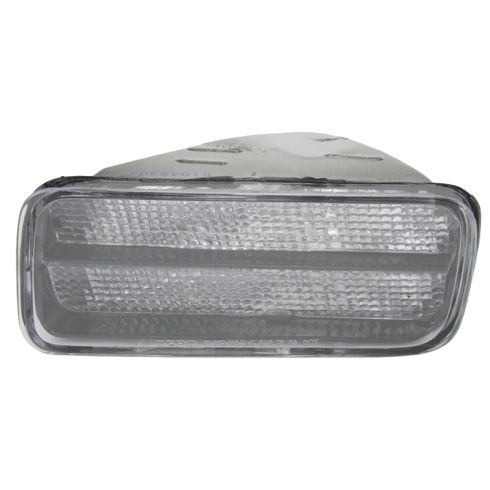
1985-92 Chevrolet Camaro Z28 Driver Side Parking Light DEPO 332-1664L-US
Part Details:
- Clear
- Features and Benefits

How to Replace Parking Light 1997-2005 Chevy Venture
This video shows how to replace the parking light, including steps for what to do if the parking light cannot be removed normally
