How to Replace O2 Oxygen Sensor 2002-05 Chevy Blazer S10
Created on: 2013-11-08
Watch this video to learn how to replace an oxygen sensor in a 02-05 Chevy Blazer S10.
-
step 1 :Removing the Oxygen (O2) Sensor
- Pull the pin out of the O2 sensor wiring harness
- Disconnect the wiring harness
- Unclip the wiring harness from the vehicle using pliers
- Cut the harness clip with wire cutters if necessary
- Remove the O2 sensor with an O2 sensor socket and ratchet or a 7/8 inch wrench
- Pull off the O2 sensor
-
step 2 :Installing the New O2 Sensor
- Feed the new O2 sensor into place by hand
- Tighten the O2 sensor with an O2 sensor socket and ratchet or a 7/8 inch wrench
- Connect the O2 sensor wiring harness
- Push the pin into the wiring harness
- Clip the harness to the vehicle
Tools needed
-
O2 Sensor Socket
Ratchet
Needle nose pliers
Wire Cutters
7/8 Inch Wrench
Brought to you by 1AAuto.com, your source for quality replacement parts and the best service on the Internet.
Hi, I'm Mike from 1A Auto. I hope this how-to video helps you out, and next time you need parts for your vehicle, think of 1AAuto.com. Thanks.
In this video we're going to show you how to replace an O2 sensor on this 2003 Chevy Blazer S10 with the 4.3 liter V6, and it's the same part and process in a large variety of GM vehicles.
We're going to start off by showing you that we plugged in an OBD2 sensor to find out what the check engine light was, and it gave us these error codes: 154 and 155, which ended up being a upstream O2 sensor.
So, if you come under the vehicle here you'll see, this is your downstream O2 sensor, and then up front here this is your bank one upstream O2 sensor, and this over here is your bank two upstream O2 sensor. This one is the one that has the issue. You just want to start off by pulling out the blue pin on the harness for the O2 sensor and then disconnecting that harness. The harness is clipped to the vehicle. You just want to pull that out. You can use a pair of pliers to help you remove it. You'll notice Don gets a little impatient and just cuts it. You can do that too because you're going to have a new one anyways. You can buy a socket specifically for the O2 sensors. You can buy that at 1AAuto.com. For this particular oxygen sensor, I'm just using a 7/8 inch wrench. It's a better solution, but for the other two sensors on this vehicle the socket might be a better solution. Now, using a wrench, you just want to loosen up and remove your O2 sensor. We'll just fast forward as Don loosens this up the rest of the way.
The old part is in the back; the new O2 sensor from 1A Auto is in the front. You can see they're identical. The new one just has a clip that hasn't been cut. You just want to feed your new O2 sensor up into position and just twist it in. It's easier to just twist it in by hand, and then once you get it most of the way, tighten it up the rest of the way with the wrench. Now just reconnect your harness and slide that blue pin back into place and re-clip your harness to the vehicle and you're all set.
We hope this video helps you out. Brought to you by www.1AAuto.com, your source for quality replacement parts and the best service on the Internet. Please feel free to call us toll-free, 888-844-3393. We're the company that's here for you on the Internet and in person.
Shop Products
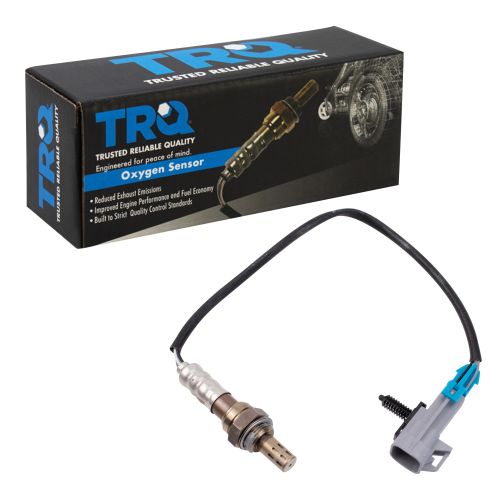
O2 Oxygen Sensor TRQ OSA61319
Part Details:
- LS Swap
- Quality Tested - built to a strict level of product standards.
- 18.11 in
- Square
- M18x1.5-6e
- 22 mm
- Specific
- 4
- 18 mm
- Threaded
- 4
- Male
- 326 mm
- 12.83 in
- 460 mm
- Male
- Thimble
- Standard Replacement
- Blade
- 0.87 in
- 0.71 in
- Narrow-Band
- Yes

How to Replace O2 Oxygen Sensor 2002-13 Toyota Camry
How to remove, install, change or replace an oxygen O2 sensor on 02, 03, 04, 05, 06, 07, 08, 09, 10, 11, 12, 13 Toyota Camry
