How to Replace Lower Engine Splash Shields 2003-09 Mazda 3
Created on: 2018-09-28
How to replace a cracked or loose engine splash shield on 07 Mazda 3.
-
step 1 :Removing the Splash Shields
- Apply rust penetrant to the bolts
- Remove the bolts from the rear splash shield with a socket and ratchet
- Remove the plastic clips from the splash shields with pliers
- Remove the bolts from the front splash shield with a socket and ratchet
- Pull the splash shields off the bumper
-
step 2 :Installing the Splash Shields
- Line up the front splash shield with the bumper
- Fasten the five bolts into the front splash shield
- Clip the rear splash shield to the front splash shield using the tabs
- Fasten the five bolts into the rear splash shield
- Push the plastic clips into the splash shields
Tools needed
-
Socket Extensions
Phillips Head Screwdriver
Ratchet
Needle nose pliers
Complete Metric Socket Set
Hi. I'm Mike from 1AAuto. We've been selling auto parts for over 30 years!
Hi, everyone. Sue here at 1A Auto, and today we're replacing the splash shields under the undercarriage of our '07 Mazda3. As you can see, the old ones are quite worn from New England weather. We got these at 1AAuto.com, so if you need these parts, or any other parts for your car, click on the link below. Come on over to 1AAuto.com.
On this particular car, someone's been in here before, trying to reinforce the undercarriage splash shield, so they have a lot of aftermarket hardware. There's various, from 13 millimeter sockets to 8 Phillips screwdrivers. So, your vehicle’s, if it's factory, are different sizes, and if you've done some repairs, or you have a used vehicle, you might have different sizes. So, it all varies. There we go.
The front splash shield and the back splash shield are stuck together, because this bolt is completely rusted in the clip. I'm going to take them both down together, and that way I can access the backing clip a lot easier.
I’m going to reassemble the front splash shield. Put this one up first. All right. Put the center bolt in first. There's five total here. You guide everything up. It looks like the this. The end tabs go over the plastic. Yeah. That one fell into place naturally.
Now I can start my bolts. I'm probably going to tighten this one. Okay. That one's in. There we go. This side shield's broken. There we go. Okay. It doesn't help when the bumper's been crushed a little bit. There we go. Sweet.
There should be four of these. Two on both sides, but the passenger side, the inner fender wall has been cut out, in this thing, so I'm going to use some plastic wire ties. Someone already pre-drilled some holes, so I'm just going to put them right through the body clip. Put a new one on the front. Cut the ends off. Get that clip in. There you have it. We're done.
Thanks for watching. Visit us at 1AAuto.com for quality auto parts, fast and free shipping, and the best customer service in the industry.

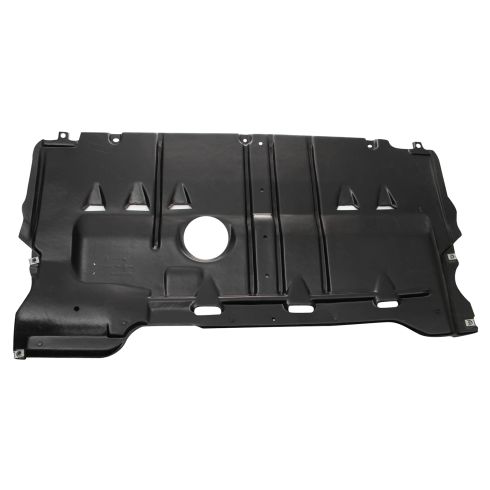
Mazda 3 5 Rear Engine Splash Shield TRQ BDA12068
Part Details:
- Plastic
- Standard Replacement
- Specific
- No

How Do I Check or Add Engine Oil to My Car or Truck
This video shows you how to check the oil in your vehicle.
