How to Replace Lift Support 2001-05 GMC Yukon
Created on: 2010-09-20
Want to learn how to replace your 01-05 GMC Yukon's tailgate lift support struts? 1A Auto shows you how in this video.
-
step 1 :Removing the Upper Clips
- Secure the tailgate in the up position with help from another person if necessary.
- Work the screwdriver into the clips at the tops of the rods.
-
step 2 :Removing the Stabilizers
- Pull the clips out and pull the stabilizer off.
-
step 3 :Removing the Bottom Clips
- Work the screwdriver into the clips at the bottom of the rods, and pry them off. The stabilizers are now detached.
-
step 4 :Replacing the Stabilizer
- Your stabilizer will come with the clips on them. Press the stabilizer firmly into place, making sure the cylinder side is up.
This video is brought to you by 1AAuto.com your source for quality replacement parts and the best service on the internet.
Hi, I'm Mike Green. I'm one of the owners of 1A Auto. I want to help you save time and money repairing and maintaining your vehicle. I'm going to use my 20 plus years of experience, restoring and repairing cars and trucks like this to show you the correct way to install parts from 1AAuto.com. The right parts installed correctly that's going to save you time and money. Thank you and enjoy the video.
In this video we'll be showing how to replace the rear hatch struts on this 2003 GMC Yukon. This is the same for any 2000 to 2006 Yukon Tahoe or Suburban Yukon XL.
The only tool you'll need is a small flat blade screwdriver.
If you have a droopy tailgate, you're probably no stranger to this: a broom holding up the tailgate. It's really easy to fix.
What you need is a small flat blade screwdriver and you'll work it into the clips by the rods. It's not a bad idea to have a helper holding up the tailgate. Pull these clips out a little bit and then pull the stabilizer off. Same thing for the bottom pull the clip off.
At 1A Auto we have the exact stabilizers that you need. They'll come with the clips in them. All you do is put them back on the clips. Make sure you have the cylinder side up and that it's on tight. On the bottom one, you'll want to lift up on your tailgate. After you do that the tailgate will stay up on its own.
We hope this helps you out. Brought to you by www.1AAuto.com your source for quality replacement parts and the best service on the internet. Please feel free to call us toll free 888-844-3393. We're the company that serves you on the internet and in person.

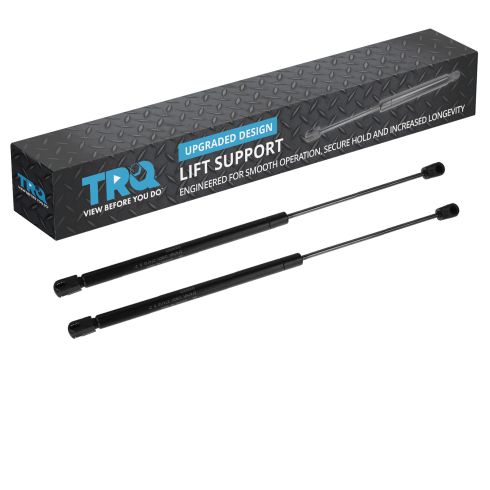
Chevrolet GMC Cadillac Driver & Passenger Side 2 Piece Back Glass Lift Support Set TRQ GSA04200
Part Details:
- 2 Piece
- (1) Driver Side Back Glass Lift Support
- (1) Passenger Side Back Glass Lift Support

How to Replace Hood Lift Support 2002-08 Dodge Ram 1500
How to repair, install, fix, change or replace a weak or sagging hood lift support on 02, 03, 04, 05, 06, 07, 08 Dodge Ram
