How to Replace Headlights 2000-05 Chevy Monte Carlo
Created on: 2010-08-25
Watch this video to learn how to replace and service the headlight assembly and bulbs on your 00-05 Chevy Monte Carlo.
-
Note: DO NOT TOUCH the bulbs- the oil from your fingers will burn into the light and foul your bulb. Clean with rubbing alcohol and a soft cloth if the bulbs do get touched.
step 1 :To replace just the headlight bulbs
- Pop the hood and secure it.
- Reach behind the headlight assembly.
- Pull aside the rubber boot and unclip the retaining wire.
- Remove and replace the bulb.
- Anchor it with the retaining wire and seal it in with the rubber boot.
-
step 2 :Replace the headlight assembly
- Pull up on the two anchor tabs securing the assembly.
- Pull out the headlight assembly and unplug the wiring harness.
- Remove the rubber seals to access the bulbs if needed.
-
step 3 :Install the new headlight assembly.
- Plug in the wiring harness.
- Secure with the anchor tabs.
When adjusting headlights, the concentration of the beam should be an inch below the height of the low beams at a 20ft distance and the high beams should be level with the height of the high beams at a 20ft distance.
Brought to you by 1AAuto.com your source for quality replacement parts and the best service on the internet.
Hi I'm Mike Green I'm one of the owners of 1A Auto. I want to help you save time and money repairing and maintaining your vehicle. I'm going to use my 20 plus years experience restoring and repairing cars and trucks like this, to show you the correct way to install parts from 1AAuto.com. The right parts, installed correctly, that's going to save you time and money. Thank you and enjoy the video.
In this video we're going to show you headlight removal and replacement, both the whole assembly and bulbs. This is a 2003 Chevy Monte Carlo this is the same for any 2000 to 2005 Monte Carlo. Just a flat blade screwdriver is all you might need for this.
Changing the headlights on one of these 2000 to 2005 Monte Carlos is quite easy. If you are just looking to change the bulb you can access them right back in here. You would pull this rubber shield off and the bulb is right inside. Actually, it's a little tough to get to the high beam here. What you really want to do is pull the whole assembly out, which is not that difficult. There is two tabs, one here and one actually right there. All you have to do is pull the tab up, and on this inside one you might want to use a little screwdriver and just pry it up nice and easy so it moves. Reach your hand in there and pull it out. Then the headlight just pulls straight forward. Behind, there is a connector right here, so use your thumb to pry up, pull it out and your whole assembly is now out of the car.
Once you have the assembly out of the car, obviously if your headlight has been wiped out by a rock or something you can replace it. The bulbs, like I said, are right in here. You just pull them out, twist, and you can take and remove the bulbs. Just little tabs here that pull off and then the bulb comes out. That will be the same thing for the other one and some of the other signal lights and stuff like that. Just twist, there's a thumb lock here, twist and comes out. This little one twists and comes out.
This here is our old light, here is the new light from 1A Auto. You can see if you get a headlight wiped out, or actually as these cars get more and more miles, stone chips and sand and things like that can dull and cloud the finish. A new light, you can see even this car has got relatively low miles, but even the new one is just a little bit brighter and clearer than the old one. The new 1A Auto light is going to install just like the original. You can see all of the mounting points are the same and everything. The plug is going to plug in and bolt up just like the original.
Reinstallation is pretty obvious plug your connector back in, slide the light straight in. You have some square holes back here just make sure that these pins go into those square holes on both the inside here and the outside. Push it back in there nice and tight, take your other and push it down. This little area goes around that square clip, push in, push down. The inner one, pull up on your shroud here a little bit. Make sure it's straight up and straight down, push down in it and just give a little tug that everything's in there nice and tight, that's it.
We hope this helps you out. Brought to you by www.1AAuto.com your source for quality replacement parts and the best service on the internet. Please feel free to call us toll free, 888-844-3393. We are the company that serves you on the internet and in person.
Shop Products
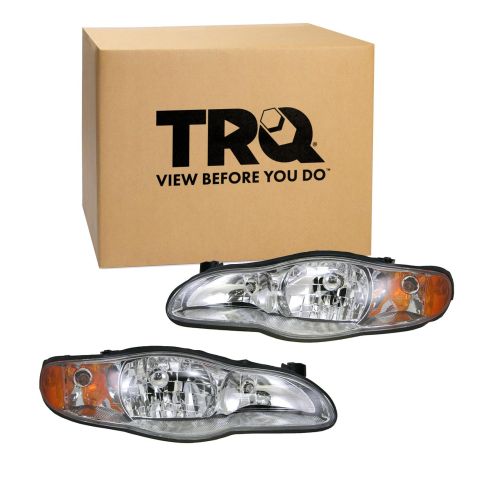
2000-05 Chevrolet Monte Carlo Driver & Passenger Side 2 Piece Headlight Set TRQ HLA74265
Part Details:
- 2 Piece
- Standard Replacement
- PC (Polycarbonate)
- Assembly
- (1) Passenger Side Headlight Assembly
- (1) Driver Side Headlight Assembly
- Halogen

How to Replace Headlights 2004-07 Subaru Impreza WRX
How to repair, install, fix, change or replace the broken, damaged, cracked, faded, cloudy, or chipped headlightson 06 Subaru Impreza WRX
