How to Replace Headlight and Bulb 1993-97 Dodge Intrepid
Created on: 2011-08-11
When your 93-97 Dodge Intrepid needs new headlights or bulbs, check out this video to learn how to do it yourself!
-
step 1 :Removing the Headlight Assembly
- Remove the three T15 screws that secure the headlight.
- If the outside screws don’t come out:
- Brake the tabs on the headlight and use pliers to hold the brass insert while removing the screws.
- Twist and pull out on the bulb to change it.
-
step 2 :Replacing the Headlight Assembly
- Remove the shield over the bulb hole.
- Put the bulb into the new headlight assembly.
- Line the headlight up and push it into place.
- Replace the three screws.
Brought to you by 1A Auto.com, your source for quality replacement parts and the best service on the Internet.
In this video we're going to show you how to replace the headlights on this '97 Dodge Intrepid, same as any '95 to '97. We're going to show you both replacing the headlight assembly and just the bulb. The tools you will need are a T15 Torx driver as well as a pair of pliers, preferably the vice grip style. With a pair of new headlights from 1A Auto you can take your Intrepid from looking like this to a little fresher look like this; once again, before and after.
We'll start here. There's three screws, the one on the outside, a small one in the middle and another one on the outside. The ones in the outside are usually a problem on this vehicle. I'm speeding up here. You can see me unscrewing that. It doesn't actually ever come out, that's because the brass insert in the headlight actually broke free. The only screw that actually comes out cleanly is the small middle one. What you'll probably have to do is actually break your headlight and if they look like mine you won't mind. You'll see right here, you break the tab off the headlight and the reason why as we do a close-up here, you can see the little brass insert right there is stuck on the screw. They kind of seize together so you'll need to lock onto that with pliers or vice grips and then use your T15 torques driver to get the screw out of the insert.
We speed up here as I do that. Lock the vice grips on down low and then turn with the T15 torques driver up top, and we repeat that for any one of the ones that are like that. You can disconnect the headlight just by pulling that off right here. If you're just looking to change the bulb, the bulb twist this lock off, pull it off, and then the bulb pulls out. Here's your original light, new light from 1A Auto. It's pretty clear which one is more clear.
Installation. Take the little shipping protector off. We've put inserted the bulb in and then put that retaining ring back on, kind of put the headlight in place and then connect your headlight lead and then push the light back into place, making sure that it lines up with where the screws go down in on each side. Here with our screws, I put a little anti-seize compound on them. You can do that or just some grease or something, just so they come apart the next time a little easier. I'll just speed it up as I put these screws down in. You've kind of got to work the light, push it kind of back and forth, and get the screws all the way down in and then you push down on the screws as well to start them and keep the fast forward going as I tighten up the outer two screws. You want to tighten them up firm. They don't have to be extremely tight though. Then I install and tighten up that smaller middle screw.
We hope this helps you out, brought to you by www.1AAuto.com, your source for quality replacement parts and the best service on the Internet. Please feel free to call us toll free 888-844-3393. We're the company that's here for you on the Internet and in person.

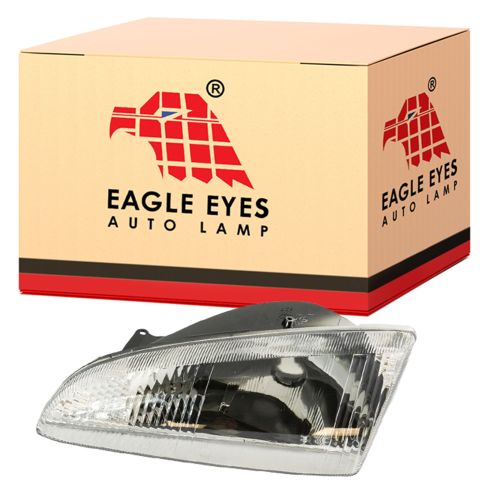
1993-97 Dodge Intrepid Driver Side Headlight Assembly Eagle Eyes CS081-U001L
Part Details:
- Features and Benefits
- PC (Polycarbonate)

How To Install Replace Headlight Pontiac Sunfire 1995-2002 1A Auto
Watch this video to learn how to replace and service the headlight assembly and bulbs on your 95-02 Pontiac Sunfire.
