How to Replace Headlight 2005-07 Chrysler Town Country
Created on: 2012-04-02
In this video, 1A Auto shows you how to replace broken, damaged, cracked, faded, cloudy or chipped headlights in a 05-07 Chrysler Town & Country.
-
step 1 :Removing the Headlight
- Remove the three 8mm bolts at the top of the headlight.
- Slide the headlight forward.
- Pull the red safety tabs back.
- Remove the harnesses by pressing the tabs and releasing them.
- Remove the pin securing the wiring harness.
-
step 2 :Changing the bulbs
- Twist the sockets counterclockwise after disconnecting.
- Pull the socket free.
- Change the bulb.
- Push the socket into place and twist clockwise.
-
step 3 :Replacing the Headlights
- Reconnect the wiring harness.
- Slide the headlight into place.
- Replace the three 8mm bolts.
- If your lights need to be adjusted use the Phillips screw at the top of the light.
Tools needed
-
8mm Socket
Ratchet
Brought to you by 1AAuto.com, your source for quality replacement parts and the best service on the Internet.
Hi, I'm Mike from 1A Auto. I hope this How To video helps you out, and next time you need parts for your vehicle, think of 1AAuto.com. Thanks.
In this video we're going to show you how to service the headlights on this 2005 Chrysler Town and Country, we'll show you both changing the bulbs as well as changing the whole assembly, if you have a broken, coded or faded one. The only tool you'll need is an 8mm wrench or socket and ratchet.
Here you can see the front end of our '05 Town and Country. You see the lights are kind of clouded, a little faded, new set of headlights from 1A Auto, there you go, nice and clear, help you see better at night. Let's just see that one more time. There's before, cloudy, faded, and after - a nice new set of headlights from 1AAuto.com.
Start with the 8mm socket, or a wrench would work just fine. There's three bolts right up here on top. Once you remove those three bolts, your light just slides right forward like that. In the back here, there's little red safety tabs, you just pull them back and then you press on a tab, for this one it's right here. Press and release, and if you just want to change your bulbs, they just turn counterclockwise and come out. Same thing here. Pull this tab, press, release, this bulb comes out. Here, there's a little pin that holds the wiring harness. Just pull that off, your light comes off.
Here's your new light from 1A Auto, nice and clear. We're just going to take our harness and push it back into the hole here, then reconnect there and reconnect there. It just slides right back into place. Start our three bolts in, we have to use this tab right here, lift up a little bit, start the bolts. Tighten them up. Okay, we'll just fast forward a little bit here, as I just tighten up those bolts, tighten them up firm, you don't need to over tighten them though. If you should need to adjust the aim of the light, there's a Phillips screw right down there, and that is your adjustment screw.
We hope this helps you out. Brought to you by www.1AAuto.com, your source for quality replacement parts and the best service on the Internet. Please feel free to call us toll-free, 888-844-3393, we're the company that's here for you on the internet and in person.
Shop Products
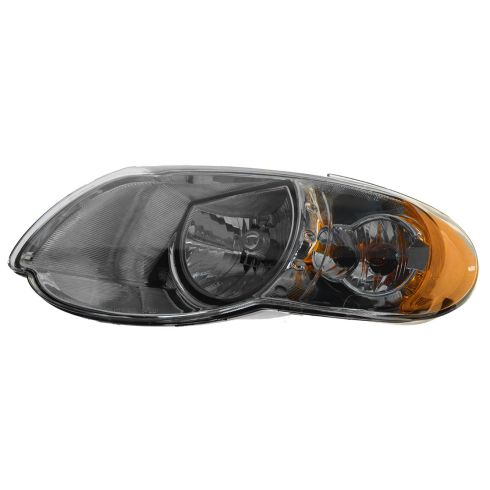
2005-07 Chrysler Town & Country with Extended Wheel Base Driver Side Headlight Assembly Eagle Eyes CS205-B001L
Part Details:
- Features and Benefits
- PC (Polycarbonate)

How to Replace Headlights and Bulbs 2000-04 Toyota Tundra
Does your 00-04 Toyota Tundra have dim headlights? Change the bulbs, or replace the headlights. Learn how to do both in this video from 1A Auto!
