How To Replace Front Wheel Hub 2008-13 Cadillac CTS
Created on: 2020-11-12
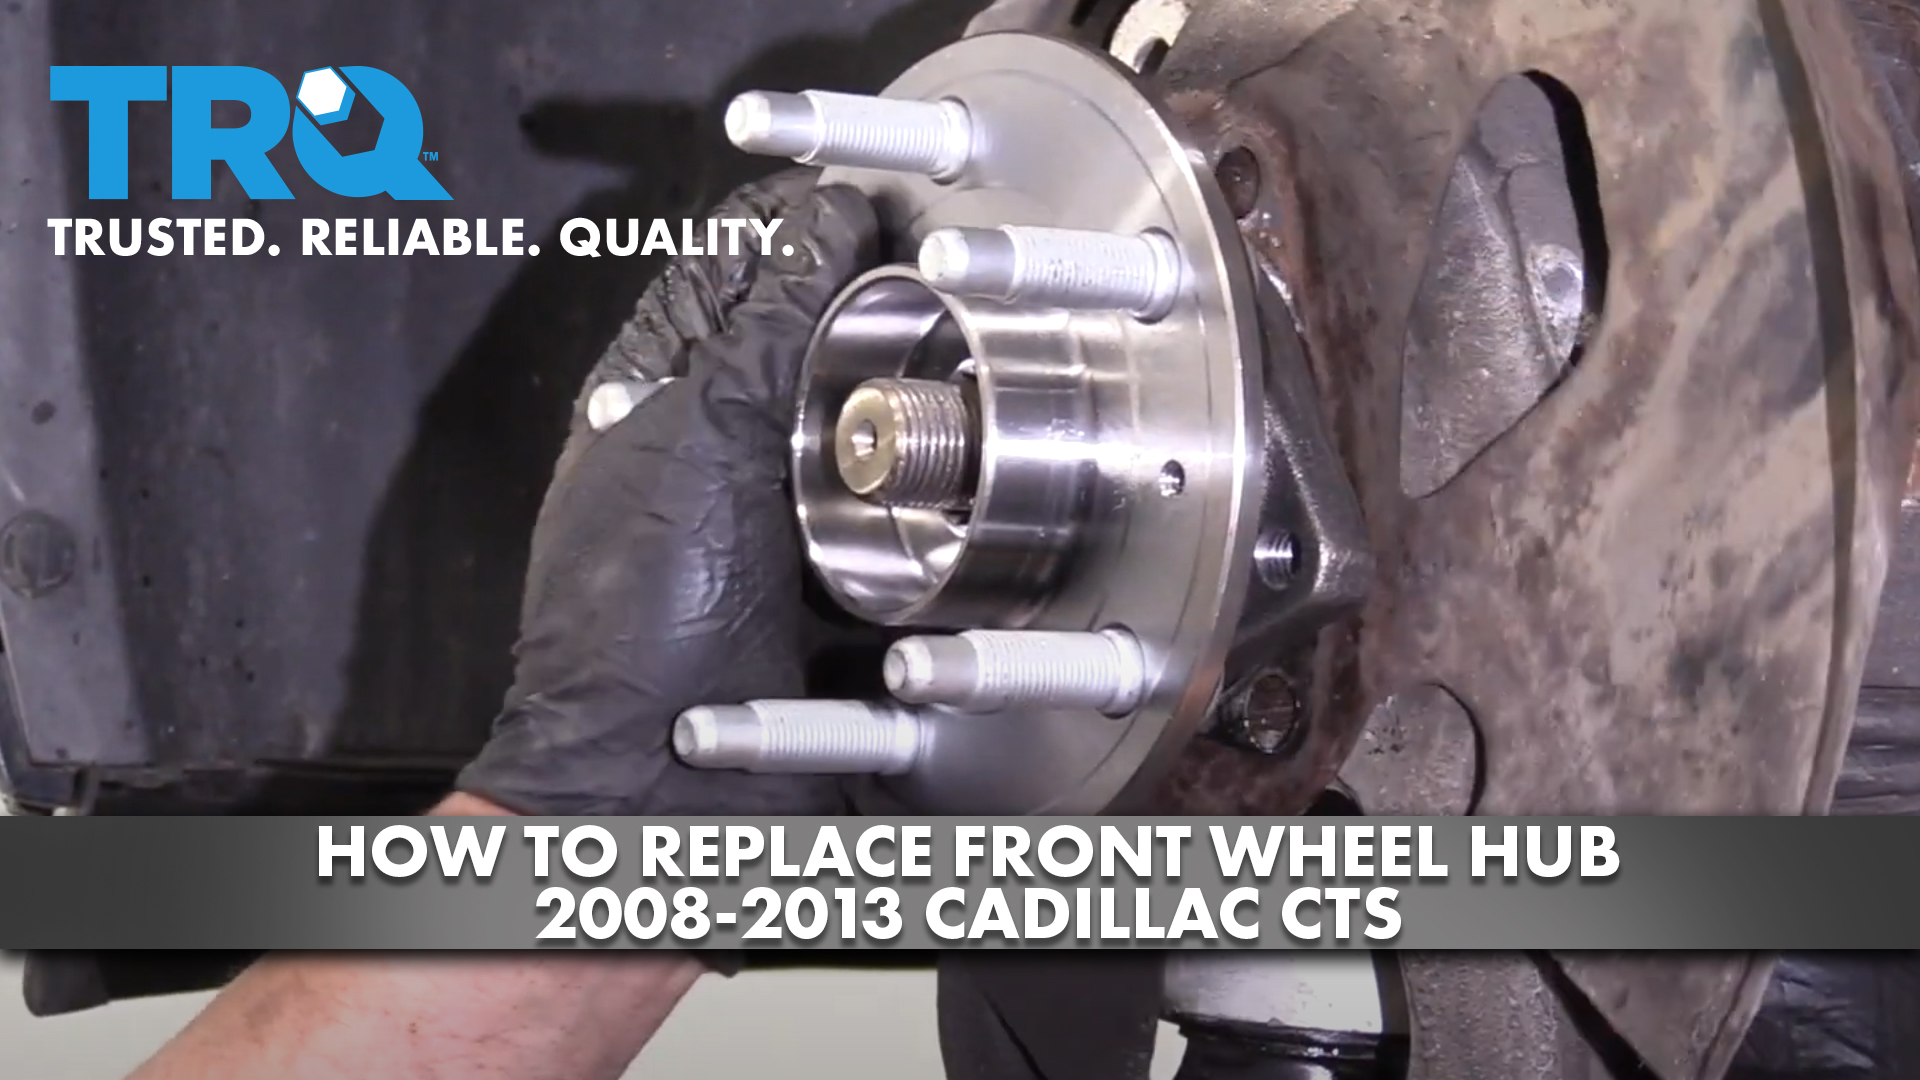
This video shows you how to install a new front wheel hub and bearing assembly on your 2008-2013 Cadillac CTS.
Tools needed
-
Torque Wrench
Hammer
Socket Extensions
Jack Stands
18mm Socket
Brake Caliper Hanger
Socket Driver
Wheel Chocks
Center Punch
10mm Socket
T30 Socket
Ratchet
Floor Jack
Needle nose pliers
1/2 Inch Impact Gun
22mm Socket
Now I'm just going to take the wheel off. Use a 22 millimeter socket, take the lug nuts off. Take the wheel off. Now I'm not going to separate the caliper from the bracket because we're just doing the hub. So I'm going to use an 18 millimeter socket and take the two bracket bolts out.
I'll just grab the caliper and bracket and just slide it off. And you want to use a brake hanger or a caliper hanger tool and then hang it from the coil spring.
Now there should be a screw right there in this vehicle, it's broken off. You're going to want to use a T30 socket to take that screw out and slide the rotor off. Now I'm going to remove this wheel speed sensor from the knuckle. Just use a 10 millimeter socket, take this bolt out. Then you can use some needle-nose pliers and just wiggle the sensor back and forth, and just slide it out. Just move it to the side so it doesn't break. That's it.
Then take a 36 millimeter socket, take the axle nut off. If there's a washer, take that off as well. There we go. I'm just going to use some rust penetrant on the bolts. Let those soak for a little bit. Now take a 13 millimeter socket and get the three bolts behind the knuckle. Loosen those up. Just be careful of the front CV boot. You don't want to rip that boot.
Now all of the bolts are out, you can try to pry this off. And if it's stuck on there, you can either use a slide hammer or a sledgehammer from the backside, just give it a tap. There it goes, and just slide it off.
It has a lot of corrosion on here. I'm just going to take a grinder and just grind some of this corrosion away. Now with that all cleaned up, just spray it down with some brake parts cleaner and then take a little bit of anti seize, and this is going to help prevent some of this corrosion in the future. Just give it a nice thin coat. All right. Just take the backing plate and slide the new hub right in position. Try to line the holes up and get that bolt started. And then we're going to torque those 3 bolts to 100 foot pounds. Now take the wheel speed sensor and you want to back it up in the knuckle and put the bolt in and tighten it down. And just snug it up. That's good. Now put this washer on if you had a washer, and the nut. Now, I'm going to use a pry bar in between the lugs and torque this to 158 foot pounds.
I'm just going to put a little bit of anti seize right on the hub surface, just a nice thin coat, and take the rotor and just line up that hole with the hole in the hub. And I got a new screw. I'm going to screw that in right there. Just tighten that up and just snug, not too tight. That's good. Now I'll just take the caliper off the hanger. I'll just make sure the hose is not twisted. That looks good. And put the bolts back in.
And then tighten those caliper bracket bolts to 166 foot pounds. Now take the wheel, put the wheel back on. Now I'm going to torque the lug nuts to 100 foot pounds in a star pattern to tighten the wheel down evenly. Just go around again, double check.
Shop Products


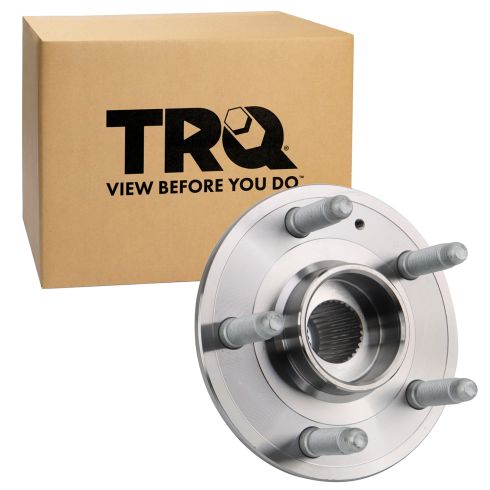
Chevrolet Cadillac Wheel Bearing & Hub Assembly TRQ BHA54091
Part Details:
- 2.65 in
- 67 mm
- 67 mm
- M14
- 2.64 in
- 5
- No
- Yes
- 30
- Triangle
- No
- 120 mm
- 4.72 in
- 3
- 6.18 in
- 157 mm
- Ball
- Gen 3
- 4.57 in
- No
- 116 mm

How To Replace Rear Wheel Bearing and Seal 1992-99 GMC K1500
If you hear a grinding or groaning noise while your vehicle is rolling, it might have a worn out wheel bearing. A worn bearing can allow the wheel to wobble, creating a host of other issues. To save yourself from more headaches down the road, replace your bearing right away. For solid rear axles, you'll need to replace the axle seal too. How to install a new TRQ wheel bearing and axle seal on your 1988-2002 GMC K1500.
