How to Replace Front Door Handle 2013-16 Nissan Sentra
Created on: 2020-03-25
Watch this video to learn how to install a new outside door handle on your 2013-16 Nissan Sentra.
Tools needed
-
T30 Driver
10mm Socket
Ratchet
Needle nose pliers
Trim Tool Set
Now, just slide this panel off, we're gonna use a trim tool, just get behind here. There's a pin. Pop that pin up and then lift it up. There is some other clips right there. These are broken on this vehicle. And then take the trim tool, get underneath here. There's some clips that hold this window switch in and disconnect the connectors. Just push down on the tab. Disconnect it. Set this aside. I want to remove this trim piece, just use the trim tool. Just get underneath and it's clipped in. You should be able to get it unclipped. Just be careful not to ruin the door panel. Get underneath there. There you go. That's where it's clipped in. So, if you can try to push in in the center that helps put a little pressure while you're pulling it off. Remove this bolt right here. Use a 10-millimeter socket. And then grab from the sides and the lower part of the panel. You can use a trim tool to try to pry this out. Just pry the clips off. Just go all the way around the panel. There you go. Those are all off. Just grab the panel and just slide up, just like that. And pull back on this vapor barrier. You can re-stick it after. You just need to gain access right here, and disconnect the connector right here. Just push down on the tab, and slide it off. I'll just use some needlenose to pull the retainer off the connector.
Slide that out of the way and do the same for the top one. Then with the top one out then it's a little easier to disconnect this. Push down the little tab and slide it up. Going in here, I can slide off the door lock cylinder lock rod, and then slide the rod out. Now I'll take this little cap off right here, just use a trim tool or a straight blade screwdriver. Pop that off. Now I'm going to take a T30 driver and just loosen up the screw right here. As I loosen that up, I can take the cover off out here. There we go. And then you can slide this whole assembly out. What I did to pop the rod off was you just take your finger and just slide this out of the way, and then you can pop the rod right up. Now, just grab the handle and just slide towards the outside of the door and pull it out and just fish the wires through, just like that. Take the new door handle and slide the wires through and angle the handle like this, and then just slide it towards the car. Now, to take this cover off, just take a straight blade screwdriver, just go in between there and just pry up and slide that off. Take the new one, lock it in place. Now we'll take this slide, slide this in position, and tighten this up. And take this lock rod, goes to the lock cylinder, and you're just going to have to feel around for it. It's kind of hard to see. Now we got that on, it's not very easy to see, but just work at that.
Now, let's connect the electrical connectors. This one goes up top and re-secure it. This one's gonna run around here on the backside of that connector and connect this just like that. I'm gonna slide the retainer right through so that goes right there. Make sure it locks in place. Slide this vapor barrier back in position. If it doesn't stick properly, you can get some butyl tape and re-stick it. Should be good. I'll get some more for down here. Now, put this cap back on. All right. Now, take the door panel, we want to make sure we feed these wires through here at least so you can access them. And slide the top part in first. Push down. Once that's all lined up, try to line up the pushpins, and press the panel back on. That's good. Put this bolt in, tighten it up. That's good. Connect the window switch and lock it in place. There we go. Take this trim piece, lock it in place. And this last trim panel, slide it down first and lock it in place.
Shop Products


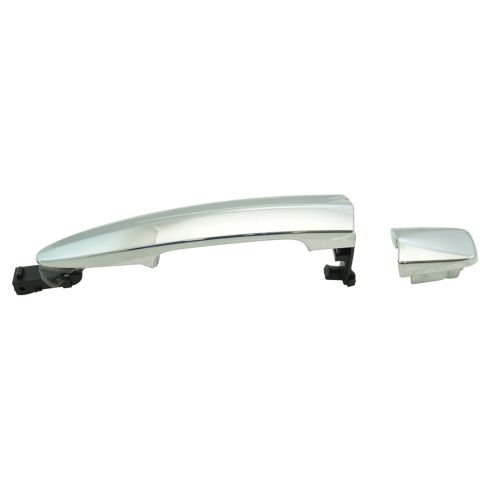
Nissan Leaf Maxima Murano Sentra Exterior Door Handle TRQ DHA49206
Part Details:
- Chrome
- Plastic

How to Replace Exterior Door Handle 1994-97 Honda Accord
Watch this video to learn how to replace the exterior door handle on your 94-97 Honda Accord.
