How to Replace Front Bump Stop 1999-2007 Chevy Silverado
Created on: 2020-07-10
Watch this video to learn how to install a new front control arm bump stop on your 1999-2007 Chevy Silverado.
Tools needed
-
Torque Wrench
Gloves
Flat Blade Screwdriver
Hammer
Rust Penetrant
Pry Bar
Wheel Chocks
Floor Jack
Safety Glasses
22mm Socket
One of the first things we need to do is safely raise and support the vehicle so the wheel is off the ground. Let's remove our 22-millimeter lug nuts. Remove your wheel. Now that we have the wheel off of here, we have a clear view of the bump stop right here. I'm gonna use a little bit of penetrant spray. I'm gonna try to go up along these areas right along here, then I'm gonna continue on by using a small screwdriver like this. You can use a larger one if you want, whatever size works for you. I'm gonna come right down like this. Try to work my way in, press, and try to get this right out of here.
The rubber itself is just forced up into this area and it's held on by a couple little pitons that you'll see once you get this out. We just need to get it by that. There it is, friends. I'm just cleaning this up. I can feel along the edges where all the pitons are. They're gonna be holding in that rubber piece. I wanna make sure that I don't have any other raised areas that are gonna try to stop me.
For our next step, what we need to do is use a little bit of silicone spray. The reason why I wanna use silicone spray over something such as penetrant or whatnot is because I don't want to do any damage to the new part we're installing. Now that I have that nice and lubricated, I'm gonna take my new part, set it, so it's pretty much ready to go in. And then I'm gonna use a nice long pry bar and try to help force it up in there. Try to get this up in here. Just gonna try to work it up in there. Just double-check it real quick. Give it a nice wiggle. Make sure it does not fall out. That looks great.
So now you might have noticed that you're having a hard time getting that bushing inside there like I did. The reason for that is because if you were to look right here, and then, of course, around there, there's gonna be a couple more of them. There are these little pitons that kind of push in and they're supposed to rest in up against the bushing itself to keep it from falling out. If for some reason you can't get it to pry up and along there and work its way in, what you could try to do, once you have the old bushing out, you could just try to come from the inside, you maybe use a small hammer. If you have an air chisel bit, you could try to use an air chisel, just to kind of push them back so they're kind of meeting up with along where this area is, the mounting area.
Once you have it good like this, then you would just peen them back in to lock it in. If when you finally get this up in there, it starts to feel a little loose like maybe it might want to come down. Well, then you can just go ahead and take a small pry bar or whatever you might have and a hammer. Give them a couple bonks, just like that to try to drive in those locks a little bit further than where they are.
Okay, now it's gonna be time to get the wheel up on here. Slide it on. Now, we'll get the lug nuts on here, we'll bottom them out, and then we'll torque them to manufacturer's specifications. Let's torque these lug nuts to 140 foot-pounds. Torqued.

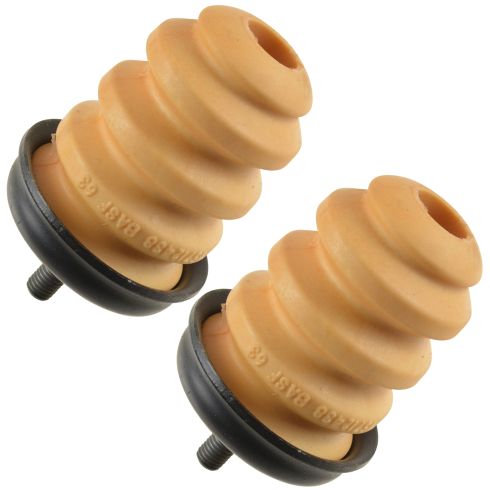
Chevrolet GMC Rear Suspension Bump Stop 2 Piece Set General Motors OEM GMSFK00012
Part Details:
- 2 Piece Set
- (2) Rear Suspension Bump Stops
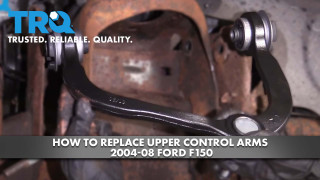
How to Replace Upper Control Arms 2004-08 Ford F-150
This video shows you how to install a new upper control arm on your 2004-08 Ford F-150.
