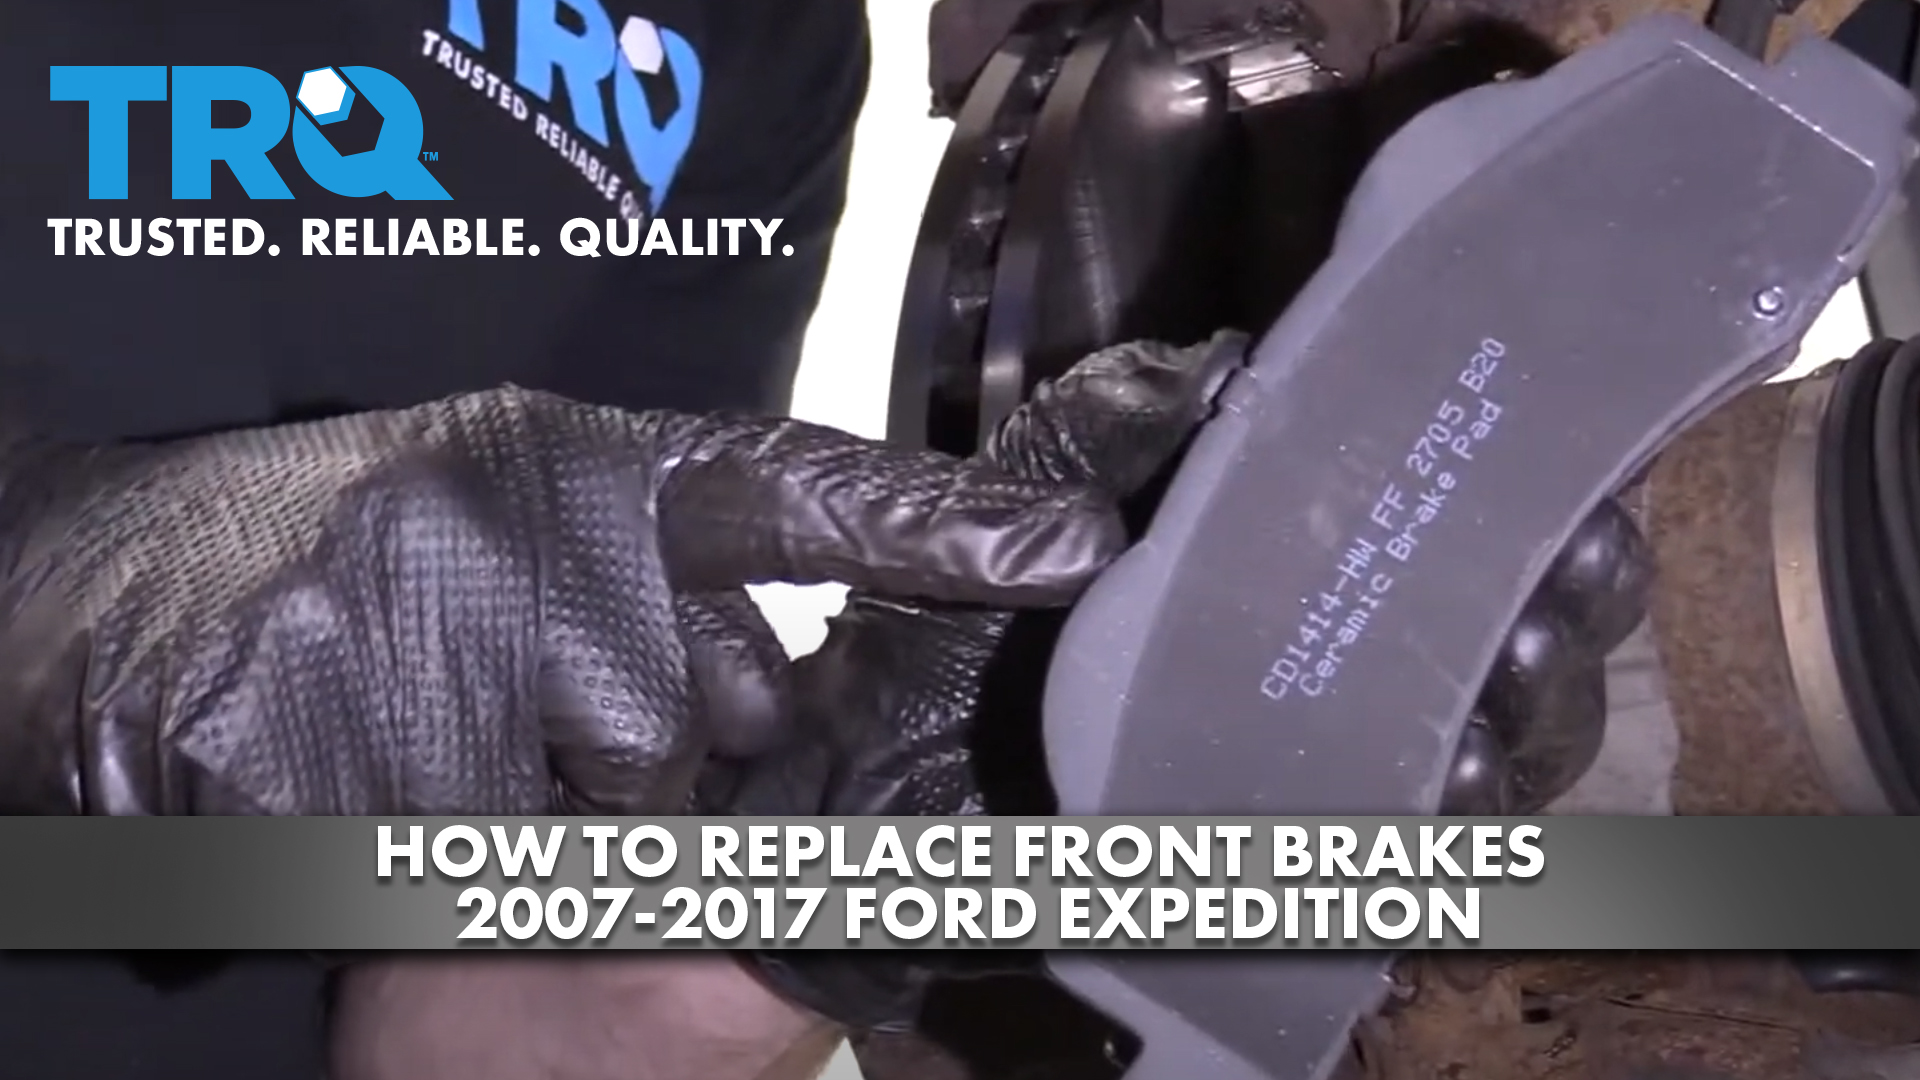
How to Replace Front Brakes 2007-17 Ford Expedition
Created on: 2020-11-16
This video shows you how to install new, quality TRQ brake pads and rotors on your 2007-2017 Ford Expedition.
Tools needed
-
21mm Socket
Torque Wrench
Socket Extensions
Flat Blade Screwdriver
Hammer
Socket Driver
Pry Bar
Jack Stands
Wheel Chocks
Ratchet
Floor Jack
1/2 Inch Impact Gun
Go ahead and remove your center cover here. Now, it's going to expose your lug nuts remove all six of your 21-millimeter lug nuts. Remove your wheel. Now that we have the wheel off of here, let's continue by pushing back the caliper pistons. Those can be seen through these little ports in the caliper, to do that I'm going to use a nice pry bar. I'm going to come in between the caliper and the rotor itself and just slowly pry. And then if you need to, you can come in this way. Essentially, we just want to push back those pistons as far as possible.
Now, let's go ahead and remove the bolts that hold our caliper to the slider pins. That were nice and loose. Let's remove the caliper and now we want to inspect it and make sure you don't see any fluid along the pistons here. If you see any fluid that means that it's leaking and of course you'd have to replace the caliper. Hang this so it's putting no pressure on your flex hose. Let's go ahead and get the pads out of here.
Now we need to remove the caliper bracket bolts. There's going to be two of them, go ahead and pop them out of there. Remove your bracket. Now you need to remove your rotor. You might need to give it a couple loving bonks to break it free from the hub.
Now, the next thing we want to do is clean up the hub meeting surface. We want to make sure those are nice and smooth so we have great contact with our brand new rotor. Now that we have the outside cleaned down, let's go ahead and get rid of all this rust that's behind here.
Now we need to start working on our actual caliper bracket here. We want to strip this down and get off all the extra parts. So, we're going to come along here and we're going to remove these tins. Now that all those tins are out of the way, let's continue on by removing our caliper sliders. And then I'm going to put the sliders on their corresponding sides.
Now let's use a nice collection bucket and we're going to clean out these slider ports. Use some parts cleaner just be careful not to let it come up into your face. Fill both those ports and then clean them out with a nice bore brush. Let's go ahead and fill it and dump it. It's nasty. You might have to do this a couple of times, but make sure they're nice and clean so you have fresh lubricant in there in the end.
Now, we need to continue on to cleaning up this area along here. That's going to be the area that the slider boot goes on to so it needs to be nice and clean. If there's any debris, there's possibility moisture could get in. So, now we're going to clean up the sliders themselves. Before we can get started on that, we need to remove the boot. Just press it down and then you should be able to break this free. Look at all that crap that just came out of there. Any of those areas that you just saw flake off of there could have made it so moisture would get in and could potentially damage the brakes prematurely.
You need to make sure you take this off and clean all that up. Do the same to both of your slider pins and then, of course, we're going to move along to cleaning up all four corners on the bracket. This is going to be the area where those tins are going to be located and they need to be clean.
Now that we have everything nice and cleaned up, it's going to be time to lubricate the surfaces that we cleaned. Just use a tiny bit of that grease that came with your brakes. We're going to put it right along the areas that we cleaned down, all four corners here. Take a little bit of that grease. Get right inside this port right there. That's just going to be a little bit of pre-lubrication. Also, make sure you get along the outside of it. That's going to help keep moisture out of there.
Now it's going to be time to install our tins. You want to make it so it has this little piece facing out. So, essentially just like that, press it down on. Now, it's going to be time to prepare our sliders. Let's get a little bit of that lube right up along that lip that we cleaned out. Now we're going to coat the entire pin, install our boot, give it a nice wiggle. Put it into the slider port, press it all the way in. Give it a feel, a nice turn, everything settled. Do the same to the other one.
Let's go ahead and spray this with some parts cleaner, wipe it down. Make sure you get the backside as well. Apply some copper never-seize to the surface. Let's put it on the rotor. Now, let's grab a lug nut start it on there so it holds the rotor still. Now let's get our bracket on here. Let's snug up both the bolts then we'll torque them to manufacturer's specifications. Let's torque this to 184-foot pounds.
Now it's going to be time to install our brake pads. You want to pay a special attention, the inner pads going to have bumps like this and the outer pad will not. You want one for each side. Let's go ahead and do this now. Start with the inner or the outer, pop it right in there. Make sure it moves around, do the same to the outer. There we are. It moves around.
Now let's just take a quick look at our caliper and if you see anything flaking off of it, just kind of get it off of there so there's nothing that could come loose and get into the brakes. Once you've sufficiently cleaned everything off, go ahead and add a little bit of that lubricant along both caliper pistons. And then on all three of the ears basically any place that's going to be touching up against the pad.
Now let's go ahead and get this up over the pads here. Slide it in. Start in both of your bolts. Now let's torque these to 27-foot pounds. Now let's go ahead and snug these up and then we'll torque them to 150-foot pounds. Torqued. Let's just go ahead and get this cover on here.
Okay friends, so the process will be the same for the other side of the truck. Other than that, make sure you pump up your brake pedal, get under the hood and check that brake fluid. Make sure it's up to the maximum. Take it for a road test.
Shop Products


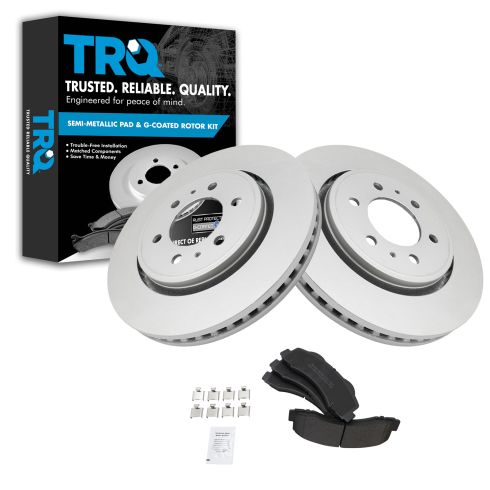
Ford Lincoln Front Semi-Metallic Premium G-Coated Brake Pad & Rotor Kit TRQ BKA14754
Part Details:
- Vented
- Premium G-Coated
- Premium Posi
- Semi-Metallic
- 6 Lug
- 13.78 in. (350mm)
- (1) Front Semi-Metallic Brake Pad Set
- (2) Front Premium G-Coated Brake Rotors

How to Replace Rear Brakes 2007-11 Honda CR-V
How to repair, install, fix, change or replace your own worn, squeaky, fading old brakes on 09 Honda CRV
