How To Replace Front Brakes 2001-03 Chrysler Voyager
Created on: 2011-08-14
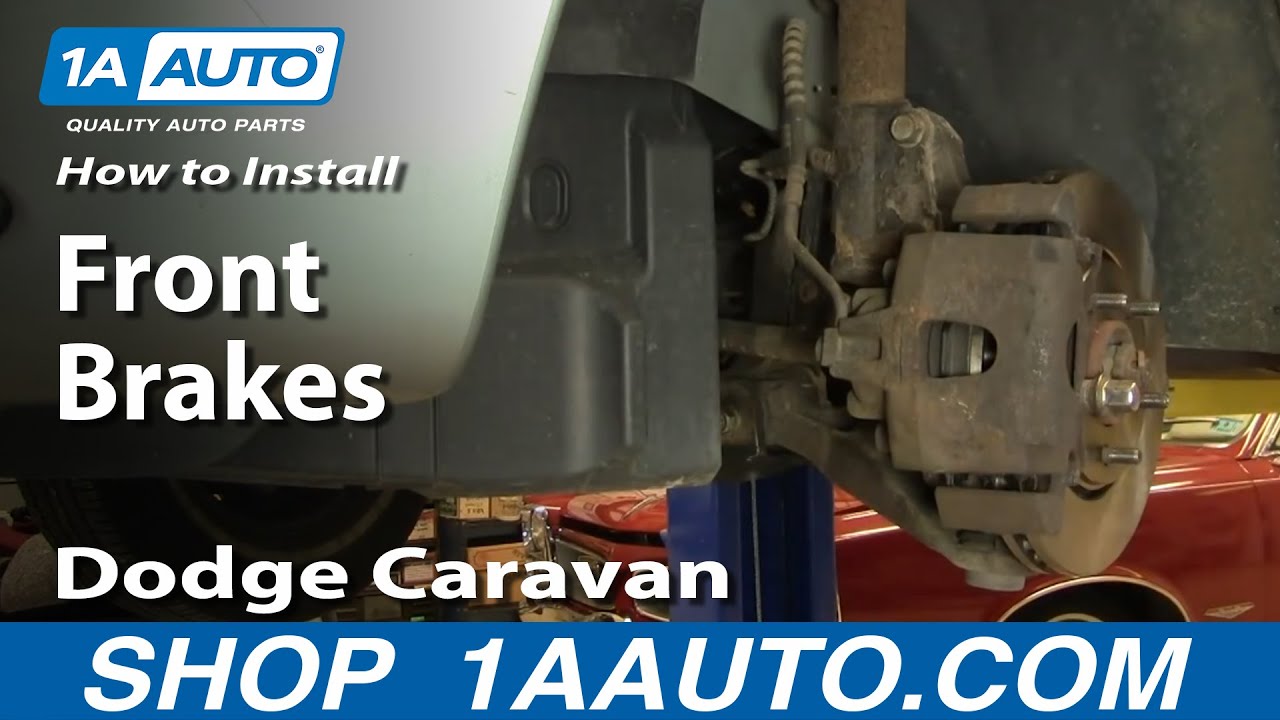
Watch this video to learn how to replace the front brakes on your 01-07 Dodge Caravan or Chrysler Town and Country. 1A Auto will show you how to do it.
-
step 1 :Removing the Wheel
- Remove hub cap or center cap if you have it
- While your car is still on the ground, use your 22mm socket to loosen your lug nuts
- Jack up and secure your car with jack stands
- Remove the lug nuts with your 22mm socket and ratchet
- Remove the wheel and set aside
-
step 2 :Removing the Calipers
- Remove the two 5/16 Allen bolts securing the caliper
- Use a screwdriver to force the pistons back in
- Use a screwdriver to pry off the caliper
- Use a wire tie to fasten the caliper out of the way
- Use your 21mm socket and ratchet to remove the caliper bracket
- Use your screwdriver to pry out your brake pads
- Pull off the brake rotor
- Hit the rotor with a rubber mallet or hammer if necessary
- Take care not to damage the lug studs
-
step 3 :Install New Rotor and Pads
- Check the caliper piston's condition and clean them with a wire brush if necessary
- Clean new rotor with brake cleaner
- Put your caliper bracket back on, and tighten the 21 mm bolts to 120 ft lbs
- Insert your new pads into the brackets
- Compress the caliper piston with a C-clamp
- Mount your bracket back on and tighten the 5/16 Allen bolts to 20-25ft lbs
-
step 4 :Replacing the Wheel
- Replace hubcap/center cap
- Make sure to use a star pattern when putting your wheel lugs back on
- Tighten to 100 ft lbs
-
step 5 :Test and Set Brakes
- Before driving the car again, start it up and pump the brakes a few times to get the pistons in the brakes in place
- Test the brakes in your driveway before taking the car onto the road
- Set your rotors by evenly braking from 30mph to 10mph, 50mph-30mph and finally 70mph to 40mph
- This is best done on a straight back road without any traffic
Tools needed
-
Large C-Clamp
Torque Wrench
Jack Stands
19mm Socket
5/16 Inch Allen Wrench
21mm Socket
Flat Blade Screwdriver
Large Hammer
Anti-Seize Grease
Wire Ties
Ratchet
Wire Brush
Floor Jack
1/2 Inch Breaker Bar
Brought to you by www.1AAuto.com-- your source for quality replacement parts and the best service on the internet.
Hi, I'm Mike Green. I'm one of the owners of 1A Auto. I want to help you save time and money repairing and maintaining your vehicle. I'm going to use my twenty plus years' experience restoring and repairing cars and trucks like this to show you the correct way to install parts from 1AAuto.com. The right part installed correctly, that's going to save you time and money. Thank you and enjoy the video.
In this video we're going to show you a front brake job on this 2003 Chrysler Voyager same as many of the Chrysler and Dodge minivans from this era Chrysler Town and Country, Voyager, as well as Dodge Caravan. Tools you'll need are jack and jack stands, 19mm and 21mm sockets with a ratchet or your lug wrench would work for the 19mm socket, and you'll need a breaker bar or pipe for some extra leverage on a couple of the bolts; they can be tight, 5/16 large Allen wrench or T45 Torx bit with a handle, a large screwdriver or pry bar, and a large c-clamp.
If you don't have air tools, you'll want to loosen the lug nuts on the ground first, then raise and secure the vehicle, then remove the lug nuts the rest of the way. We'll speed it up here as I take off the lug nuts, hub cap, and then remove the wheel. Once you have the tire off, turn your steering so that you have easy access to the back of the caliper and we can check for condition of the brakes when I turn the rotor. You can see this is the rotor, this is the metal part of my pad and there is very little left on my brake pad there so it definitely needs new pads and then these rotors are pretty well worn, they're probably the original rotors. I can tell that by using the back of my finger nail and there are pretty some grooves in the rotor, so I'm going to replace the rotors as well.
So my next step is to remove these two bolts here. The correct tool for this is 5/16 Allen bit or T45 Torx bit, which is what I'm using. It allows me to get in there and get a handle on it so I can get good leverage. I'm just going to speed up as I remove those two bolts the rest of the way. Before you pull your caliper off right here is your piston, as you can see as your pads wear the piston works its way out and you can reset it in a couple ways. You can use a clamp, which I'll show you later or you can use a large screwdriver or pry bar. As you see I'm just prying out and that piston is working its way back inside the caliper. You can see the piston is back inside the caliper now. In order to get the caliper off push it out forward and pry it out on these little tabs. That kind of comes apart, and off. Just going to rest the caliper right up here, like that. Now I need to get this bracket off.
Get a bolt set holder 21mm, I'm going to put my ratchet on here and then I'm going to slide a piece of pipe on here that allows me more leverage, then slowly pull down and that one up, again slowly push down. Then the rotor comes off. The rotor from 1A Auto goes right on. What I like to do is I like to stick a lug nut on here to kind of hold everything in place. Then the bracket goes back on. Now using a torque wrench I'm going to tighten these up to 120 foot-pounds. Now you want to make sure that your piston is all the way back in your caliper. You can use a big c-clamp like this, all I'm doing is just pushing, making sure that piston is pushed all the way back into the caliper. Your pads from 1A Auto, put this one in and push it right into the caliper like that. This one we can put right here against the disc. Slide the caliper right down and on, push that right on like that. Caliper mounting bolts, push them in the backside. With my Torx bit basically kind of pull on them, pull the plates, they don't have to be extremely tight. I've got 20-25 foot pounds.
Take the lug nut off, you'll want to slide on the tire. These ones with the wheel covers, note where your valve stem is, put two lug nuts kind of counter opposite of it. Then your valve stems here, put that on. This wheel cover is broken; it's supposed to snap over those two lug nuts. Speed it up as we just put the lug nuts on, snug them up with the impact wrench and we'll torque them when the vehicle is on the ground. Now torque them to 100 foot-pounds using a star pattern. Very important after you do brake work, pump your brakes a bunch of times to make sure the pedal is nice and firm, then do a stop from 5 miles per hour and 10 miles per hour before you do the road test.
We hope this helps you out. Brought to you by www.1AAuto.com -- Your source for quality replacement parts and the best service on the internet. Please feel free to call us toll free 888-844-3393. We're the company that's with you on the internet and in person.
Shop Products


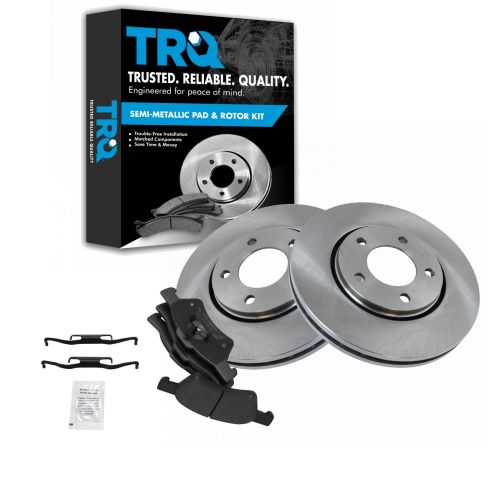
Dodge Chrysler Front Semi-Metallic Brake Pad & Rotor Kit TRQ BKA10523
Part Details:
- Semi-Metallic
- Premium Posi
- (2) Front Brake Rotors
- (1) Front Semi-Metallic Brake Pad Set
How to Replace Front Brakes 2005-10 Chevy Cobalt
Watch this video to learn how to replace the front disc brakes on your 05-10 Chevy Cobalt.
