How to Replace FogDriving Light 1999-2002 GMC Sierra 2500
Created on: 2010-11-24
Learn how to replace the fog/driving light on your 99-02 GMC Sierra 2500 with this helpful installation video.
-
step 1 :Remove the fog light
- Unplug the fog light from the wiring harness.
- Remove the two 10 mm bolts on the top of the fog light on the inside of the fascia.
- Pull the fog light out.
-
step 2 :Install the new fog light
- Use the old fog light to compare the aiming bolt and aim your new foglight.
- Install the new fog light by securing it with the 10 mm bolts.
- Plug in the wiring harness.
Tools needed
-
10mm Wrench
10mm Socket
Ratchet
Brought to you by 1AAuto.com, your source for quality replacement parts and the best service on the internet. Hi, I'm Mike Green, I'm one of the owners of 1A Auto. I want to help you save time and money repairing and maintaining your vehicle. I'm going to use my 20 plus years experience restoring and repairing cars and trucks like to show you the correct way to install parts from 1AAuto.com. The right parts installed correctly that's going to save you time and money. Thank you and enjoy the video.
In this video, we're going to show you how to replace the fog light on this 2002 GMC Sierra, this procedure is the same for any 2000 to 2006 Yukon or Yukon XL and '99 to '02 Sierra. The only tool you'll need is a 10 mm socket and ratchet or wrench. The common issue with these trucks is the fog lights get wiped out, like this one is here so we'll show you to replace them. The nice thing about these trucks is you don't have to jack them up or anything. I do have this up on a lift just to make it a whole lot easier to video but you're going to look right up underneath. First, you can disconnect your harness, just by pulling up on a little tab right here and then back, and then there's two 10 mm bolts up on top. Let's see if I can get to them. You remove this one here and there's one closer to the outside.
Once you have it unbolted, just push it forward, push this dam forward a little bit and pull it down and out. Obviously here's the one for the truck, a nice new one and it will look a whole lot prettier. I need to get the bolts out of this old one first, just going to use a set of needle nosed pliers and I'm going to pry it up and out and then the next thing is you just want to use your old one to kind of preliminary aim the new one and all's you want to do is measure how far this is and set your new one to the same distance. All's you do is just crank up on this nut here until you kind of are at the same distance, a little bit more. Now you're ready to install. I put my bolt into the new one. Put it into place. Start our bolt here. Put our other bolt up in, just push them down, wiggle them a little bit and then start them in. Then use our wrench. Once it's tight, you can plug it back in and now we can see that the new light works just fine.
We hope this helps you out. Brought to you by 1AAuto.com, your source for quality replacement parts and the best service on the internet. Please feel free to call us toll free 888-844-3393. We're the company that's here for you on the internet and in person.
Shop Products
How to Replace Fog Light Lens 2014-17 Subaru Crosstrek
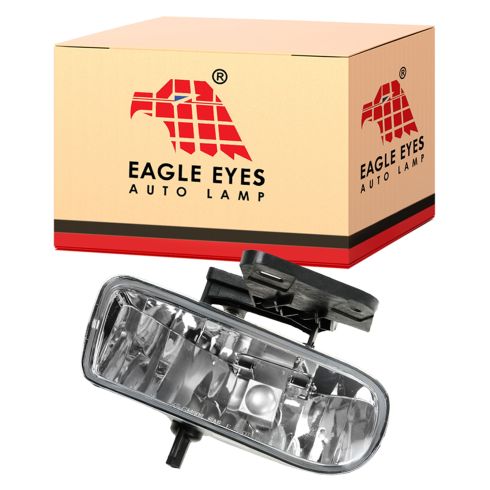
New Fog / Driving Light from 1AAuto.com How to install, repair, fix, change, or replace a broken, damaged, burned out, cracked, faded, cloudy or chipped fog light on 14 Subaru Crosstrek
