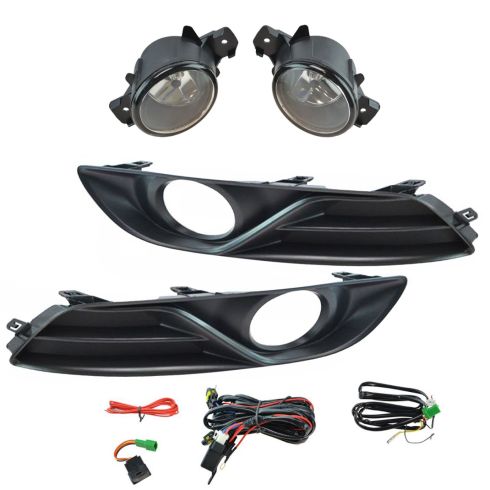
How to Replace Fog Lights 2013-19 Nissan Sentra
Created on: 2020-04-03
Watch this video to learn how to install new fog lights on your 2013-19 Nissan Sentra.
Tools needed
-
21mm Socket
Push Pin Pliers
10mm Socket
Ratchet
1/2 Inch Impact Gun
I'm going to remove this wheel. I'll use a 21-millimeter socket. Take the wheel off. I'm going to remove some of these push pins. There's one there, one there, and these three over here. Take those out. Use a trim tool or push pin tool. Take these push pins out right here. Use a trim tool, and do the same on the other side. And there's four bolts. Take these out. Use a 10-millimeter socket, and just take this panel down. All right. There's a push pin right here. Take this one out, and then take these three bolts out with a 10-millimeter socket, and then we'll just take this panel and pull it back. Pull it out of the way. And up here, you want to disconnect the electrical connector. There's a tab on the top of it. Just try to pull it out, and then slide the connector down right there. Now, there's two bolts, one there, and one on the other side. Take those two bolts out. Use a 10-millimeter socket. Let me get that last one out. Grab the assembly and just slide it out. And take a new bulb, put it in the fog light assembly, and lock it in place. And if you need to adjust them afterwards, the adjustment is right here. So, you're going to want to leave that panel off when you go to adjust these. If you have a long screwdriver, you could actually adjust it from right there. That'll line up all the way up, and take the two 10-millimeter bolts, get those started. One right there, and one right here. Tighten the bolts up. Take the connector, line it up, lock it in place. And now take the inner fender well and line it back up. This piece goes underneath, and it goes on top like that, and then put those bolts back in. And then the push pin goes right here. Now, take this panel, put this back up here, and get the bolts started. It should be four bolts, and put the pushpins in here, right here, and right here, and do the same on the outside. All right. Now, we're going to put these push pins back in. Just line them up. Now, I'm going to put the wheel back on, the lug nuts on, and now I'm going to torque these lug nuts to 83 foot-pounds in a star pattern to tighten the wheel down evenly.
This is going to be a general tutorial on how to aim your brand new TRQ headlamp assemblies. Okay. So, looking at your brand new TRQ headlamp assembly, you're going to see where your low beam is, and you'll see a little dot right in the center. And that is the access point, okay? So, what we're going to do is we're going to mark that with an erasable marker, just so it's easier to see. Next, what we need to do is measure from the level ground up to this point and take note of that measurement. Now, we're just going to pull the car up to our wall. On our vehicle, we remember that the measurement was 28 inches for our access point. Your vehicle may be different, but that's where I'm going to put this tape, just above that 28 inches. We'll do the same on the other side. Okay. So, let's just back the vehicle up straight back 25 feet from the wall. And now that we moved our vehicle 25 feet back from the wall, we're going to start with our measurement here. That's where the headlamp center is. We're going to go down 4 inches on the driver's side. On the passenger side, we have our line here. What we need to do is go down 2 inches. To adjust the driver's side, we're going to cover our passenger side headlamp. If you look at the backside of your headlamp assembly, you're going to see something that looks like this. This is the adjustment. Some of these headlight assemblies have one, two, or even more of them, but you should at least have one. This is how we're going to adjust the headlight beam.
Now, we're going to lower the top part of the beam down to just below this line. When you turn the adjustment to the right, it brings the beam up, and if you turn it to the left, it'll bring the headlight beam down. And this is this way on most vehicles. Let's continue on to doing the passenger side. All right. We properly aligned our TRQ headlamp assemblies. Okay. And on the quality TRQ headlamps for a pickup truck, the procedure is going to be the same. You're going to find your center dot, mark it, and then you'll measure from the level ground up to your dot. So, once your headlamps are properly adjusted, it'll be time to adjust your fog lamps. You'll notice on the driver's side, the focal point is all the way at the bottom right now. I would like to bring it up so it meets up with approximately the bottom of the focal point of the headlight. Some fog lamps have an adjuster, others don't. The ones that do have an adjuster, you would just turn the adjustment to the left or to the right to adjust the beam up and down to where it needs to be. Now with your TRQ headlamps and fog lamps properly aligned, you can drive down the road safely.
Shop Products
How To Replace Fog Lights 2009-16 Mercedes-Benz E350
Fog lights aim low to light up the road ahead when visibility conditions are foggy, rainy, and snowy. Unfortunately, they are also positioned low to the ground, putting them in harm’s way. If your light has become damaged, you can replace it with an engineered to fit TRQ part, and drive with confidence the next time bad weather strikes. How to install a new TRQ fog light on your 2009-16 Mercedes-Benz E350.
