How to Replace Fog Lights 2005-15 Toyota Tacoma
Created on: 2020-04-09
Watch this video to learn how to install new fog lights on your 2005-15 Toyota Tacoma.
So the best way to do this is from underneath the vehicle. From under the vehicle, you have a clear view of what's going on. You have your electrical connector, you have where your adjustment's gonna be. That's gonna come in handy for when we're, you know, aligning the new ones. You're gonna have one of your mounting areas right here, which is basically it has a nub that comes out of the assembly and it goes through this plastic piece. And then the same thing will be located on the other side, in the same area. I like to leave the electrical connector done in so that why there as I'm pushing this out, if it happens to keep going, it won't potentially fall down and hurt me. I'm just gonna try to press right here and you can see, it starts wanting to pop out. I want to do the same thing to the other side. Once it starts breaking free, we're gonna get this off of here and then we'll safely get this out. There is. Awesome. Okay. So now I'm gonna to get the wiring harness off of here. Just give it a little twist, it should break free. There it is. Of course now's a great time to check your fog light bulb. If it looks like it's in good condition, go ahead and reuse it. If it doesn't, it's easy to replace it by removing this tab and drawing the bulb right off.
It's time to get our fog lamp in here. I put the bulb in already. I wanted to show you this right here. This is the adjuster. And then this little nub right here needs to go into the circular area right in the lower portion. These nubs that are on the side would of course go into their corresponding holes right along there as well. I'm just going to get this lined up, hopefully. Make sure you get those ears lined up as well, then just press it in, give it a little bonk like that. Now it's time to connect in the electrical connector. Put it right on there. That looks great. Go ahead and give It a little wiggle, make sure it fits in nice and tight. Awesome.
This is going to be a general tutorial on how to aim your brand new TRQ headlamp assemblies. Okay. So looking at your brand new TRQ headlamp assembly, you're gonna see where your low beam is, and you'll see a little dot right in the center and that is the access point. Okay? So what we're gonna do is we're gonna mark that with an erasable marker, just so it's easier to see. Next what we need to do, is measure from the level ground up to this point and take note of that measurement. Now we're just gonna pull the car up to our wall. On our vehicle we remember that the measurement was 28 inches for our access point. Your vehicle may be different, but that's where I'm gonna put this tape, just above that 28 inches. We'll do the same on the other side. Okay, so let's just back the vehicle up straight back 25 feet from the wall. And now that we moved our vehicle 25 feet back from the wall, we're gonna start with our measurement here. That's where the headlamp center is. We're gonna go down 4 inches on the driver side. On the passenger side, we have our line here. What we need to do go down 2 inches. To adjust the driver side, we're gonna cover our passenger side headlamp. If you look at the backside of your headlamp assembly, you're gonna see something that looks like this. This is the adjustment. Some of these headlight assemblies have one, two, or even more of them, but you should at least have one. This is how we're gonna adjust the headlight beam. Now we're gonna lower the top part of the beam down to just below this line. When you turn the adjustment to the right, it brings the beam up. And if you turn it to the left, it'll bring the headlight beam down. And this is this way on most vehicles. Let's continue on to doing the passenger side. All right, we properly aligned our TRQ headlamp assemblies. Okay, and on the quality TRQ headlamps for a pickup truck, the procedure's gonna be the same. You're gonna find your center dot, mark it and then you'll measure from the level of ground up to your dot.
So once your headlamps are properly adjusted, it'll be time to adjust your fog lamps. You'll notice on the driver side, the focal point is all the way at the bottom right now. I would like to bring it up so it meets up with approximately the bottom of the focal point of the headlight. Some fog lamps have an adjuster, others don't, the ones that do have an adjuster, you would just turn the adjustment to the left or to the right to adjust the beam up and down to where it needs to be. Now with your TRQ headlamps and fog lamps properly aligned you can drive down the road safely.
Shop Products

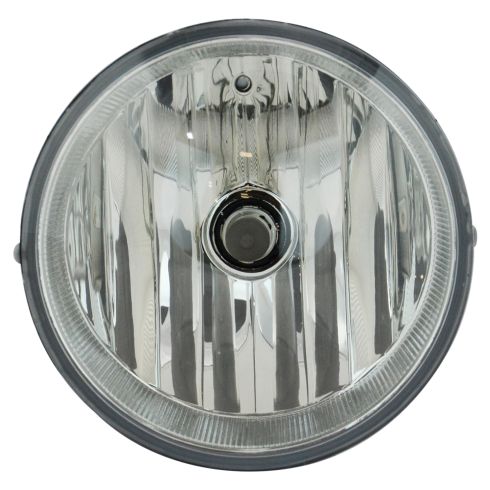
Toyota Sequoia Solara Tacoma Tundra Fog Light TRQ LTA87938
Part Details:
- Features and Benefits
- Round
- Yes
- Yes
- Halogen

How To Replace Fog Light Assembly 2005-09 Audi A4
Learn how to replace the fog light assembly or replace the bulbs on the 05-09 Audi A4 with this how-to video
