How To Replace Driveshaft 2008-20 Nissan Rogue
Created on: 2020-11-18
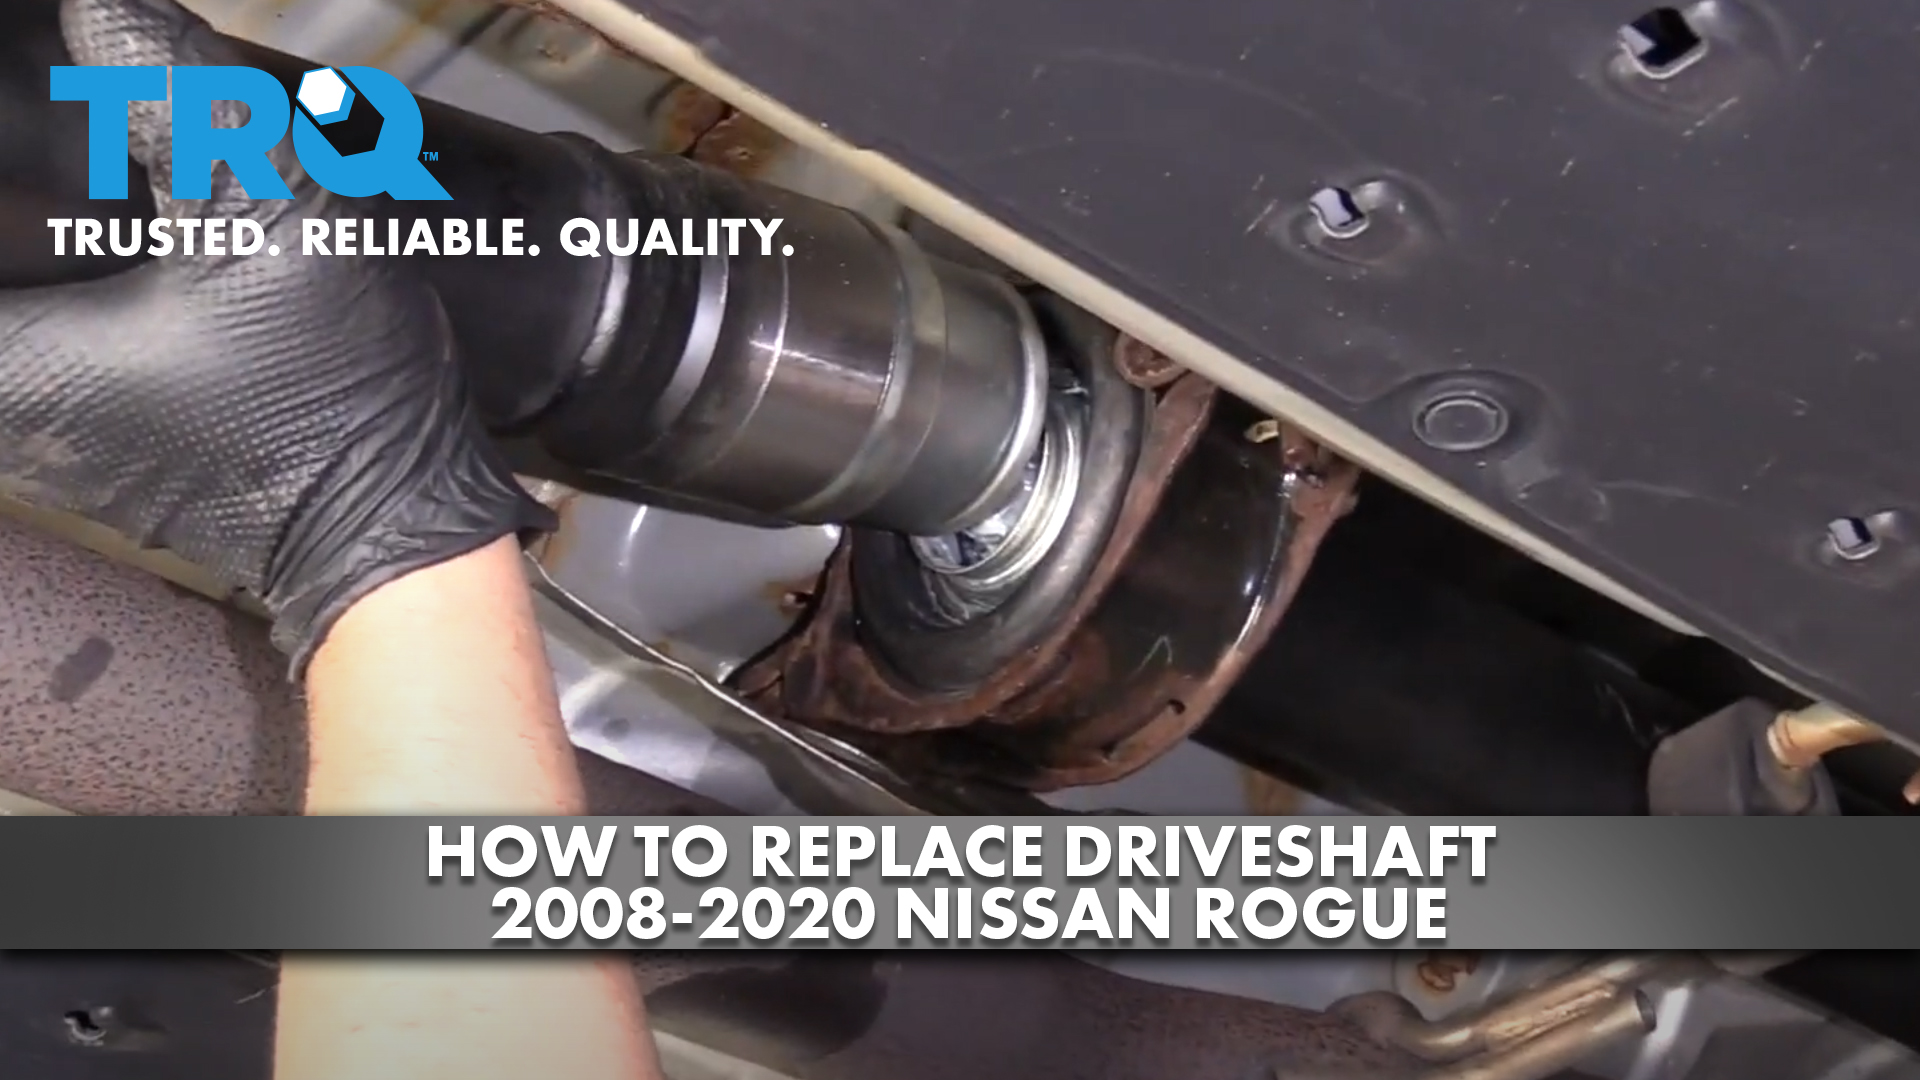
This video shows you how to install a new driveshaft on your 2008-20 Nissan Rogue.
Tools needed
-
14mm Wrench
Torque Wrench
14mm Socket
Flat Blade Screwdriver
Hammer
16mm Socket
Pry Bar
Drill
Swivel
Marker / Writing Utensil
Before I remove the bolts for the rear yoke and also the front yoke, I am gonna take a marker and just mark this driveshaft. Even though we're replacing the driveshaft, just in case you have to put this one back in, you want it centered exactly how it came out. And I'll do the same on the front. I'm gonna take a 14-millimeter wrench, and I am gonna take a pry bar just to keep the driveshaft from spinning, and loosen up the nut on the backside. This bolt should stay centered right up against the side of the yoke. I'm just gonna lock it from spinning. And take these out, and do the same with other three.
Now, with the driveshaft in this location, I was able to get these three nuts and bolts out, but I can't get that top one out. So what we're gonna do is lower the vehicle down, put it in neutral, and then get that top one out. But before I do that, I'm gonna take the lower bolts out of the front part right here, and I'm gonna use a 14-millimeter socket to do that. And now I can rotate this and access this last one. And it's all set. Watch your head. And take this last bolt out up front. Here we go. And just to make sure this is separated from the front, that looks good. So now the only thing attaching this is this mount right here, so I'll take those two mounts out.
Now I'm gonna take a 16-millimeter socket. Now, if you're having trouble getting to this nut in here, you might wanna pull the exhaust down or even move it over to the side a little bit. Looks like we can access it from here and take this one out. And then make sure you support the driveshaft and take this last one out. And then just slide this down. You might have to bend this shield a little bit, and slide it right out.
And now we're gonna swap over this bracket to the new driveshaft. So there's two pins on each side, so just, what you can do is take a screwdriver and a hammer. Just give it a little tap like this. Get that started. Pull that out, and the other one's already out. And this will separate, move it over here. Make sure it's all lined up, and then take these pins and push these back in place. Now, slide the new driveshaft back over that bracket for the exhaust. And get this bracket lined up just like that, and get the nut started. You can bend that heat shield back a little bit. And tighten these down.
Then you can torque these nuts to 33 foot-pounds. All right, now we can line this up and get the bolts started.
And torque these bolts to 36 foot-pounds. You're gonna need to use a pry bar to prevent it from spinning. And get these bolts in on the back, get the nuts started. And if you can get a torque wrench behind here, if you use a crow's foot, you can torque these nuts to 48 foot-pounds.
Shop Products
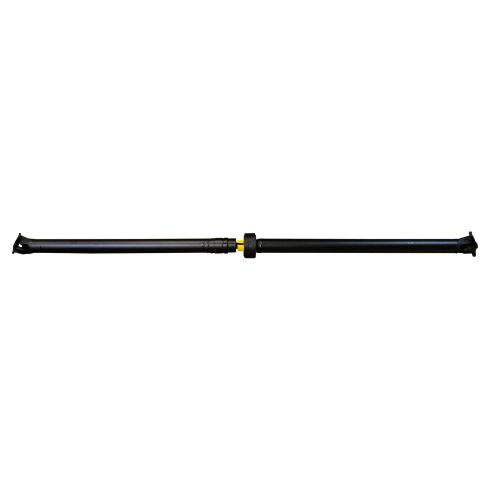
Nissan Rogue Rogue Select Rear Driveshaft TRQ DSA89437
Part Details:
- Highest Quality Materials
- Direct Fit Replacement - Guaranteed to fit and function for your specific application
- Quality Tested - built to a strict level of product standards.

How to Replace Driveshaft Center Bearing 2005-10 Chrysler 300
This video will show the steps needed for removing and installing the exhaust, driveshaft, and center bearing to properly complete this repair
