How to Replace Drivers Side Ignition Coil 1997-99 V8 4-6L Ford F-150
Created on: 2017-06-06
How to repair, install, fix, change or replace a bad or broken ignition coil / coil pack on 97, 98, 99 V8 4.6L Ford F-150
-
step 1 :Removing the Air Filter Box
- Loosen the air intake hose clamp with a flat blade screwdriver
- Disconnect the hose from the air filter box
- Pop out the air filter box
- Put the filter box aside
-
step 2 :Transferring the Ignition Coil Wires
- Hold the new ignition coil pack next to the old ignition coil
- Pop one ignition coil wire off the old coil pack
- Pop the wire onto the corresponding spot on the new coil pack
- Repeat these steps for the remaining three ignition coil wires
- Put the new coil pack aside
-
step 3 :Removing the Ignition Coil
- Disconnect the ignition coil wiring harness
- Remove the four 7mm bolts from the ignition coil
- Pull the ignition coil off the engine
- Pull the ignition coil wiring clip out of the coil
-
step 4 :Installing the Ignition Coil
- Put the new ignition coil into place
- Start the four 7mm bolts into the ignition coil
- Tighten the four 7mm bolts
- Connect the ignition coil wiring harness
-
step 5 :Installing the Air Filter Box
- Connect the air filter box to the hose
- Push the air filter box pins into place
- Tighten the air hose clamp with a flat blade screwdriver
Tools needed
-
Socket Extensions
Flat Blade Screwdriver
7mm Socket
Ratchet
Hi, I'm Mike from 1A Auto. We've been selling auto parts for over 30 years. We're dedicated to delivering quality auto parts, expert customer service, fast and free shipping, all backed by our 100% satisfaction guarantee. Visit us at 1AAuto.com, your trusted source for quality auto parts.
We're going to unscrew the clamp that's holding the air filter box in place, and once it's nice and loose like so, you can lift straight up on the air filter box and it will pop right out. You can see on the bottom it has these two posts that it sits in, and they slide right into these rubber grommets in the body itself. You can just set that aside and get it out of your way wherever it happens to fit. Right there looks like a perfect spot.
You don't want to mix up your coil wires, so what we're going to do is we're going to have the new coil just held here in place, and we'll pull the coil wires off one by one and snap them onto the new coil. That way you don't get them mixed up. Once that's done you can set the coil aside and we'll pull the old coil off.
To disconnect this connector you'll want to take a flat tipped screwdriver and kind of pry it in the upper tab and lean it back, and then you can do the same thing to the bottom and you can see it pops off just like that.
With the connector out of the way you'll use your 7 millimeter socket with an extension to reach the four bolts that hold the coil to the engine. With all four screws loose you should be able to pop it off the engine.
Then this one has the extra little device on here that you'll need to undo to get the coil out of the way.
Now you can pull your new coil right into place. Put this bottom screw in first, then you can do the other four as well and start threading them in by hand. With all four screws loosely started by hand, then you can go in with your 7 millimeter ratchet and extension and socket, and tighten them up.
Now we'll connect the connector on the side of the coil. All you have to do for that is push it right in and it will snap right into place.
Now you can take your air filter box and put it right back into place. Slide it in this end first, and then on the bottom you've got these two pins that you can push down into the body. Once it's connected at the body you can use your flat tipped screwdriver to tighten the hose clamp.
Thanks for watching. Visit us at 1AAuto.com for quality auto parts, fast and free shipping, and the best customer service in the industry.
Shop Products


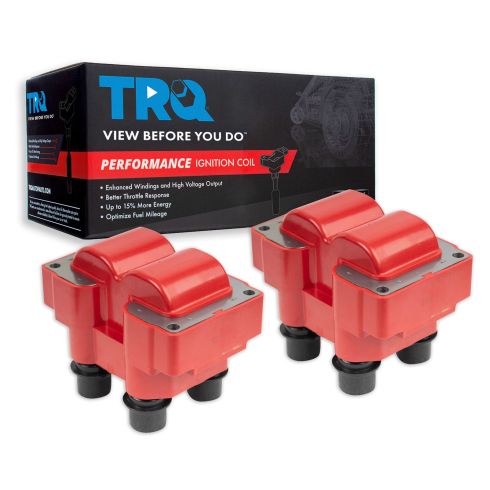
Ford Lincoln Mercury 2 Piece Ignition Coil Set TRQ Performance ICA33925
Part Details:
- 2 Piece
- Performance
- Red
- Performance
- (2) Performance Ignition Coils

How to Replace Ignition Coils 2007-09 Honda CR-V
How to repair, install, fix, change or replace a bad or broken ignition coil / coil pack on 07, 08, 09 Honda CR-V
