How to Replace Downstream O2 Sensor 2005-10 Chrysler 300
Created on: 2016-12-20
This video shows you how to replace the downstream oxygen sensor on your 05-10 Chrysler 300. 1A Auto shows you how.
-
step 1 :Removing the Oxygen (O2) Sensor
- Raise and secure the vehicle
- Disconnect the oxygen sensor wiring harness
- Remove the O2 sensor with a 22mm wrench
- Tap the wrench with a hammer if necessary to loosen the sensor
-
step 2 :Installing the New O2 Sensor
- Take off the shipping cap
- Twist the new O2 sensor into place
- Tighten the O2 sensor with a 22mm wrench
- Connect the O2 sensor wiring harness
- Lower the vehicle to the ground
- Disconnect the negative battery cable to clear diagnostic trouble codes
- Reconnect the negative battery cable
Tools needed
-
Hammer
Jack Stands
22mm Wrench
Floor Jack
Hi, I'm Mike from 1A Auto. We're dedicated to delivering quality auto parts, expert customer service, fast and free shipping, all backed by our 100% satisfaction guarantee. Visit us at 1AAuto.com, your trusted source for quality auto parts.
In this video, we're going to be working with our 2006 Chrysler 300 3.5 liter. We're going to show you how to remove and replace the rear or downstream O2 sensor. We replaced the one on the passenger side, however this process will be the same for the driver side, as well as for the 2.7 liter V6s. If you like this video, please click subscribe. We have a ton more information on this car as well as many other makes and models and if you need this part for your vehicle, you can follow the link down in the description over to 1AAuto.com. Here are the items you'll need for this repair.
The downstream or rear O2 sensor on your Chrysler 300 is located here, just behind this catalytic converter on the exhaust. Follow the sensor over, push down, and release the electrical connector. You can remove this O2 sensor with a 22 millimeter wrench. Now I find the best way to remove these, because they can be pretty stubborn is to do this when the exhaust is hot. Be careful not to touch the pipe. You may have to tap that wrench on there a little to get it to bite. Tapping the end can help shock that sensor loose, and make it a lot easier to remove. Once you've got it cracked loose remove it the rest of the way with your 22 millimeter wrench.
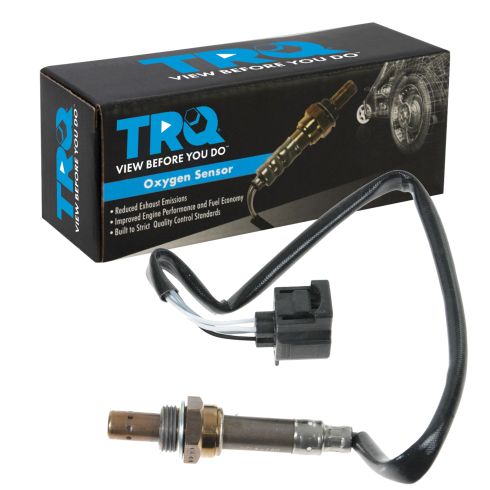
Here we have our old part that we removed from our vehicle, and our new part from 1AAuto.com. As you can see, these parts are exactly the same. We have a nice new harness on ours, a little bit longer wire to make sure that it fits this application without stretching that wire out and making it tight and damaging it. On the end, we have this little cap which keeps dirt and debris out of that during shipping, as well as keeps that anti-seize on the threads, which comes right from the factory. Meaning when we thread this in, it won't get locked in there should we ever have to remove it again.
What your downstream or rear O2 sensor does is reads the exhaust gases coming out of the backside of your catalytic converter. This ensures that the catalytic converter is processing those harmful emissions gasses properly, and sending a cleaner, acceptable emission out of the tailpipe. So if you have a check engine light for a bad rear O2 sensor, or if you have one for a bad catalytic converter, these can also give a false reading, making that catalytic converter appear to go bad. This new sensor from 1AAuto is going to go in direct fit, just like your original equipment, and fix you up right.
Install your new O2 sensor into the bung on the pipe, get those threads started. Make sure that you keep the pigtail for the wiring harness out of the way so it doesn't get stuck in there. Once you get it started, go ahead and tighten it back down until it seals with a 22 millimeter wrench. Reconnect the electrical connector.
If your vehicle had any codes, disconnect the negative side of the battery and allow it to sit for a few hours, or use a scan tool or local repair shop to clear that check engine light and you’re good to go.
Thanks for watching. Visit us at 1AAuto.com for quality auto parts, fast and free shipping, and the best customer service in the industry.
Shop Products
Dodge Chrysler O2 Oxygen Sensor TRQ OSA61203
Part Details:
- Quality Tested - built to a strict level of product standards.
- Square
- Female
- M18x1.5-6e
- 20.08 in
- 22 mm
- Specific
- 4
- 18 mm
- Threaded
- 4
- 15.55 in
- Female
- Thimble
- Standard Replacement
- 510 mm
- 395 mm
- Pressure Contact
- 0.87 in
- 0.71 in
- Narrow-Band
- Yes

How to Replace O2 Oxygen Sensor 2002-13 Toyota Camry
How to remove, install, change or replace an oxygen O2 sensor on 02, 03, 04, 05, 06, 07, 08, 09, 10, 11, 12, 13 Toyota Camry
