1A Auto Video Library
Our how-to videos have helped repair over 100 million vehicles.
Enter Vehicle Year Make Model

Specify your vehicle's year, make and model to guarantee fit.

Year
Make
Model
Options
Drivetrain

How to Replace Downstream O2 Oxygen Sensor 2014-2019 Toyota Corolla 18L

Created on: 2025-08-07

This video shows you how to install new TRQ oxygen sensors on your 2014-2019 Toyota Corolla 1.8L.

Tools needed

  • Torque Wrench

    Gloves

    O2 Sensor Socket

    Jack Stands

    Wheel Chocks

    Wire Ties

    Ratchet

    Floor Jack

    Wire Cutters

    Trim Tool Set

    Safety Glasses

    Pocket Screwdriver

2014 - 2019  Toyota  Corolla
2004 - 2004  Toyota  Camry
2003 - 2003  Toyota  Solara
2003 - 2003  Toyota  Camry
2001 - 2001  Toyota  Solara
2000 - 2001  Toyota  Camry
1999 - 2001  Toyota  Solara
1999 - 2003  Toyota  Solara
1999 - 2000  Toyota  Camry
2005 - 2006  Toyota  Camry
1999 - 2001  Lexus  ES300
1998 - 2005  Lexus  GS300
1997 - 1999  Toyota  Camry
1997 - 2001  Toyota  Camry
1997 - 1998  Lexus  ES300
1996 - 2000  Lexus  SC400
1995 - 2000  Lexus  LS400

O2 Oxygen Sensor

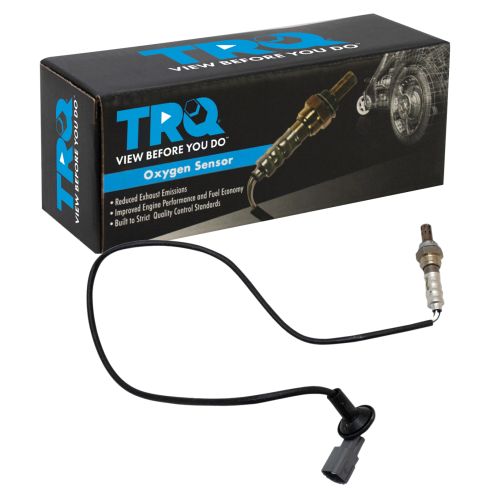
Toyota Lexus O2 Oxygen Sensor TRQ OSA61717

Part Details:

  • 32.68 in
  • Square
  • M18x1.5-6e
  • 22 mm
  • Specific
  • 4
  • 18 mm
  • Threaded
  • 4
  • 27.8 in
  • 830 mm
  • 706 mm
  • Male
  • Male
  • Thimble
  • Standard Replacement
  • Blade
  • 0.87 in
  • 0.71 in
  • Narrow-Band
  • Yes
$47.95
recommended video

How to Replace O2 Oxygen Sensor 1997-2003 Buick LeSabre

Check engine light on? Find out how to replace a bad upstream oxygen (O2) sensor before the catalytic converter with this how-to video

Share on:
Go To Top

Same Day Shipping

Need your part faster? Choose expedited shipping at checkout.

Guaranteed To Fit

Highest quality, direct fit replacement auto parts enforced to the strictest product standards.

USA Customer Support

Exceeding customers' expectations, our team of passionate auto enthusiasts are here to help.

Instructional Video Library

Thousands of how-to auto repair videos to guide you step-by-step through your repair.