How to Replace Blower Motor Resistor 1995-2004 Honda Odyssey
Created on: 2013-02-15
If the blower motor resistor needs to be replaced, watch this video to learn how to easily do it yourself!
-
step 1 :Removing the Side Panel
- Remove the trim button near the rear compartment with a flat blade screwdriver
- Remove the Phillips screw beneath the trim button
- Pry off the plastic trim from the latch hook
- Remove the 12mm bolt from the latch hook
- Pry out on each side from the lower panel
- Pull the panel up and out
- Remove the trim piece on the side panel
- Remove the Phillips screw beneath the trim piece
- Pry out the side panel with a flat blade screwdriver
-
step 2 :Removing the Rear Blower Motor
- Remove the six 10mm bolts from the rear blower motor
- Remove the blower motor
- Disconnect the wiring harness
-
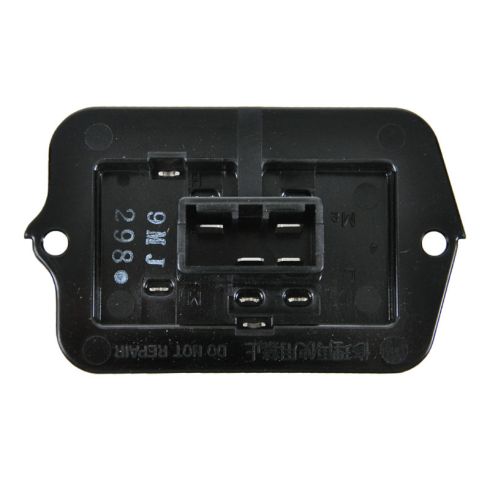
step 3 :Removing the Blower Motor Resistor
- Disconnect the resistor wiring harness
- Remove the two Phillips screws from the resistor
- Remove the resistor
-
step 4 :Installing the New Blower Motor Resistor
- Insert the resistor into the blower motor
- Replace the two Phillips screws
- Connect the resistor wiring harness
-
step 5 :Reinstalling the Rear Blower Motor
- Connect the wiring harness
- Insert the blower motor into place
- Insert the six 10mm bolts to the blower motor
-
step 6 :Reinstalling the Side Panel
- Push the side panel in place
- Insert the Phillips screw to the side panel
- Push on the trim piece to the side panel
- Insert the lower panel into place
- Insert the 12mm bolt to the latch hook
- Insert the Phillips screw to the lower panel
- Push on the trim piece to the lower panel
- Push on the trim piece to the latch hook
Tools needed
-
12mm Socket
Socket Extensions
Flat Blade Screwdriver
Phillips Head Screwdriver
10mm Socket
Ratchet
Brought to you by 1AAuto.com, your source for quality replacement parts and the best service on the Internet.
Hi, I'm Mike from 1A Auto. I hope this how-to video helps you out, and next time you need parts for your vehicle, think of 1AAuto.com. Thanks.
In this video, we're going to show you how to replace a rear fan blower resistor. If on your rear A/C and heat you've lost some control of a fan, maybe it works on the number one setting or the number four setting but it doesn't work in the in-between settings, then you'll need to replace this part. It's pretty easy. You'll need a small flat blade screwdriver, a Phillips screwdriver, and a socket and ratchet with 10mm and 12mm sockets.
There's a small hook down low near your rear compartment for the cargo net. You need to use a small screwdriver to pry off the little cap that you'll see. Then use a Phillips screwdriver to remove the screw. In the center is your latch hook. Use a small screwdriver to pry off the little plastic trim panel, and then a 12mm socket or a wrench to remove the bolt that holds that in.
Now, on this lower panel you want to pull out on each side. Then pull it up and just move it out of the way and to the side. There's another little trim hook. Use a small flat blade screwdriver to remove the little trim door and a Phillips screwdriver to remove the screw. Then carefully pry out on your panel. There are a few pins and clips that hold it in place. As you pull the panel back you can see the rear blower motor.
There are six bolts to remove. We've got one here, one here, one here, one here, one here, and that one. We're going to speed up as we remove those six bolts. Use a 10mm socket with a ratchet and extension. Reach back here and unplug this. Then we have the blower motor resistor. On both the connections the green one we did before and this one, there's a little tab that you just press with your finger and then work the connector out. Now just use a Phillip's screwdriver to remove the two screws that hold in the resistor.
Here's the new resistor from 1A Auto. Wow, it fits right in. Okay speed up here as we go to bolt it back in. Obviously, you make sure you remember to plug the resistor back in, plug the fan motor assembly itself back in as you put it in, get it into place correctly, and then start your six bolts. In a second we'll do a quick test. It's working great. With a successful test, we'll start putting the side panel back in place.
Attach all the clips first. Put that screw in up top. Get the lower panel down in. You push it down first, then lock the pins on the side. Put that latch hook back on with your 12mm socket. Hold it in place with a screwdriver if you have to. Phillips screwdriver to put the last hook back on.
We hope this video helps you out. Brought to you by www.1AAuto.com, your source for quality replacement parts and the best service on the Internet. Please feel free to call us toll-free, 888-844-3393. We're the company that's here for you on the Internet and in person.
Shop Products
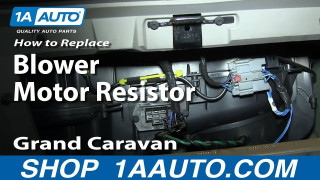
How To Replace Blower Motor Resistor 2001-03 Dodge Grand Caravan
How to repair, install, fix, change or replace a bad or broken blower motor fan speed resistoron Dodge Grand Caravan, Plymouth Voyager, and Chrysler Town & Country
