How to Replace Blower Motor 2004-08 Ford F-150
Created on: 2020-08-03
This video shows you how to install a new blower motor in your 2004-08 Ford F-150.
Tools needed
-
Flat Blade Screwdriver
8mm Wrench
8mm Socket
Ratchet
Okay, friends. To get started on this blower motor, we're gonna come underneath the passenger side, right behind that glovebox. You're gonna be able to see your blower motor. We're gonna remove the three bolts that hold it in and then I'm gonna do the wiring harness only because it's a little bit hard to get to. So, if you follow this, you can see where the wiring harness goes and it's all the way back here. It's a little bit hard to get off. So, if you remove your mounting bolt here, here and then the one that's over on the passenger side right there, we'll be able to draw this down and then we'll remove the wiring harness at that point. I'm just gonna start by loosening this one. The easiest way to get to your far inward bolt is with a nice ratcheting wrench. That's gonna be the easiest way because trying to fit a socket with a ratchet, obviously, there's very minimal space and if you're just using a regular old wrench, you're gonna have to go on, turn it, take it off, on, turn it, take off. Ratchet wrench is the way to go. Okay, there's that one. I already have all these loose at this point so I'm just gonna go ahead and take them out by hand. That one could use a couple more turns real quick. There we are. Then we'll just grab the blower motor. We should be able to pull it down. You're gonna kinda have to come down and at an angle and just try to help it out. Well, while we're at this point, you can see the area for the electrical right here. If you use a nice flat screwdriver, usually you can come right from the center and you can lift both tabs at the same time and then draw this away. Sometimes you'll notice that one tab's broken or maybe the center part's broken so you'll have a harder time. But basically, just get it off of there. There we are. Take a peek. Make sure you don't see any funny colors. There it is, friends. All right. Let's get started on installing our brand-new blower motor. First, what I always like to do is get the wiring out of the way. Last thing I wanna do is get a snag and potentially damage anything. Let's get our blower motor. We're gonna carefully slide it up. We don't wanna damage the cage by making it oblong or anything like that. So just be as careful as you can and just try to get it up and in there. There we are. Let's start in all three of our screws and then we'll bottom them out and snug them up. Okay, that one's definitely snug. Just doublecheck these. Snug. Awesome. Let's get this reconnected. Slide it in. Listen for a click. Give it a nice wiggle. Make sure it's 100% secure and make sure your cable is not dangling down where it could get stuck on anybody's feet. This looks good. Let's give it a test. All right. I can hear the blower motor on level one. Two. Three. Oh, yeah. And it works on high. This is perfect.
Shop Products


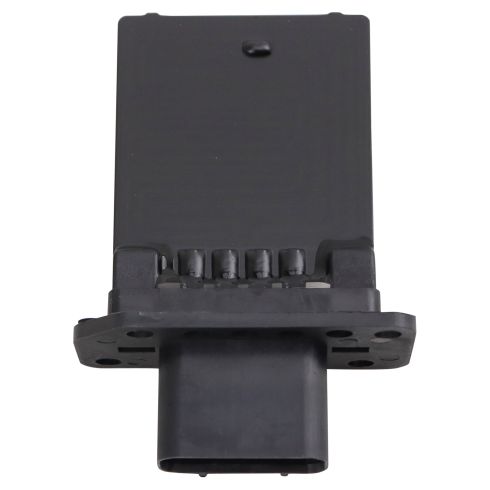
Ford F150 Lincoln Mark LT HVAC Blower Motor Kit TRQ HMA80256
Part Details:
- Highest Quality Materials
- Quality Tested - built to a strict level of product standards.
- (1) HVAC Blower Motor Assembly
- (1) Blower Motor Resistor

How to Replace Blower Motor w Fan Cage 2001-07 Toyota Sequoia
Watch this video to learn how to replace the blower motor in your 01-07 Toyota Sequoia. 1A Auto experts show you how to do it yourself and save money!
