How to Remove Rear View Mirror 1994-2002 Dodge Ram 1500
Created on: 2019-09-06
If the rear view mirror is cracked or broken, this video will show you how to do this easy repair yourself
-
step 1 :Removing the Rear View Mirror
- Remove the Phillips screw from the rear view mirror
- Slide the mirror off
-
step 2 :Installing the Rear View Mirror
- Slide the mirror on
- Tighten the Phillips screw to the rear view mirror
Hey friends, it's Len here at 1A Auto. Today I'm going to be working on our 1996 Dodge Ram 1500. I want to show you something fairly basic: removing and reinstalling the rear view mirror. To do that, I'm going to use a Phillips head screw, or a screwdriver. I have an electronic one, but you can use a handheld one, that's fine. Take that out of there. There's our little screw. It's pretty much just a set screw, really. Grab this, and straight out, and there it is. Easy peasy.
So now, to reinstall, you just take it, slide it down into the little beveled area, okay? Take our little screw, make sure it's snug and your mirror can't come off. That's it. Easy peasy.
Thanks for watching. Visit 1aauto.com, your place for DIY auto repairs, for great parts, great service, and more content.
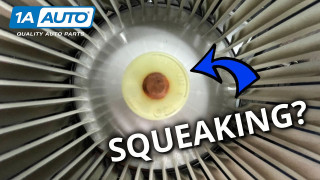
Squealing Vent Noise in Your Car or Truck How to Check Blower Motors
Andy shows you the difference between an old blower motor with a worn bearing, and a brand new blower motor, to see how and old one can make that awful noise.
