1A Auto Video Library
Our how-to videos have helped repair over 100 million vehicles.
How to Remove Front Door Panel 2014-19 Chevy Silverado
Created on: 2019-04-09
How to replace the front door panel on 14, 15, 16, 17, 18, 19 Chevy Silverado
-
step 1 :Removing the Front Door Panel
- Turn off the dome light
- Remove the trim door behind the door handle with a pick
- Remove the trim door from the door pull with a pick
- Pull out the trim panel along the door pull and master switch panel
- Remove the six 7mm bolts: two from the door pull; one from the door handle; one beside the master switch; and two along the bottom of the door panel
- Release the door panel from its clips by pulling straight out
- Lift the door panel from the door lock rod
- Pull the door cable back, around, and out
- Disconnect the master switch wiring harness
- If the weatherstrip removed with the door panel, pull the stripping back, pry down on the clip, and pull the weatherstrip back
- Pry out each clip from either end of the door trim
- Remove the trim around the window
-
step 2 :Installing the Front Door Panel
- If needed, insert the weatherstrip clips to the door
- Press the weatherstrip on
- Connect the wiring harness
- Insert the window trim into place
- Press the clips in to the window trim
- Place the weatherstripping over the window trim
- Connect the door handle cable
- Connect the master switch panel wiring harness
- Insert the door panel into place
- Press in the door panel clips
- Tighten the six 7mm bolts: Remove the six 7mm bolts: two from the door pull; one from the door handle; one beside the master switch; and two along the bottom of the door panel
- Press on the trim panel along the door pull and master switch panel
- Replace the trim door in the door pull
- Replace the trim door behind the door handle
Tools needed
-
Socket Extensions
7mm Socket
Ratchet
Trim Tool Set
Pick
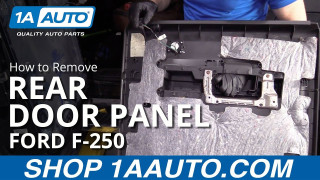
How to Remove Rear Door Panel 2011-16 Ford F250
Watch this video to learn how to replace a rear door panel on your 11-16 Ford F250. You can do it, and 1A Auto will show you how!
Go To Top
