How To Install Replace Headlight Pontiac Sunfire 1995-2002 1A Auto
Created on: 2010-05-28
Watch this video to learn how to replace and service the headlight assembly and bulbs on your 95-02 Pontiac Sunfire.
-
step 1 :Handling the Bulbs
- Note: DO NOT TOUCH the bulbs- the oil from your fingers will burn into the light and foul your bulb.
- Clean with rubbing alcohol and a soft cloth if the bulbs do get touched.
-
step 2 :Remove the old head light assembly
- Pop the hood and secure it.
- Remove the plastic cover over the head light assembly by pulling out the 6 push clips anchoring it.
- Unbolt the two 13 mm bolts securing the head light assembly, taking care not to lose the washers.
- Unplug the bulbs and harness.
-
step 3 :Install the new head light assembly
- Plug in your bulbs, replacing them with new ones if necessary.
- Reconnect the harness by clipping it in.
- Line up the head light assembly and clip it into place.
- Bolt in the two 13 mm bolts, remembering to replace the washers.
- Put the plastic cover back on and clip in the push clips.
- Close the hood and enjoy your new 1A Auto headlights.
Tools needed
-
13mm Wrench
Flat Blade Screwdriver
Brought to you by 1aauto.com. Your source for quality replacement parts and the best service on the Internet.
Hi, I'm Mike Green. I'm one of the owners of 1A Auto. I want to help you save time and money repairing and maintaining your vehicle. I'm going to use my 20 plus years experience restoring and repairing cars and trucks like this to show you the correct way to install parts from 1aauto.com. The right parts installed correctly. That's going to save you time and money. Thank you, and enjoy the video.
In this video, we're going to show you headlight replacement on this 1997 Pontiac Sunfire, same as any '95 to '02 Sunfire. Okay, we're replacing the headlight on the Sunfire. It's pretty easy. You need a 13mm wrench and a regular screwdriver.
Your first step is you have to remove this classic panel, and it's held in by a bunch of clips. There's one here, here, there should be one there, another one there, and then one over here, and one right here. As you can see, this car is missing some of those clips, but you basically just take your screwdriver, and pry up the plastic pin, and then the clip comes out. You can see it's just a little pin that this locks down into. I'll take apart the rest of those pins, and we'll get back to it.
Once you've got the clips out, then this kind of comes out, then you're going to rotate it up, and pull it right out. Now there's two 13mm bolts right here and here. You can easily get to these with just a regular wrench. I'm actually going to use, I'm going to cheat a little bit here and use an air ratchet. When you're taking these bolts out, just pay attention because you might have little spacers underneath the lights, and you want to make sure you put those back when you're putting the light back together. Once those bolts are out, you just lift the light up a little bit, and it comes right out. Here's your connector.
If all's you're looking to do is change the headlight bulbs, you have to pull the headlights out because you can't get back in here with your hands, but you can disconnect your connector by just kind of pulling on it. If you want to just change a headlight bulb, you take this off, then there's your bulb, and then put it back in and turn the [ring 03:15], walk it. This is the original headlight. The new headlight from 1A Auto. Everything's the same; all the mounting points are all the same. Obviously this headlight just looks a whole lot nicer, clearer, and shinier, and obviously, if you've been in an accident or had a small altercation, the nice new light's going to a lot better than a broken light.
When you're getting ready to replace the light, you want to make sure this tab gets into this slot, right here. Plug the light in, and then kind of put it back in. You can actually see down, you can see down right through this little slot here, and just kind of goes right in like that. It's pretty easy. It's just something to make sure of. We got our spacer back in here. We'll put it back in where it was. A word about these bolts: they're shouldered, so you want to start them down in, and make sure when you're tightening them up, you don't pinch the plastic of the light. You want to make sure that you kind of shake the light as you're tightening them up to make sure the shoulder goes down into the hole in the plastic of the light.
Then you want to tighten them up. They don't have to be extremely tight, but you want them snug. Then do a quick test. Then lastly, take your plastic bezel here, push it down in. The sides go down in. Then you put your pins in. Push the pin in first, and then lock it down.
We hope this helps you out. Brought to you by www.1AAuto.com, your source for quality replacement parts and the best service on the Internet. Please feel free to call us toll-free, 888-844-3393. We're the company that's here for you on the Internet and in person.
Shop Products
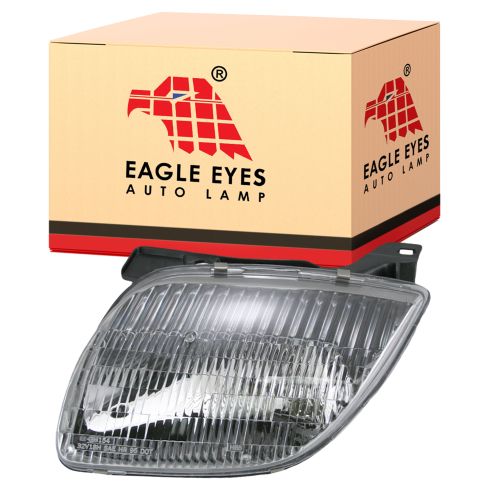
1995-02 Pontiac Sunfire Driver Side Headlight Assembly Eagle Eyes GM154-B001L
Part Details:
- Features and Benefits
- PC (Polycarbonate)

How to Replace Headlights and Bulbs 2000-04 Toyota Tundra
Does your 00-04 Toyota Tundra have dim headlights? Change the bulbs, or replace the headlights. Learn how to do both in this video from 1A Auto!
