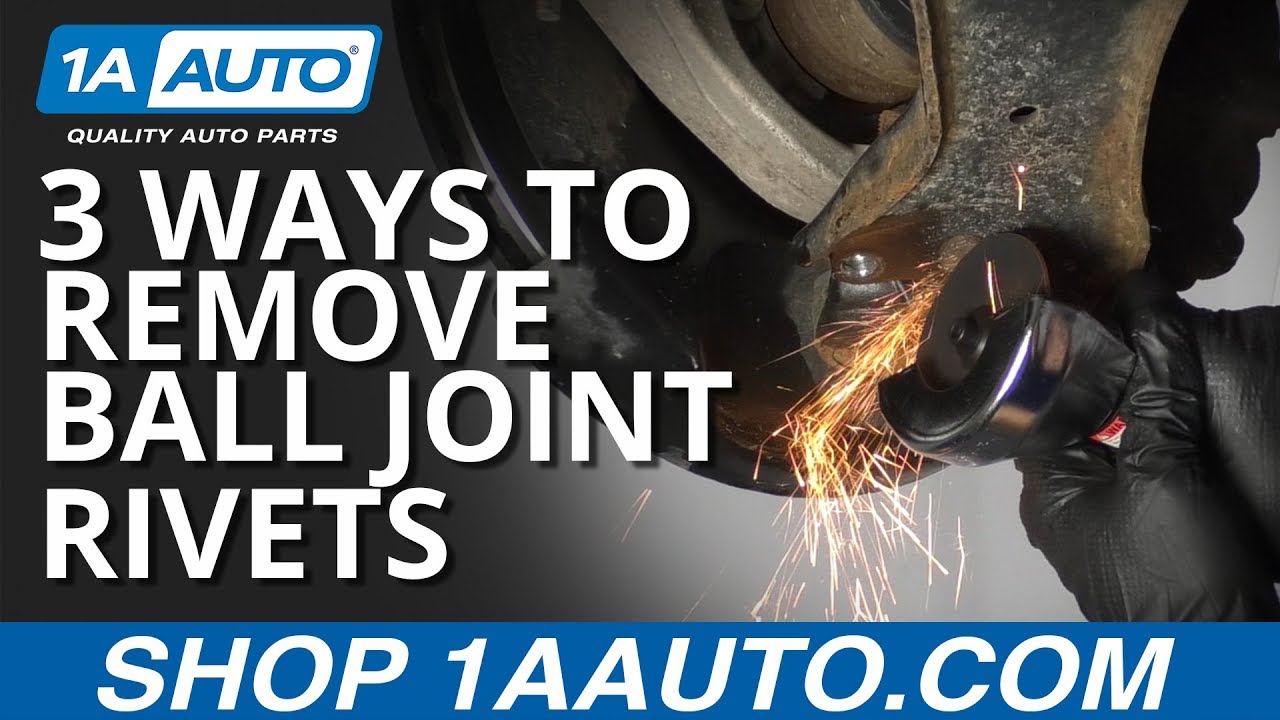
3 Ways to Remove Ball Joint Rivets
Created on: 2019-07-10
Check out this video that shows you different ways you can remove riveted ball joints from your vehicle!
-
step 1 :Drill Method
- Average time: 10 minutes
- Drill the center of the rivet
- Use lubricant to prevent the bit from overheating and dulling
- Gradually increase drill bit diameter
- Hammer the center of the rivet with a punch
- Repeat until the rivet head separates
-
step 2 :Cutting Method
- Average time: 5 minutes
- Using an angle grinder or cutoff wheel, cut away at the head of the rivet until it can be punched out
-
step 3 :Cutting and Air Chiseling Method
- Average time: 1-2 Minutes
- Using an angle grinder or cutoff wheel, cut an X in the rivet head
- Chisel the rivet head off from the side using an air chisel
- Punch the rivet out
Tools needed
-
Cutoff Wheel
Air Chisel
Hammer
Drill Bit Set
Rust Penetrant
Center Punch
Drill
What's up guys? I'm Andy from 1A Auto. In this video I'm going to show you three different methods on how to remove these lower ball joint rivets. If you need parts for your vehicle, click the link in the description and head over to 1AAuto.com
This ball joint is riveted in. It's never been replaced before so I'm going to show you three different methods on how to remove those rivets.
The first one, I'm going to drill it out with an eight millimeter drill using a drill, electric drill. You could also use an air drill. Make sure you wear your safety glasses and ear protection. I'm going to start right in the middle. If the rivet itself doesn't have a little area where it's indented, then you might want to use a center punch and punch it so you get a good starting spot. If the drill bit's getting hot, you're going to want to lubricate the drill bit a little bit. You could also use some grease. I'm just using a little rust penetrant.
At this point, it made it about half way through. I'm just going to take a punch and a hammer and just try to see if I can break it the rest of the way. All right, it seems like I have to drill some more. I'm just going to move up to a bigger size drill bit. Keeping the drill bit cool. Now I'm going to try the punch again. Going to go up another drill bit size. Now I'll use the punch again. Now I'm going to go up a size again. All right, I'm going to up a size again. I'm just trying to be able to drill this head off. Once that head comes off then I'll be able to get that one out. Try the punch again. There we go, finally.
All right, we finally got it out. I just kept stepping up drill bit size. I started with an eight millimeter size and ended up with a 15/32 bit size. Finally got that off so that's good. Now I'm going to move onto the next one.
For the next one, I'm going to use a cutting wheel and cut it off. You want to be careful of not to get too close to the lower control arm. We can scuff it up a little bit but you don't want to dig into it too deeply. That's how I'm going to take this one off. Use my ear protection and safety glasses. You can see a little ring around the area of it. There we go. That looks pretty much all set. Got most of that head off. I did scuff it up a little bit but that's okay, that's not going to cause any damage. You just don't want to go too deep. And now we're going to move onto this one.
For the next method I'm going to use a combination of an air chisel and the cutoff wheel. I'm going to make an X on the bottom of that rivet and then I'm going to air chisel it off. Now I'm going to use the air chisel. It was that quick. Now I could have tried to air chisel it without making the X with the grinder. It's just guaranteed if I make the X it comes off real quick. There's that. Now I can just take a punch and punch them through.
There we go. Just watch your fingers when you're doing this. It's all loose. Now I can grab the control arm. This may be difficult you might need to use a pry bar. Just pry it right here. Slide that out. You can just take a hammer and just tap on the ball joint. Pry this out. Just watch your fingers. Comes right out.
There's three different methods on how to take these rivets out for the lower ball joint. I personally like the last method the best. I feel like the drilling method takes way too long. The grinding method, it works but it still takes a long time. The air chisel is my favorite method. Hope this video helped you out.
Thanks for watching. Visit 1AAuto.com, your place for DIY auto repairs, for great parts, great service and more content.

Can Peanut Butter Really Restore Faded Plastic on Your Car Truck SUV
In this video Andy tests three different ways to restore weathered plastics
