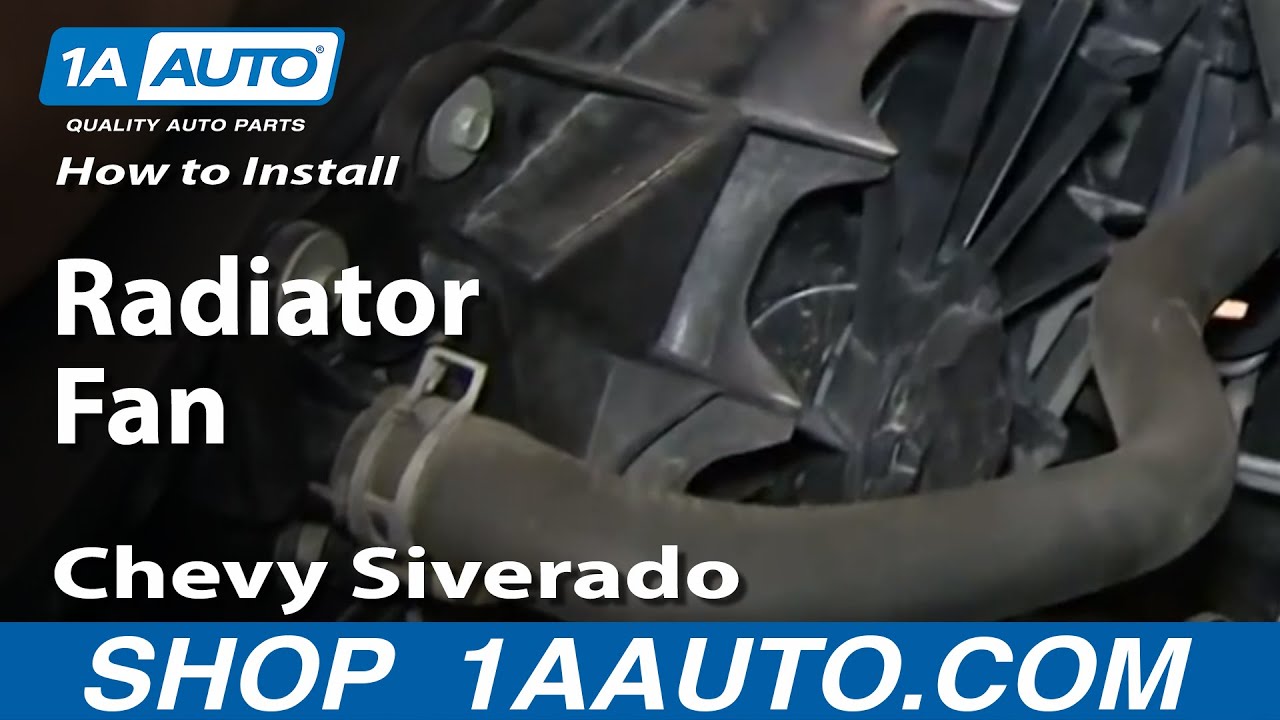
How to Replace Radiator Cooling Fan Assembly 2007-13 Chevy Silverado 1500
Created on: 2013-09-30
If the radiator cooling fan is broken or malfunctioning, watch this video and learn how to do it yourself
-
step 1 :Removing the Radiator Fan
- Remove the three clips on the radiator fan with a flat blade screwdriver
- Disconnect the two radiator fan wiring harnesses
- Remove the two 13mm bolts from the top of the radiator fan
- Remove the two 10mm bolts from the radiator bracket
- Remove the rubber grommet from the radiator metal lining
- Remove the clip from the lining with a flat blade screwdriver
- Disconnect the lining
- Remove the radiator fan
-
step 2 :Preparing the Radiator Fan
- Remove any remaining clips with a pair of pliers and swap them to the new fan
- Swap over the metal clippings to the new fan
-
step 3 :Reinstalling the Radiator Fan
- Insert the radiator fan so it's resting on the support tabs
- Connect the metal lining in place
- Connect the metal clip
- Press on the rubber grommet
- Clip the lines into the radiator fan
- Connect the radiator fan wiring harnesses
- Insert the two 10mm bolts to the fan
- Insert the two 13mm bolts to the top of the fan
- Replace the two clips to the fan
Tools needed
-
13mm Socket
Socket Extensions
Flat Blade Screwdriver
10mm Socket
Ratchet
Needle nose pliers
Brought to you by 1AAuto.com, your source for quality replacement parts and the best service on the Internet.
Hi, I'm Mike from 1A Auto. I hope this how-to video helps you out, and next time you need parts for your vehicle, think of 1AAuto.com. Thanks.
In this video, we're going to show you how to replace the radiator cooling fan on this 2011 Chevy Silverado 1500. It's the same process on a large variety of GM trucks and SUVs from 2007 to 2012. You'll need a new radiator fan from 1A Auto.
Now the first thing that you want to do is in behind the radiator cooling fan there's this clip right here you want to remove. There's a harness connected to the back of each fan. Disconnect both of those. You want to pull this clip up. Then there's another one over here that you want to pull up. We'll fast-forward as he does those steps. He uses a small flat blade screwdriver to help him with those clips.
Now you'll see there are two 13mm bolts at the top of the radiator fan. You just want to go ahead and remove those. We'll fast-forward as he does this. Then down here you'll see there are two 10mm bolts. There's one here and the other one, it's difficult to show with the camera, but it's right down right over here. Again we'll fast-forward as he removes those bolts. Now, over here, you'll see this liner here. You just want to pull out.
There's a rubber grommet right here. Pull that back. Then there's a little clip right there. Just pull that off. Then you just want to pull on the line until it comes free. Now you can pull that radiator cooling fan up and out.
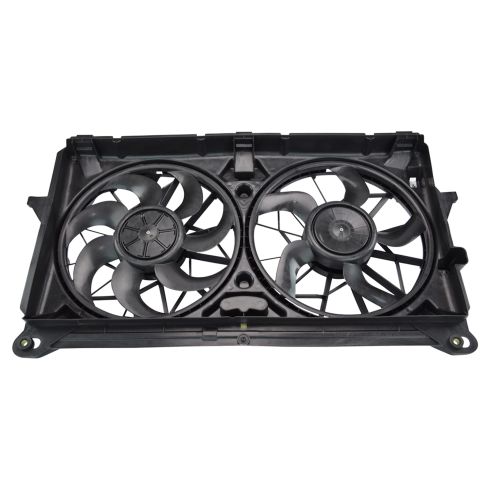
You may need to move around some of the hoses. Now on the front is the new part from 1A Auto; in the back the old part. You can see they're identical, and they'll fit exactly the same, with the same mounting points.
Now there are a couple of things you want to remove from the old one and put into the new one like this clip right here. Take that off and put that into place on the new one. Then you want to pry off this clip right up here. You may want to use a pair of pliers to help pry this out. You just want to put that on to the new fan. Then the last thing are these two little metal clips here, just pry those off. You can use the pliers or a flat blade screwdriver, whatever you want. Just pry those off and slide them into place on your new radiator fan.
To reinstall, you just got to put the fan down in, move the hoses and things out of the way, and you can see we're putting the old fan back in because there's nothing wrong with it in this truck. You want to feed the passenger side down in first to a certain point, then the passenger side, and then just keep going down in with it. You want to make sure that the radiator fan is resting on this tab right here. There's one on both sides.
Now you can reconnect this line here. You just push it right back into place, push that clip back in, and then slide that grommet back up into place. Now you can push these two lines back into that clip. Put the top part back on over the top of them and push that into place. You want to reconnect the harnesses back to the back of the radiator fans. Push that hose in up top. You want to push in the clip on the other side too.
Now you want to replace those two 10mm bolts. You want to first do it by hand just so you can get it lined up, and then you can tighten them the rest of the way with a socket and ratchet. We're just going to fast-forward as he does this. I'll continue to fast-forward as he replaces those two 13mm bolts that secure the radiator fans in place. Once those are tightened up you're all set.
We hope this video helps you out. Brought to you by www.1AAuto.com, your source for quality replacement parts and the best service on the Internet. Please feel free to call us toll-free, 888-844-3393. We're the company that's here for you on the Internet and in person.


How to Replace Radiator Fan 2009-17 Chevy Traverse
How to repair, install, fix, change or replace a broken radiator fan. If your car overheats or runs hot and the radiator cooling fan will not turn on then this may be your solution. This video shows the process for the 09, 10, 11, 12, 13, 14, 15, 16, 17 Chevy Traverse, GMC Acadia, Buick Enclave, or Saturn Outlook.

