Replaces


Part Details
Specifications
Complete Repair in One Purchase - Stop searching for parts individually and complete your repair with a customized kit or set from DIY Solutions.
High-Quality Parts from Trusted Brands - DIY Solutions' kits and sets are selected from the best automotive brands and include hard-to-find and even obsolete parts you may need for your vehicle.
Guaranteed Fit - DIY Solutions ensures its selected parts are quality-tested to guarantee fit and function.
Paint To Match Note:
"Paint-to-match finish" refers to a smooth, paintable surface. This item is not painted. Paint offers better coverage and adhesion, but it is not necessary for installation.
Attention California Customers:
 WARNING: This product can expose you to chemicals including Lead and Lead Compounds, which are known to the State of California to cause cancer, and birth defects or other reproductive harm. For more information, go to www.P65Warnings.ca.gov.
Lifetime Warranty
This item is backed by our limited lifetime warranty. In the event that this item should fail due to manufacturing defects during intended use, we will replace the part free of charge. This warranty covers the cost of the part only.
FREE Shipping is standard on Orders shipped to the lower 48 States (Contiguous United States). Standard shipping charges apply to Hawaii, Alaska and US Territories. Shipping is not available to Canada.
Expedited is available on checkout to the United States, excluding Alaska, Hawaii and US Territories as well as P.O. Boxes and APO/FPO/DPO addresses. Final shipping costs are available at checkout.
Created on:
Tools used
Brought to you by 1AAuto.com, your source for quality replacement parts and the best service on the Internet.
Hi, I'm Mike from 1A Auto. I hope this how-to video helps you out, and next time you need parts for your vehicle, think of 1AAuto.com. Thanks.
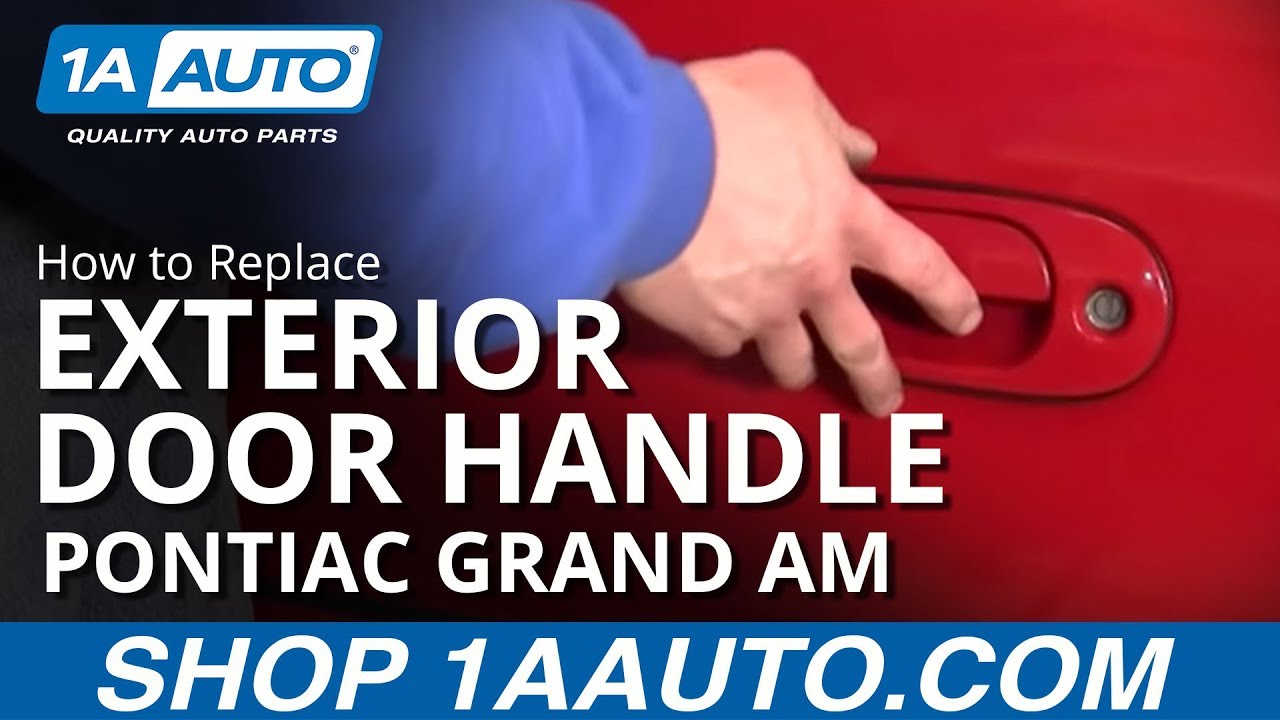
In this video, we'll be showing you an outside door handle replacement on this '99 Grand Am, same for any Grand Am, Alero and other GM vehicles, and generally the same for two door and four door. There might be a little difference in obviously taking the door panel apart and maybe some of the little rods and stuff like that that connect. Tools you'll need are a flat blade screwdriver, Philips screwdriver, a putty knife or a door panel clip tool, a rag to protect your paint, a 10 mm socket, ratchet and wrench and a T30 Torx Driver.
We're going to fast-forward through the door panel removal. If you want to see this real time, regular motion, just check our other videos for door panel removal, and you can see it there. It's pretty easy, pretty straight forward. You remove a couple of the trip panels, take out four screws, release the clips that are around the perimeter and then pull it up and off. Probably pick up enough from this fast motion to do it, but again if you want to see it in regular motion, check out our other videos.
Also, I do use a little fast motion throughout, just when I'm doing monotonous tasks like tightening a bolt or unscrewing a bolt or something like that, just to kind of speed things up and make sure we get as much detail, but not too much detail to keep it within the ten minutes.
We remove this water shield. You want to try and do it relatively carefully. You don't want to tear it because this is important keeping the interior of the car dry.
To replace your outside door handle, you're actually going to want to remove these three T30 screws and then there's a 10mm bolt that you can access right through here.
Okay, there's the 10mm nut, so I'm going to do that real quick. The best tool for those T30 screws is a little socket and bit. They may be tough at first. Okay, now as I pull this one out you're going to see this lock mechanism fall down a little bit. Okay, now just finishing up getting that bolt off, and now you can see the bracket and bolt that hold it in place. Okay, now inside the door, okay, there's a little clip, remove that. Okay, now release the door handle. What you want to do, there's a clip right here that pulls out. That holds your lock in. Okay so you'd swap that obviously to your new door handle. Okay as far as painting goes, our new door handles will come in black.
If you want a paint to match, go visit an auto parts store with paint department. What they can do is match your color. You just drive the car down there. They'll be able to match your color and put some paint into an air charged spray can and then you can paint it yourself.
Obviously installing is the reverse. Put it back onto the handle. Carefully push that down in. Put the top and the bottom and this goes on this way, so you've got to hold onto your door handle. Put the clip up in there. The clip actually has to go up under the springs on the door handle, so you kind of want to put it in there like that and then onto the stud. Make sure the handle is where you want it on the outside and then you want to firmly put in our latch. It's best to reach your hand back in there. Make sure the door is unlocked.
Okay, so now at this point it's just a matter of putting the door back together. We're going to go through it on this video at 5X speed. If you wanted to see this part in regular motion, you can check out our other videos and see it in regular speed.
We hope this video helps you out. Brought to you by www.1AAuto.com, your source for quality replacement parts and the best service on the Internet. Please feel free to call us toll-free, 888-844-3393. We're the company that's here for you on the Internet and in person.
Tools used
Brought to you by 1AAuto.com, your source for quality replacement parts and the best service on the Internet.
Hi, I'm Mike from 1A Auto. I hope this how-to video helps you out, and next time you need parts for your vehicle, think of 1AAuto.com. Thanks.
In this video, we're going to show you how to replace the outside door handle on this 2000 Olds Alero. This vehicle's a 2-door. We'll show you the driver's side, but the procedure's basically the same for the passenger side. It's also very similar for the front doors on a 4 door. Tools you'll need are an 8mm wrench, a small flat blade screwdriver, a Phillips screwdriver, and a 10mm socket with a ratchet and extension, as well as a flashlight would probably help, too.
Use an 8mm wrench and disconnect your negative battery cable.
You're going to start under your door pull. There's a little trap door here. Either from the top or bottom, just pry that off, and there are two Phillips screws in there. We'll speed it up here a little bit as I just remove those screws. I'll use fast-forward quite often when I'm just doing monotonous tasks like this. Now right up here, you just pull on this panel, and it comes off. If you have this speaker here, just use a screwdriver, pry up on this tab, and disconnect it. Also, down in this corner, use a little screwdriver and pull this reflector out. Then inside here there's a Phillips screw. Once you have that out, a door panel clip tool or a putty knife, and start anywhere, get that in there, and then slide it until you feel a clip. Then the door panel clip tool, you go around a clip, and then pull. That screw comes out of the car, and I can see back in here. Then just work your way all the way around the door. Once you have the door pretty loose it comes out and lifts up.
For the door lock, just pull back on this tab, disconnect it, and then these two switches just have tabs on them. I'm just going to reach underneath and pull that one off. It's near a switch, it's a little more difficult. There's a tab right here. Use my little screwdriver. I just took a flat blade screwdriver, forced it up in there, pried that down, and that released. Then the last one here is my trunk switch, which again, just use your screwdriver. There's a locking tab over here. Pull it off. Carefully remove your water shield. You can also just pull back the part that you need to get to the door handle.
For your outside door handle, you're going to come in here, and you can see there's a little clip right there. I'm going to reach in and pull it off. You can see there I unclipped it, and then pull that rod out and down. In here, you see your window channel, and you can see a clip right back in here. Reach that, pull it towards the front, pull it out, and pull this rod right out of it. This rod's undone up at the top, and this rod's undone at the bottom. Now there's a bolt or a 10mm nut right there. Just speed it up here as I use a 10mm socket with a ratchet and extension to remove that nut. Now you can remove your handle.
You want to remove two things from your old handle. This rod, and this is usually what breaks here. Remove that. Then also push these two tabs down and remove this clip. Remove your lock, and then there's also a little rubber washer in there. You want to remove that.
New handle from 1A Auto. Obviously it comes molded in black. You can replace it, and have a functional handle as this. If you wanted to paint it to match, I would just take this gasket off first and then you can either be as cruel as just getting some paint from a hardware store, or go to an automotive parts store that has a good paint department. They can usually match the paint on your vehicle and put some into an air charged can for you.
Just drop that gasket right down in there. Make sure it sits down. Your lock goes right in and you just squeeze it in place. The new handle comes with a locking clip here, but just put it in. Make sure it goes in from the back side, turn it down, and you can lock it on like that. This rod needs to go in behind the window channel, down in, then up. Now take your plate. Flat side goes to the top. Get it on there. Make sure none of the rods get in your way. Get the bolt on. Just make sure you hold the door handle in place on the other side well. Tighten the bolt up. Put that in place. Clamp it down. Bring that around, put it in place, then clamp it. Make sure your doors are locked.
Now carefully put your water shield back in place, and you're ready to put the door panel back on. Plug in our lock switch right up here, and our mirror. Push this in a little bit. Power window switch. This can go down to our trunk switch. Then make sure you push the top of the door panel in, make sure this speaker lead is up out of there. Push the door panel down into that channel. You may have to use your putty knife or some kind of clip tool to force the upholstery in there a little bit. Peek back in here, make sure your pins are going in where they should. Fast-forward through reinstalling those three Phillips screws. Put your reflector back in. Put this panel back on. Plug back in your lead there. Put that back on.
Then reconnect your negative battery cable.
We hope this video helps you out. Brought to you by www.1AAuto.com, your source for quality replacement parts and the best service on the Internet. Please feel free to call us toll-free, 888-844-3393. We're the company that's here for you on the Internet and in person.

BHS00592

