How to Replace Transmission Shift Solenoid 1995-2010 Chrysler Sebring Sedan Coupe
Created on: 2013-10-31
Watch this video to learn how to fix a transmission that isn't shifting properly. The experts at 1A Auto show you how to replace the transmission shift solenoid in your 01-06 Chrysler Sebring.
-
step 1 :Removing the Air Intake Box
- Loosen the air intake hose clamp with a flat blade screwdriver
- Separate the hose from the air intake box
- Remove the 8mm nut from the air box bracket
- Lift the air box bracket up and out
-
step 2 :Removing the Automatic Transmission Shift Solenoid
- Remove the 8mm bolt from the shift solenoid wiring harness
- Disconnect the wiring harness
- Remove the three 10mm bolts from the shift solenoid
- Clean the area with carburetor cleaner
- Pry the shift solenoid away from the transmission with a pry bar
- Lift the shift solenoid up and out
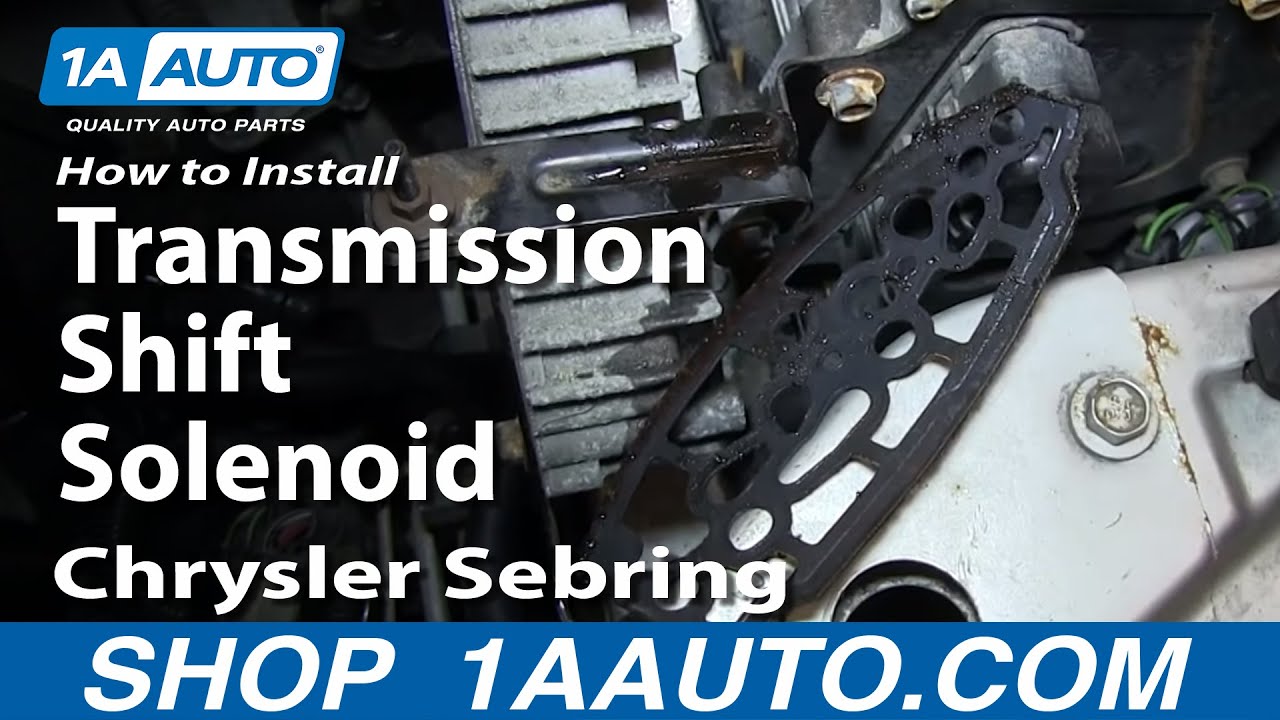
- Carefully remove the gasket from the transmission with a razor blade, being sure not to scratch the aluminum
-
step 3 :Installing the New Automatic Transmission Shift Solenoid
- Clean the mounting area with carburetor cleaner
- Place the gasket onto the new shift solenoid
- Start the middle 10mm bolt into the shift solenoid
- Put the solenoid into place
- Start the other two 10mm bolts into the solenoid
- Tighten the three 10mm bolts to 17 - 17 foot-pounds of torque
- Connect the solenoid wiring harness
- Insert the 8mm bolt into the wiring harness
-
step 4 :Reinstalling the Air Intake Box
- Put the air box into place using the locating tabs
- Reconnect the air intake hose
- Tighten the air hose clamp with a flat blade screwdriver
- Fasten the 8mm nut onto the air box bracket
Tools needed
-
Razor Blade / Gasket Scraper
Socket Extensions
Flat Blade Screwdriver
Torque Wrench
Pry Bar
8mm Socket
Drain Pan
10mm Socket
Ratchet
Swivel
Carburetor Cleaner
Brought to you by 1AAuto.com, your source for quality replacement parts and the best service on the Internet.
Hi, I'm Don from 1A Auto. I hope this how-to video helps you out, and next time you need parts for your vehicle, think of 1AAuto.com. Thanks.
In this video, we're going to show you how to replace the automatic transmission shift solenoid in this Chrysler Sebring from 2004. It's the same process on these vehicles from 1995 to 2010, and it's also a similar process on a large variety of other Dodge and Chrysler vehicles. The items you're going to need for this repair are a new transmission shift solenoid from 1AAuto.com, and an 8mm and 10mm socket and ratchet with a swivel. You're going to need a pry bar, a type of cleaner, and a razor blade.
Now, to access the transmission shift solenoid we're first going to remove this air intake box, so you're just going to loosen this clamp right here. Now, you just need to push in these tabs here to separate the hose from the intake box. You just pull that away. In addition to those tabs, I'm pretty sure there is a nut on top of that bracket right there that you'll have to remove that was missing on our vehicle. Then you can lift it out of the air box.
Now, you'll need to put a drip pain underneath where your solenoid is. At the top of the solenoid there's this harness held in with an 8 mm bolt. We're going to fast forward as Don removes that bolt and then the harness just pulls right off and you can set it aside. The next thing that you want to do is remove these three 10mm bolts here, and again we'll fast forward as Don does this. Then you can see a flexible joint or a U-joint between the extension of the socket. It'll make it easier to get to that middle one. Use some cleaner, we're using actually carb cleaner and just spraying it down gets some of the debris off to reduce the likelihood of anything getting into the transmission. Once you've cleaned it off, just take a pry bar and just pry it out. Then just pull back those harnesses and it pulls right off. You'll need to remove the gasket from the transmission and the transmission is aluminum so be very careful not to scratch or gouge the aluminum as you use your razor blade to remove it.
The new part from 1A Auto is on the left; the original is on the right. It's pretty much the same in every way, but you can see that the surfaces where the gasket mounts are thicker on the new part that seals better. Clean off the surface of the transmission. Again, we use a little bit of carb cleaner. If you get a little bit of that stuff into the transmission fluid it's not going to affect anything. We do recommend doing a transmission service change to the fluid after this, anyways, but you can see we put the middle bolt into the solenoid and then put it into place. Just be careful that you don't pull the gasket over anything and just make sure it seats really well. We're going to fast forward here as we put the other two bolts in and tighten them up. When you tighten these bolts up, you want to tighten them firm, probably about 16 or 17 foot-pounds. We will continue to fast forward as he replaces the harness and tightens up that 8mm bolt.
Just put your intake box back down into place, line up those holes with those tabs, and the hole on the intake box with that stud. We'll just fast forward as he pushes that back down into place and reconnects the air intake hose and tightens up the clamp.
We hope this video helps you out. Brought to you by www.1AAuto.com, your source for quality replacement parts and the best service on the Internet. Please feel free to call us toll-free, 888-844-3393. We're the company that's here for you on the Internet and in person.

How to Replace Cylinder Deactivation Manifold 2007-2013 Chevrolet Silverado 1500
This video shows you how to install a cylinder deactivation manifold on your 2007-2013 Chevrolet Silverado.

