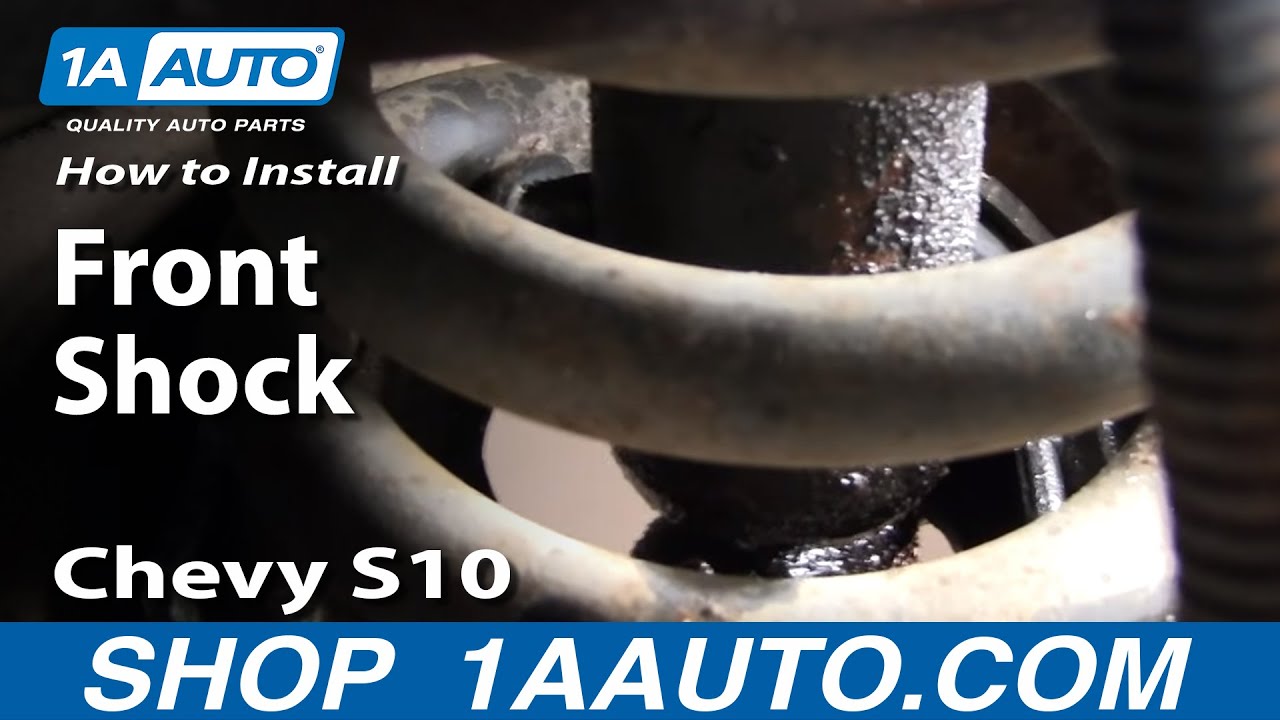
How to Replace Shock Absorber 1983-2004 Chevy S10 Pickup
Created on: 2010-02-12
Watch this video to learn how to fix a sagging or loose suspension. The experts at 1A Auto show how to replace the front shocks in your 82-04 Chevy S10 or GMC Sonoma.
-
step 1 :Remove wheels
- Start by removing the lug caps and wheel caps.
- Use a lug wrench to remove the lugs and wheel.
- Jack up the car and remove the wheel.
-
step 2 :Remove shock
- Spray the shock with penetrating oil.
- Use a wrench or vice grip to remove the nut and bolt.
- If it won't come free, use a sawzall to saw out the bolt.
- Remove the washer and rubber gromit.
- Remove the two bolts securing the shock at the bottom.
- Spray with penetrating oil and remove with a 13mm wrench.
-
step 3 :Install new shock
- Put the washer, pan side up and the grommet with the small end facing up on the shock.
- Place the shock in and bolt it up, alternating between the two evenly.
- Final tighten with a hand tool.
- Back at the top, put the second grommet on, small side down, pan washer pan side down.
- Take the larger nut and tighten it up with your wrench.
- Then place the small lock nut and tighten it up against the first nut.
- Use a vice grip to secure the top of the shock while you do this.
-
step 4 :Put the wheel back on
- Place the wheel back on, and put the lugs on by hand.
- Lower the vehicle and tighten the lug nuts with a hand tool using the star pattern.
- Place the centercap and then hand tighten the lug caps.
Tools needed
-
13mm Socket
Reciprocating Saw
15mm Wrench
Rust Penetrant
Vise-Grips
19mm Socket
Lug Wrench
Ratchet
13mm Wrench
Brought to you by 1AAuto.com your source for quality replacement parts and the best service on the internet.
Hi I'm Mike Green. I'm one of the owners of 1A Auto. I want to help you save time and money repairing and maintaining your vehicle. I'm going to use my 20 plus years experience restoring and repairing cars and trucks like this to show you the correct way to install parts from 1AAuto.com; the right parts installed correctly, that's going to save you time and money. Thank you and enjoy the video.
In this video, we'll be replacing the front shocks on this 2001 Chevrolet S-10. The procedure for this is basically the same as any rear-drive front A-arm suspension vehicle. You're going to need your lug wrench or 19mm socket and handle and 15mm wrench vise-grip pliers, possibly a sawzall, 13mm wrench or socket and handle, penetrating oil and if you're doing it on something other than an S10, probably the same tools but little different sizes.
On this truck it's got wheel caps, we start by removing those. Generally you don't want to use your impact wrench on these. I'm going to be using an impact wrench, but use your lug wrench or your 19mm socket and should be able to just pull them off by hand. Once you get them all off the cap will come off. You'll see here, I just put them right over on the lift so I know where they are and then you take that last one off and the wheel cap comes off.
Now if you're using a lug wrench you'll want to have the car on the ground. I'm using an impact wrench because I have the pleasure of it; again, just kind of sped through that. Now you're going to take your wheel off and what we're going to do right here is we're going to lift up that flap and that's where the shock is and we're going to spray it with some penetrating oil. I actually sprayed this before I even started, probably two days before, as well. Here we're putting on a set of vise-grips on the top; it's flattened on the top so you can apply a wrench. I've learned in my experience that wrenches rarely work, especially when things are rusty. I just go right to the vise-grips and I was actually, unbelievably enough, able to start loosening this bolt up, but eventually it stopped moving for me. I had to resort to a sawzall or reciprocating saw.
Now if you're in Texas or Arizona, you probably won't have to do this. For those of us in the northeast or wherever, don't be afraid of this. Using a sawzall is not that tough. You can see I put the vise-grips on there to hold things in place and you can see it probably only takes about a 15, 20 seconds to saw through it. Biggest thing is, just make sure you have a sawzall available. Home Depot rents these so you can start your project without it, but just have a plan to go and get one. Make sure it's got a new blade on there and you can see it'll go right through the metal, you can see the vise-grips starting to fall and then it pulls right off. I'm just going to reach in there and there's a washer and a rubber grommet. Obviously be careful not to touch where you just sawed because it will probably be hot. Pull those off and then there are two bolts that hold the shock in from underneath. I'm pointing to the top of one. You just want to hit these with penetrating oil as well; just makes everything a little easier to get apart.
Right now I'm just shooting them, in the general area. It's kind of hard to even really get to them that well. Now we're underneath and you can see right there, there's the two bolts holding the bottom of the shock in. As you can see, I'm just going to use a little 13 mm wrench to start them, just to show you that it's a regular tool. This is a northeastern car; you can see that it still comes apart. Pretty soon here, I'm going to go in and substitute that wrench for a nice air ratchet, just to speed things up. Once you remove those bolts, see I do it carefully. I'm not going to remove them both at the same time. We'll see that the hole in the control arm is shaped so that you pull the shock towards the middle of the car and then it comes down and out. Now you'll be able to see the shock, there it is.
Do you know your shocks are bad? This thing, I'm just going to push right down on. It gave basically no effort to resist. Now here's the good shock, you can see I'm putting a lot more effort into pushing it down and then after I push it down it comes back up. That's what a good cast shock should do. Now we're ready to reinstall. You can see the new shocks actually come with slotted ears so I'm actually going to ... you can put one bolt in and you can just start it in. Don't put it in very far. Now I'm going to put the washer ... notice I'm putting the washer pan side up. This is a grommet, you put the large side down and the smaller side goes on top that goes up into the hole. I'm putting the shock up in there. Basically if you can see up the hole you can get it right in or I just feel it around and pop it up and down a couple times and find the hole.
Now you push the shock up in and I actually did it the wrong way. Let me push the shock up in there and you get it right on your bolt there. Then you can put the second bolt in. As you can see, the gas shock pushes down against and I just push it up in there to put the bolt in. Now I'm going to get my air ratchet again and I'm going to tighten one side at a time, I'm not going to totally tighten up one side and then totally tighten up the other. You do it, let it go up in there fairly equally. I'm not going to do the final tighten with the air ratchet. You never want to final tighten anything with air tools. You always want to get out your hand tool and feel how tight you're getting it. With this small wrench, as long you give a good pull, it's pretty good. Now we're up back at the top, put the grommet down against small side down. I pull and wiggle the shock back and forth just to make sure that the other grommet is up in there.
Now put your pan-side down pan washer on there. Now take the larger of the two bolts and you spin it on there. The smaller bolt is to lock it on. Now I'm going to use a wrench, just tighten that bolt up until the shock starts rotating. You'll see the shaft start rotating. Then I'm going to grab my adjustable wrench and hold that shaft. Now that everything's not rusty you don't have to worry about having to use the vice grips. You hold that shaft and tighten it up. Once you've got it pretty good and tight, it doesn't have to be incredibly tight, but give it a good push with that 15 mm wrench. Then I'm grabbing the small lock nut and putting it on there. Then I'll hold the shaft again and tighten that nut against the other nut. That'll basically lock them both on there. Once that's done we can let it pull our tray off and let the flap flip down and now we're putting the wheel back on.
I just look through the lug holes to find the studs. Now I'll speed things up a little bit, you put the lug nuts on by hand just to make sure they're threaded correctly. Then what I'm going to do is I'm going to use my impact wrench, but I'm just going to get them, I'm not going to tighten them. I'm just putting them on there a little bit. Then I lower the vehicle and now I use a hand tool to tighten the lug nuts up. You never want to tighten lug nuts with an impact wrench. If you tighten them too much, you run the risk of breaking them and you don't want them to fail out on the road. Now I'm putting the center cap on, again, just speeding up in different areas. The caps you put on by hand first. Don't use your impact wrench on these. After you put them in by hand you just tighten them snuggly by hand. I'm using the socket and my hand just to tighten them up, don't want to over tighten.
This video was brought to you by www.1AAuto.com, your source for quality replacement parts and the best service on the internet. Call us toll free 888-844-3393. We're the company that's here for you on the internet and in person, thank you very much.
Shop Products


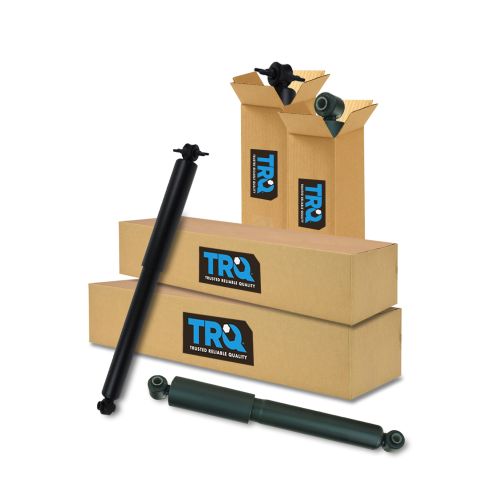
Chevrolet GMC Olds Isuzu Front & Rear 4 Piece Shock Absorber Set TRQ SBA60177
- 4 Piece
- Improved ride comfort and longer life
- No modifications, all the parts needed in one kit
- (2) Rear Shock Absorbers
- (2) Front Shock Absorbers

How to Replace Front Strut Assembly 2007-13 Chevy Suburban
If the front strut assembly is worn or failing and needs to be replaced, check out this how-to video and follow the steps to DIY

