How to Replace Headlights 1994-2001 Dodge Ram 1500
Created on: 2010-01-22
Watch this video for help with replacing the headlights in a 94-01 Dodge Ram 1500.
-
step 1 :Remove the parking light
- Using your flat blade screwdriver and rag remove the clips securing the gasket.
- Use your Phillips screwdriver to remove the screw securing the parking light.
- Remove the parking light assembly and set aside.
-
step 2 :Remove the headlight assembly.
- Use your rag to cover your bumper cover and remove the 10 mm bolts securing the headlight.
- Use a rag and a flat blade screwdriver to pry the pin securing the headlight out.
- Work the headlight out.
- Unplug the harness.
-
step 3 :Install new headlight assembly
- Line up the new headlight
- Plug in the harness
- Clip it into place.
- Push the pins securing the gasket in.
- Use your 10 mm socket and ratchet to bolt the headlight in.
-
step 4 :Install the parking light assembly
- Plug in the harness
- Clip the parking light assembly into place.
- Screw in the Phillips screw.
Tools needed
-
Flat Blade Screwdriver
Phillips Head Screwdriver
10mm Socket
Ratchet
Cloth Rags
This video is brought to you by 1AAuto.com, your source for quality replacement parts and the best service on the internet.
This video details headlight replacement on a 98-2002 Dodge Ram truck. From the video you will see that this is an easy process. This is also how you would access the headlight bulb for replacement.
How you doing? I'm Mike Green. Today we're going to replace headlights on a 1998-2002 Dodge pickup. What we have here is the sport model. The headlight procedure for sport model and the regular model is the same. This procedure takes ten minutes; it's quite an easy procedure. Tools you'll need: a couple of rags to help protect your paint, a clip tool or I have a chisel and I'll use the rags and chisel together to get some of the clips off, a ten millimeter wrench and a ten millimeter socket with an extension and ratchet.
First using your clip tool or something to pry and the rag to protect the paint, you remove these three clips holding this gasket. Next remove your parking light by removing the little screw from underneath here, Phillips. After that screw is removed you can firmly comes out and unhook the bulb. Now you have three bolts to take out. One here at the front, one down here, this one you can either reach from the top here or you can reach down from underneath and one here on the side. You may want to cover your bumper cover, just to keep anything from getting scratched.
Okay now that you removed the bolts put the rags on to protect your cover. There's a small pin in here that's still holding a light. You can use something to pry on it and give it a good quick pry and then you want to move out and tilt the light forward while not letting the pin get stuck. You kind of want to pull outside of the truck and at the same time try to rotate the light forward. Now you can see your headlight connection and move your low beam and your high beam and the light comes right out. Okay insert the new light by kind of going upside down against the fender and rotating it on. Put your finger here to make sure this doesn't contact your paint and then pull the front out while you slide it on and push that under.
Okay, so now it's kind of in place. You reach in behind and connect your low beam, reach in behind and connect your high beam. There's a locating pin over here that you want to get in first, and now you can make sure this pin is here and that initial pin holds it in place. At this point you can push these pins back in and now you put your three bolts back in.
Now we've got the headlight in, we've got the three mounting bolts tight. It clips on. Now we're just going to install the parking light, plug in the lamp. Again make sure this clip's in, and this lower clip's in while the locating pin goes into to the hole, and just give it a good tap. A good push, plug it in. Now finally put in the screw to secure it. Now your left side's done.
This video was brought to you by the folks at www.1AAuto.com. All the parts in this video are available on their website. We hope you enjoyed this and we hope it helps you with your project. Thank you.
Shop Products


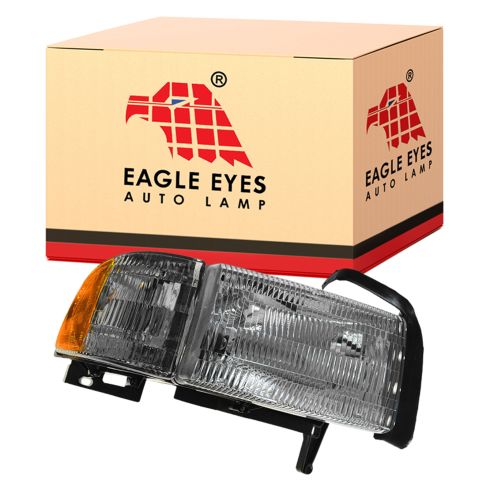
Dodge Ram 1500 2500 3500 Passenger Side Headlight Assembly Eagle Eyes CS060-B001R
- Cornering Lamp
- Features and Benefits
- 9004 High / Low Beam

How to Replace Headlights Bulbs 2006-08 Dodge Ram
Watch this video to learn how to replace a cloudy or cracked headlight or change a burnt out bulb. The experts at 1A Auto teach you how to replace the headlights on your 06-08 Dodge Ram.

