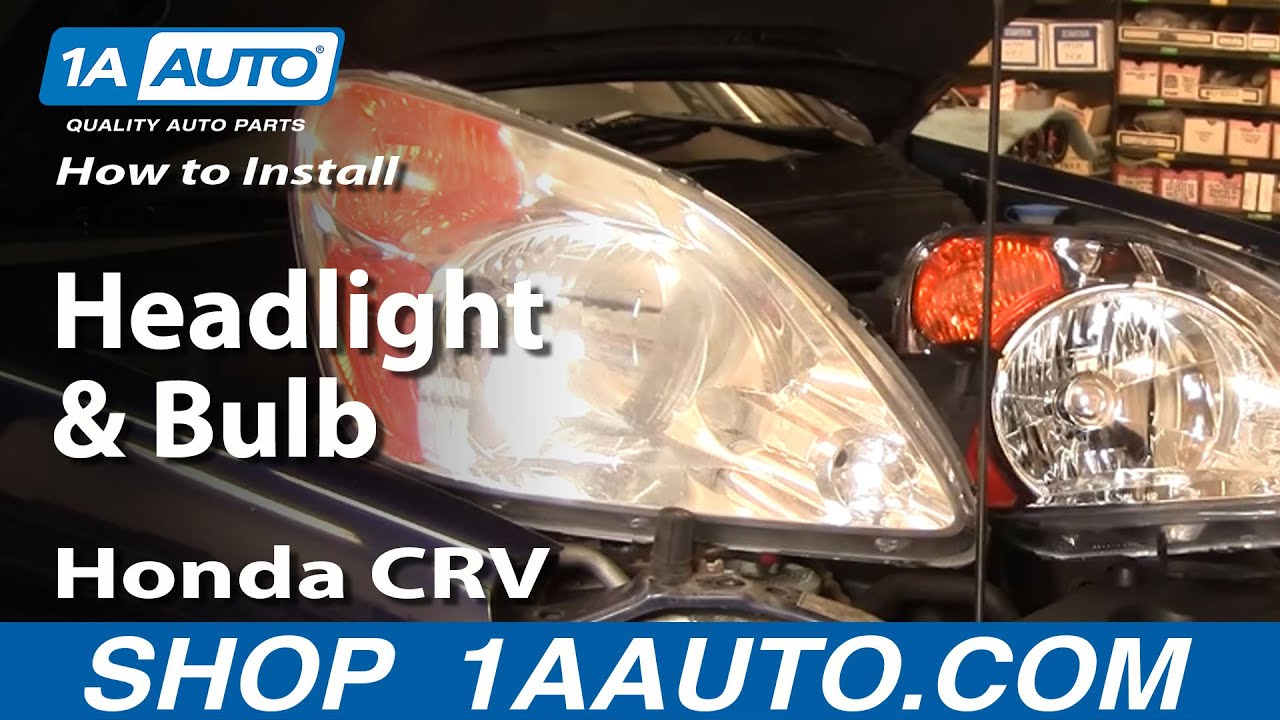
How to Replace Headlight 2002-04 Honda CR-V
Created on: 2012-05-04
Watch this video from 1A Auto to learn how you can replace the headlights on your 02-04 Honda CR-V. Save time and money doing it yourself!
-
step 1 :Handling the Bulbs
- Note: DO NOT TOUCH the bulbs- the oil from your fingers will burn into the light and foul your bulb.
- Clean with rubbing alcohol and a soft cloth if the bulbs do get touched.
-
step 2 :To change the head light bulbs
- Pop the hood and secure it.
- Reach behind the head light assembly and pull back the retaining wire to remove the bulb.
- Reverse the process to install the new bulb
-
step 3 :Remove the front bumper/grille
- Remove ten pushclips, two 8mm bolts and four 10mm bolts using your sockets and ratchets and extensions.
- Pull off the front bumper cover and grille and set aside.
-
step 4 :Remove the head light assembly.
- Unbolt the four 10 mm bolts with your socket and ratchet and extensions.
- Pull the head light assembly up and out.
- Unplug the harness.
-
step 5 :Install the new head light assembly
- Install the bulbs into the head light assembly
- Mount the head light assembly into the head light assembly bracket.
- Reconnect the harness
- Bolt in the four 10mm bolts
-
step 6 :Replace the front bumper cover/grille
- Clip the front bumper cover/grille into place
- Bolt all the 8 and 10 mm bolts back in and clip in all the push clips.
- Close the hood and enjoy your new 1A Auto headlights.
Tools needed
-
Socket Extensions
8mm Socket
10mm Socket
Ratchet
Brought to you by 1AAuto.com, your source for quality replacement parts and the best service on the Internet. Hi, I'm Mike from 1AAuto. I hope this how-to video helps you out and next time you need parts for your vehicle, think of 1AAuto.com.
In this video, I'm going to show you servicing the headlights on this 2003 Honda CR-V. The first part we're going to show you just how to change the bulb if that's all you're looking to do and then we go into changing the whole headlight assemblies. A lot of times on these cars, the headlights get yellow, they get kind of sandblasted and faded. It starts getting hard to see at night so a new set of headlights from 1AAuto can really help to clear that problem up.
The only tools you'll need are a flat blade screw driver, 8 millimeter socket, 10 millimeter socket and a ratchet and extension. If you're just looking to change a headlight bulb, you go right in here; I'm going to do the passenger side. We can reach right in here, you can probably see my fingers right down in there, and pull off your lead. Then you pull off this whole rubber boot here. Take this rubber boot off.
Then, this is really difficult to film, let's see, I'm kind of doing it by feel here. Then over here there is a little lock. I'm pressing in and then letting them go up and you can see there's the little wire retainer. Once you pull that retainer out of the way, you can pull your headlight right out. It goes back in with the third prong facing up. Sorry this isn't better but there's just no real good way to film. Just make sure you kind of pull that retainer out of the way. Put your bulb up in there. Put the bulb in before the retainer and the middle prong should be up. Put your bulb seated in there and pull the retainer over. Push the retainer in and down, lock it. Take your rubber, mount it here, put it back on, then plug your connection back in.
You're going to start by removing six body clips. Two here, there, there and these two here. They are pretty easy. Just use a screwdriver and pry up the middle. Pull the middle out and then pry the clip right up and out. Now we'll fast forward while I remove those. Now there's a series of fasteners along the bottom. The first is up underneath. There's an 8 millimeter bolt right there and use an extension and a socket. On each side there's two 10 millimeter bolts, one there, one there. Then there's going to be two more of these clips, see one's missing on this side. Then the other side, again two 10 millimeter bolts and the 8 millimeter bolt up in there. We'll fast forward again as I remove those and you can see I work at that lower clip a little longer. That's because usually, when they're in the bottom, they gather a little bit of dirt and sand and it makes them a little tougher so you just have to work at prying the middle out.
Then I just remove the two 8 millimeter bolts and the four 10 millimeter bolts. Actually, it didn't come apart quite like it should have. The lonely grill. The grill is actually pinned onto here but it does slide out. It's been broken in a couple different places. To remove the headlight, you going to remove a series of 10 millimeter bolts, one here, one here. There's one underneath, right there. Then one on the side here. We'll speed it up here as I use my 10 millimeter socket and ratchet and extension to remove those four 10 millimeter bolts. You want to pull this bracket out and down underneath there. Pull this up and out, this little tab right here and disconnect that bulb. Then you can pull your headlight connection off. There's one more connector right against the little tab. Press this back, disconnect it and there's your light out. You see here, a new light from 1aauto, much more clean, bright, help you see better at night and it's going to look a lot better on your Honda.
Before we install, we're just need to grab the bulbs from the original light, just twist counterclockwise. Install that into the new one. This bulb down here, twist counterclockwise and install that in the new one. To install the plate pull back some of the plastic. Put that in place, reconnect our headlight connections, connect this connector up here and then reconnect this light down here. Now make sure that this tab goes up onto the fender here and pull this down. This plastic needs to go to the outside of the fender inside this piece here. Push the headlight back into place and this up. I'm going to speed it up here somewhat as I start all four of the bolts on and then tighten them up. You want to tighten them up nice and firm, not too tight. Obviously, you would replace the other side and then I'll show you putting the bumper cover back on.
The grill has these here. So what you want to do is install a pin here. There's a little slot here, and I'll show you one here where it broke off on this grill. What you do is lift this up and reach right in through here, push up on your connector and make sure that the tab slides in. So that's in and held together there. Obviously you would make sure that the same thing happened on that side. Make sure it's all put together. I'll fast forward as I just put those body clips back in. In the shot before I put a body clip in where the lower grill attaches and then slid the tab of the lower grill around the body clip.
Over here on the side, make sure that you push your inner fender up underneath, like that. I'm going to fast forward as I put the fasteners in from the bottom. Turns out that my CR-V has a little bit of damage to the front left corner so I kind of worked that corner in there a little bit. Then once I get it right, I use the 8 millimeter bolt that goes up top, then the two 10 millimeter bolts down at the corners, the body clip in the middle and then the other side.
We hope this helps you out. Brought to you by www.1AAuto.com. Your source for quality replacement parts and the best service on the Internet. Please feel free to call us toll free 888-844-3393. We're the company that's here for you on the Internet and in person.
Shop Products


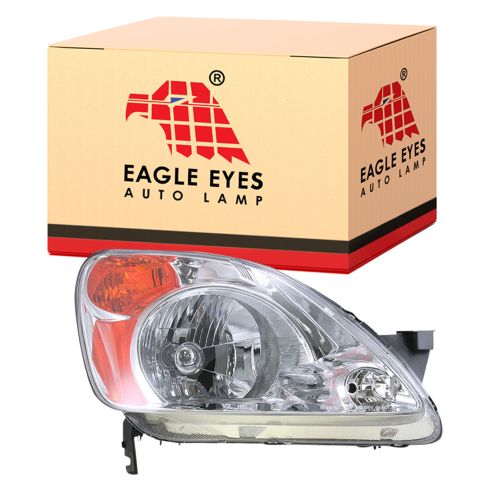
2002-04 Honda CR-V Passenger Side Headlight Assembly Eagle Eyes HD382-B001R
- Features and Benefits
- H4 High / Low Beam

How to Replace Headlight 2001-05 Chrysler PT Cruiser
Watch this video for help with replacing a headlight and headlight bulb in a 01-05 Chrysler PT Cruiser.

