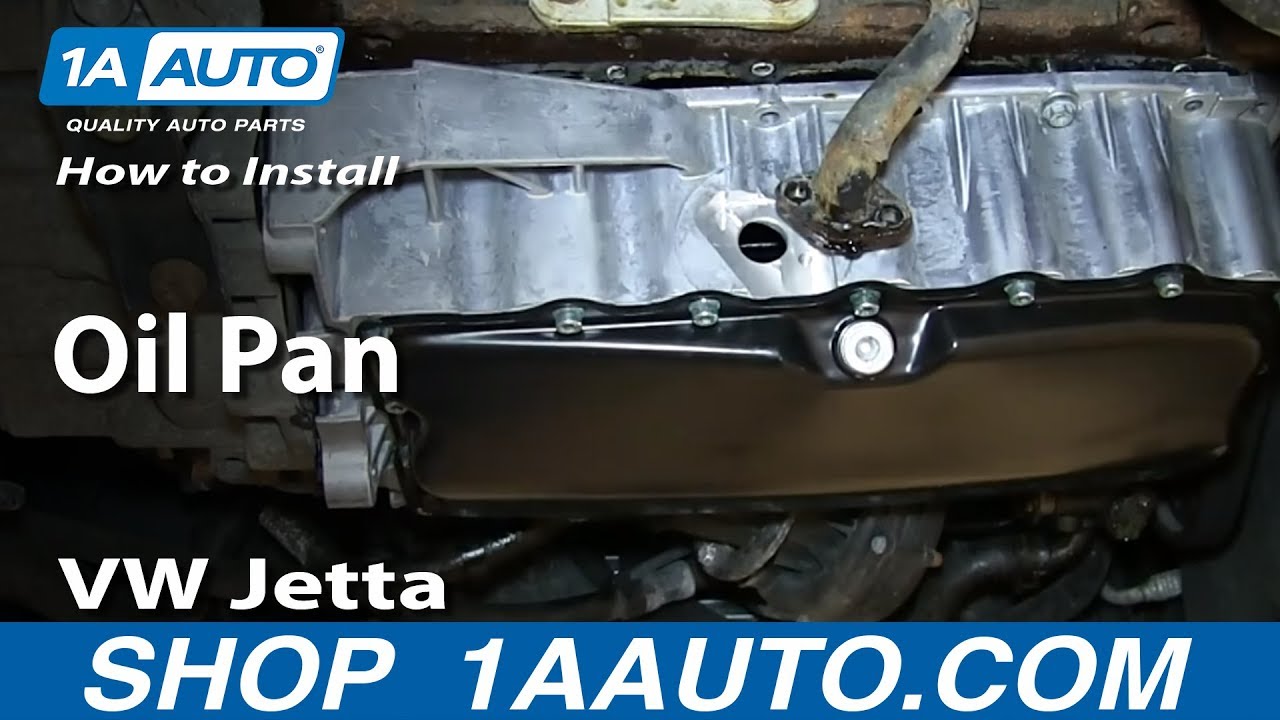
How to Replace Engine Oil Pan 2004-05 Volkswagen Jetta
Created on: 2014-03-28
Watch this video to learn how to fix a leaking oil pan. The experts at 1A Auto will show you how to replace a warped or broken oil pan on your 04-05 Volkswagen Jetta or Beetle.
-
step 1 :Draining the Oil
- Raise and secure the vehicle
- Have a drain pan ready
- Remove the drain plug with a 8mm Allen bit
- Allow the oil to drain
- Insert the drain plug
-
step 2 :Removing the Splash Shield
- Remove the T25 bolts from the splash shield
- Pull out the splash shield
-
step 3 :Removing the Oil Pan
- Remove the three 16mm bolts on the side of the oil pan
- Remove the two 5mm Allen bolts that hold the pipe to the oil pan
- Remove the 10mm bolts from the oil pan, using a socket extension and swivel where necessary
- Insert two bolts a couple turns into the oil pan in opposite corners
- Separate the oil pan from the block with a pry bar
- Remove the two place holder bolts
- Separate the oil pan completely with the pry bar
- Scrape off the gasket and seals with a razor blade
-
step 4 :Preparing the New Oil Pan
- Apply RTV to the top of the oil pan
- Circle each bolt hole
- Check that there are no gaps
-
step 5 :Installing the New Oil Pan
- Clean the oil pan mounting area
- Push the oil pan into place
- Start threading all the bolts in an opposing or crossing pattern
- Insert the three 16mm bolts into the side of the oil pan
- Tighten the 16mm bolts to 50 foot-pounds of torque
- Tighten the 10mm bolts to 20 foot-pounds
- Apply RTV to the pipe mounting area
- Push the pipe into place
- Insert the two bolts into the pipe and tighten them with the 5mm Allen bit
-
step 6 :Reinstalling the Splash Shield
- Clip the splash shield into place
- Insert the T25 bolts into the splash shield
-
step 7 :Refilling the Oil
- Lower the vehicle to the ground
- Remove the oil cap
- Refill the oil using a funnel
- Replace the oil cap
- Run the engine briefly
- Remove the oil dipstick
- Check the oil level
- Add oil as necessary
Tools needed
-
Razor Blade / Gasket Scraper
Funnel
Socket Extensions
Torque Wrench
Pry Bar
16mm Socket
Jack Stands
5mm Hex Wrench
8mm Allen Wrench
RTV
10mm Socket
Drain Pan
Ratchet
Floor Jack
Swivel
Cloth Rags
T25 Torx Driver
Brought to you by 1AAuto.com, your source for quality replacement parts and the best service on the Internet.
Hi, I'm Don from 1A Auto. I hope this how-to video helps you out, and next time you need parts for your vehicle, think of 1AAuto.com. Thanks.
In this video we're going to show you how to replace an oil pan on this 2004 Volkswagen Jetta with the 1.8 turbo engine. The items you'll need for this are a new oil pan from 1AAuto.com, 10mm and16 mm socket and ratchet with extension and a swivel, 5mm and 8mm Allen bits, a T25 torx bit, jack and jack stands, razor blade, pry bar, RTV, and a torque wrench.
Your oil pan is located right here, and on the back of it, there's this drain plug. Using an 8mm Allen bit, just loosen up and remove that drain plug. Make sure you have your drip pan underneath and just let the oil drain out. Once it stops draining, replace your drain plug and tighten it up.
Next, you want to remove this panel by removing this series of T25 bolts, and you can see that most of ours are missing. Don's just going to remove this one T25 bolt and then cut these wire ties. Then just pull that panel free. Next, you want to remove these three 16mm bolts, and we'll just fast forward as Don removes those. Now remove these two 5mm Allen bolts. We'll just fast forward as Don does that. Now just pull this pipe free, making sure your oil pan is underneath it to collect any of the oil that falls out.Now you want to remove this series of 10mm bolts that line the top or your oil pan, and to get the two that are up in there, we'll show you in a second. But you want to remove all of these all the way around the pan. To get those two bolts that are really deep, you're going to want an extension and a swivel so you can get those bolts that are actually kind of at an angle up there. We'll just fast forward as Don removes all those bolts. Now, replace two of those bolts with a couple turns. Do one in this corner and then one over here, in this corner. Now, using a pry bar, you just want to pry right here and separate it from the block. Once it's for the most part separated, you can remove those two bolts. Then making sure you have a good grip on it, separate it the rest of the way.
Use a razor blade or safety knife and clean the surface where the oil pan seals. The cleaner you get it, the better the seal will be.
On the left is old oil pan. On the right is the new one from 1A Auto. You can see they're identical and they're going to mount exactly the same. Now, using RTV, you want to just trace around the entire top of the oil pan, and you want to make sure you circle each bolt hole and that you have no gaps in your gasket. Now again, just wipe down this area, making sure there's not too much oil on it or anything, and then feed your new oil pan up into place and start replacing the bolts. Follow the directions on your RTV. You basically want to put these bolts in kind of opposite side to opposite side, so that you put them in evenly and just kind of hand tighten them and squeeze them just a little bit with the wrench. We're going to torque them down later.
Now, replace those three 16mm bolts on the side and just tighten those up. You want to torque these bolts to about 50 foot-pounds. We'll fast forward as he torques each of these 10mm bolts to 20 foot pounds. Now using RTV, make a gasket just around this area, again circling each of the holes. Then, push this pipe back into place and replace the two bolts that hold it there. We'll just fast forward as Don tightens this up. Then, just feed this panel back up and clip it on to that other panel. Make sure all the holes line up. Then replace your T25 bolts, or in our case, our T25 bolt. Now lower your vehicle and remove your oil cap. Then using a funnel, replace the oil in your engine. When you're done, replace your cap, start the vehicle, and let it run for a little bit. Once the engine has run, check the oil, add oil if you need to, and once you get the oil level correct, you should be all set.
We hope this video helps you out. Brought to you by www.1AAuto.com, your source for quality replacement parts and the best service on the Internet. Please feel free to call us toll-free, 888-844-3393. We're the company that's here for you on the Internet and in person.

How to Perform Oil Change 2009-17 Chevy Traverse
How to change the oil on 09, 10, 11, 12, 13, 14, 15, 16, 17 Chevy Traverse

