
How to Replace Door Molding 2002-08 Dodge Ram 1500
Created on: 2016-08-10
This 1A Auto video shows you how to replace the door molding on your 02-08 Dodge Ram, featuring a Quad Cab model.
-
step 1 :Removing the Exterior Door Molding
- Heat up small sections of the molding with a heat gun
- Work a piece of string behind the molding and saw the molding off
- Remove the door molding
- Heat the remaining adhesive and residue on the door
- Peel the residue off with a plastic razor blade
- Coat the remaining residue with adhesive remover
- Remove the residue with a plastic razor blade
- Repeat the process until the body is free of adhesive
-
step 2 :Installing the Exterior Door Molding
- Peel off the adhesive backing
- Adhere the molding in place by placing pressure on it evenly
Tools needed
-
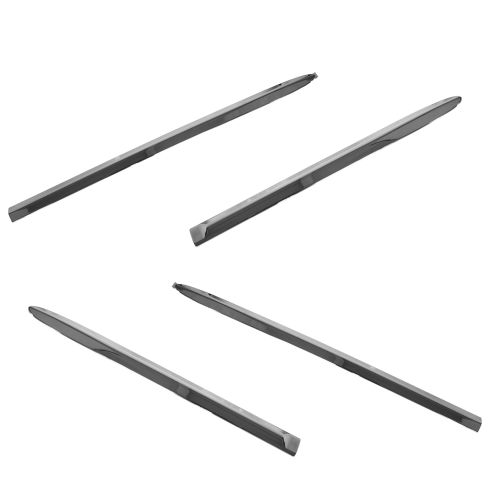
Razor Blade / Gasket Scraper
Wire or String
Heat Gun
Cloth Rags
Brought to you by 1AAuto.com, your source for quality replacement parts and the best service on the Internet.
Hi, I'm Mike from 1A Auto. I hope this how-to video helps you out, and next time you need parts for your vehicle, think of 1AAuto.com. Thanks.
In this video, we're going to show you how to replace the chrome door molding trim on this 2008 Dodge Ram 1500. This is available in a set. We're going to show you on the front passenger door, but this procedure is going to be the same for any of the four doors on this truck.
Here are the items you'll need for this install: gloves, heatgun, dental floss, razorblade, rag, paint remover.
Heat up small sections of this chrome door molding with a heat gun. Be sure not to get it too hot, as it will warp or wrinkle. Once you've heated up a small section, we're going to take a piece of sturdy string, fishing line, or dental floss and work it back and forth behind the actual molding to sort of saw out that adhesive and remove the molding. This trick is going to work for badges, emblems, fender flares that have been adhered on, door moldings, as well as window visors, and just about anything that uses a double-sided body tape to be adhered to the vehicle.
Be sure to heat quickly and evenly without focusing on one spot for too long and risking melting it or crystallizing the adhesive tape, making it much harder to remove. Start sawing through the tape. Now this probably won't get all the way through this door molding but a whole roll of dental floss or some fishing line will definitely do the trick. What we're doing now is using plastic razor blades. You could also use any other thin piece of plastic or a plastic trim tool or scraper to actually pry out the trim. This is keeping the adhesive from re-adhering as we heat up and try to cut through the next section. Also gives us a good idea of how far along we're getting.
Obviously, the hotter you can get and keep this adhesive, the easier it is to cut. But as it gets hot, it also gets sticky. You can re-adhere portions you've already sawed through, which is why we're using this to lift them up and away from the other remaining bits of glue. For this last piece, I'm going to go from the back to where we've already pried out and remove our trim.
To remove the remaining adhesive and residue, we'll heat it up in small sections, peel it off with a plastic razor blade, then use a solvent to remove any remaining residue. Be careful not to overheat it. If it crystallizes, it becomes very difficult to remove. The hotter you get it without actually crystallizing it, the easier it's going to be to remove. We're going to use adhesive remover on a clean rag or paper towel. Just start coating all that remaining residue. We'll do this a few times and let it sit in to soften it up. Then we'll go over it with a plastic razor blade again.
Now that we've removed another layer of residue, we'll go back over it with our adhesive remover, see what's left, and if we have to, we'll apply thicker coats to the heavier residue and scrape it down again. We'll repeat this process several times until the body is free of the adhesive.
Here we have our old part from the vehicle and our new part from 1AAuto.com at the top. You can see our old part. The chrome is actually bubbling and peeling in a few places. It's got some dp scratches in it. The rest of our truck looks really nice so we wanted to bring it back to life and make it look good as new. This door trim from 1A Auto is exactly how we're going to do it.
Peel off the adhesive backing on your new piece of door trim and make sure that it stays clear of dirt and dust so we get the maximum adhesion. We're going to use the outline from where our old part was. This is partially because of a little bit of adhesive residue left over, as well as a slight discoloration of the paint as this has never seen the sun before. We are going to go ahead and adhere it onto this lineup, put some pressure on it, and hold it on for a few seconds to make sure it sets. Be sure to put that pressure down evenly so that it all adheres on there, and you're good.
Thanks for tuning in. We hope this video helped you out. Next time you need parts for your car, please visit 1AAuto.com. Also check out our other helpful how-to and diagnosis videos.
Shop Products
Dodge Dakota Ram 1500 2500 3500 Door Molding 4 Piece Set Mopar 82208749
- Chrome
- 4 Piece Set

How to Remove Cowl Cover 2005-16 Toyota RAV4
Need to replace your Toyota RAV4's cowl cover? 1A Auto shows you how to remove and replace a cowl cover on 05-16 Toyota RAV4s.

