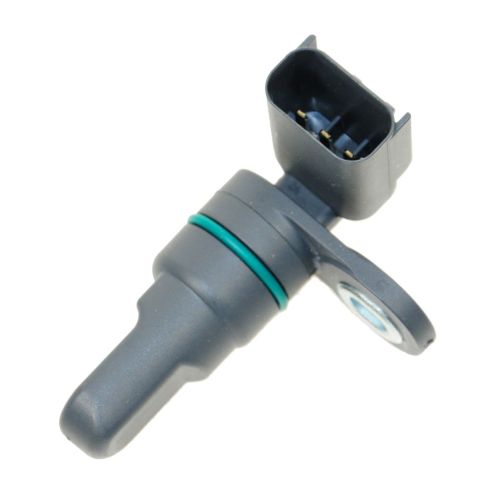
How to Replace Camshaft Position Sensor 2001-09 Chrysler Sebring
Created on: 2013-10-31
Watch this video to learn how to replace the camshaft position sensor on your 01-06 Chrysler Sebring or Dodge Intrepid.
-
step 1 :Removing the Throttle Position Sensor (TPS)
- Disconnect the TPS wiring harness
- Remove the two T20 Torx screws from the TPS
- Pull off the TPS
-
step 2 :Installing the New TPS
- Put the new TPS into place
- Insert the two T20 screws into the TPS
- Connect the TPS wiring harness
-
step 3 :Removing the Air Box
- Loosen the intake hose clamp with a flat blade screwdriver
- Remove the sensors from the air box
- Pull the air box up and out
-
step 4 :Installing the Air Box
- Put the air box into place
- Attach the intake hose to the throttle body
- Tighten the intake hose clamp with a flat blade screwdriver
- Connect the sensors to the air box
Tools needed
-
Flat Blade Screwdriver
T20 Driver
Ratchet
Brought to you by 1AAuto.com, your source for quality replacement parts and the best service on the Internet.
Hi, I'm Don from 1A Auto. I hope this how-to video helps you out, and next time you need parts for your vehicle, think of 1AAuto.com. Thanks.
In this video we're going to show you how to remove and replace a throttle position sensor on this 2004 Chrysler Sebring. It has a 2.7-liter V6, and this procedure should be basically the same for any vehicle, Dodge or Chrysler, with the 2.7-liter V6 and this style throttle position sensor. The only tool you'll need is a T20 Torx driver.
The throttle position sensor is the at the back of the engine near where the intake hose comes in. Press the tab and pull the connector off. Two T20 screws hold the position sensor in place. You can see we have a socket that has a T20 Torx bit in it. We're removing those two screws. Be careful as you handle the screws; make sure you don't drop them down. Once you have the screws out, then pull them up along with the sensor.
Reinstallation of the new one's no mystery. Put it into place. Make sure it goes in properly and start the T20 screws in. Start them in by hand first. Make sure they thread correctly, then tighten them up. You don't need to have them too tight. They need to be nice and firm but don't overtighten them. Once you have those tight, make sure you reconnect the harness.
If you're going to remove your air box, loosen that clamp. There's also usually another bolt down where his forearm is that holds the air box to the frame, but you can see, you remove sensor, the hose, and then pull the air box up and out. Then we'll reinstall our air box and tighten up the clamp that holds the intake hose to the throttle body, reconnect the hose, and reconnect any of the sensors you might have disconnected.
We hope this video helps you out. Brought to you by www.1AAuto.com, your source for quality replacement parts and the best service on the Internet. Please feel free to call us toll-free, 888-844-3393. We're the company that's here for you on the Internet and in person.
Shop Products

How to Replace Intake Cam Sensor 2001-05 BMW 325Xi
Watch this video to learn how to replace the intake cam position sensor! 1A Auto shows you how to DIY and save money!


