How To Remove Door Panel 1973-87 Chevy GMC
Created on: 2010-02-24
Check out this video to learn how to remove and replace the interior door panel trim in a 73-87 Chevy GMC.
-
step 1 :Remove the door panel
- Remove two Phillips screws in the door latch and remove the door latch and set it aside.
- Use a window crank removal tool to remove the window crank.
- Remove the two screws securing the door pull, followed by two in the arm rest, and two more in the panel itself.
- Pry up the door panel and twist off the door lock.
-
step 2 :install the door panel
- Snap the door panel down over the door lock knob.
- Screw down the door lock knob.
- Replace the screws in the door panel, the door pull, the arm rest and behind door latch.
- Install the door latch handle with your Phillips screwdriver.
Tools needed
-
Socket Extensions
Flat Blade Screwdriver
Phillips Head Screwdriver
Window Crank Removal Tool
Slip-Joint Pliers
Ratchet
9/16 Inch Socket
7/16 Inch Socket
Brought to you by 1AAuto.com; your source for quality replacement parts and the best service on the internet. Hi, I'm Mike Green. I'm one of the owners of 1A Auto. I want to help you save time and money repairing and maintaining your vehicle. I'm going to use my 20+ years experience restoring and repairing cars and trucks like this to show you the correct way to install parts from 1AAuto.com. The right parts installed correctly, that's going to save you time and money. Thank you and enjoy the video.
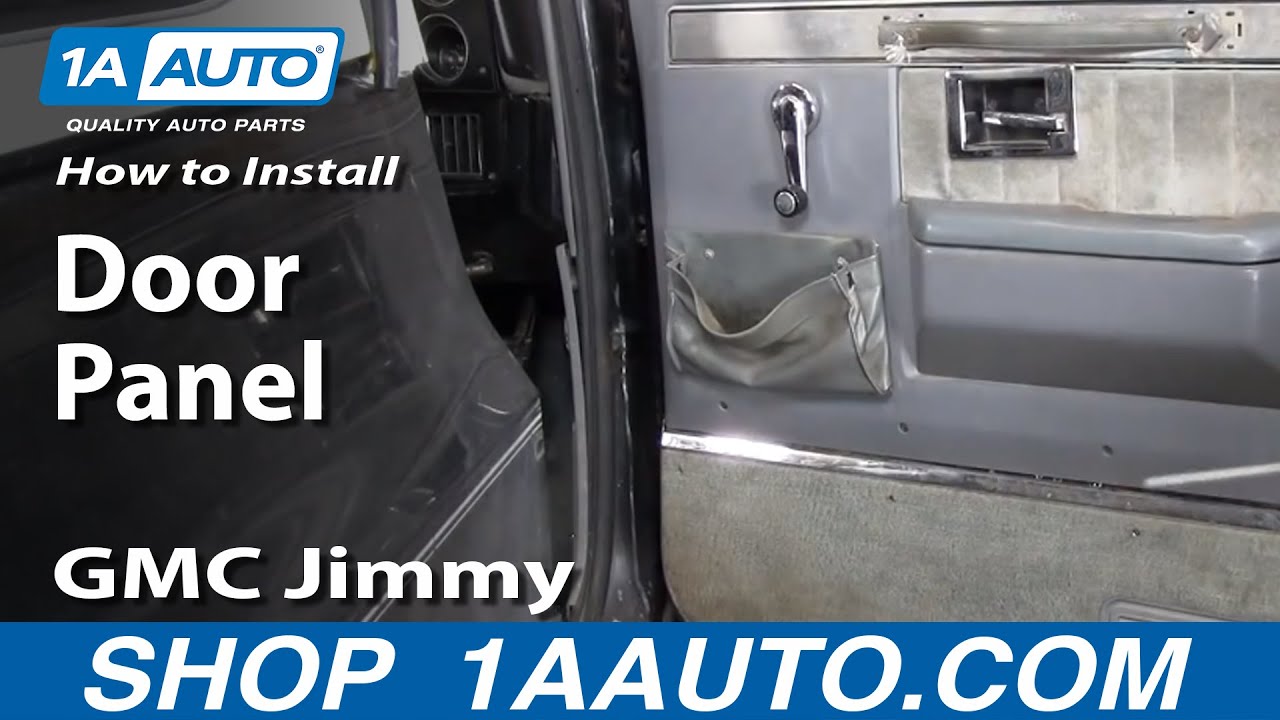
In this video we're going to show you door panel removal and installation on a 1986 GMC Jimmy. Basically the same as any '73 to '87 Chevy or GMC pickup; also, front doors on Suburbans from '73 to '91, as well as '73 to '91 Blazers and Jimmy's, the full size. The '73 to '77 might be a little different since they have the half doors. Removing the door panel will allow things like fixing window motors, door locks, replacing weather strip and other things like that. We'll have videos on most of that stuff if you search our other videos. The tools you'll need are a Phillip's screwdriver, windrow crank removal tool or two paper clips and really that's all you need for the door panel removal. Some of our other videos we'll show you the weather strip replacement and you need a few more tools for those. To remove the door panel you're going to need to removal I think 11 screws. There are two here around the door handle. I already took one out. Then this door handle normally comes off. The window crank, if you see our other videos, do a quick search, I'm going to use the proper tool, which is a window crank removal tool. If you see our other videos I actually show you how to do it with two paper clips. Now there are a bunch of other screws.
I'm not going to bore you with all of them. Show you where they are real quick, two screws holding this door pull in. There are two screws and I'm going to show you one of them right down here into the arm rest, another one here and then one, two, three, four down along the bottom. Let me show you; take you off the tripod here. Just because I'm sure a lot of these trucks the armrest is like this, you can see how deformed this is. Actually, I'm going to go up and over. Hopefully the lighting is okay. The camera's probably having a hard time focusing. The screw is right down in there. You have to push against the door pull of the armrest to get at that screw. What I actually did, you can see how it's chewed up in there. Let me see if I can turn this light on. I actually took a drill with a big bit; because this pad is pretty much had it and we do sell replacements. I drilled in there to uncover the screw and was finally able to get to the screw and pull it out. I'm going to remove all those screws and then I'll turn it back on.
Okay, I've got all my screws out. What you want to do is basically you've got to pull it out enough to get it around the window crank, but then do a few different steps. You pull out the bottom and then with your hand you grab the edge with your fingers. Then you're going to pull the edge back while you're pushing down with your palm. You're also pulling up with your hand. You can usually get the back easier. You don't want have the back too high up or the front won't come off. Then when you get it and it's popped, you take off the door button and we can see that. This is the door lock knob up here, twist it off and it pulls off and your door panels off. Put it up on the door lock know there. First pull the door handle through and then up over the door lock knob. Then push it. Get it aligned, if it's not, it's a whole lotta elbow grease. Make sure it's pushed it in and if it's a little bit of, give it a little bit of a push. Now it's down. Push that in and install our screws and our window crank handle and we're all done.
We hope this helps you out. Brought to you by www.1AAuto.com; you're source for quality replacement parts and the best service on the internet. Feel free to call us toll free 888-844-3393. We're the company here for you on the internet and in person.

How To Replace Instrument Gauge Light Bulbs 1996-99 Chevy Tahoe
Watch this video to learn how you can replace the instrument or gauge cluster light bulbs on your 96-99 Chevy Tahoe.

