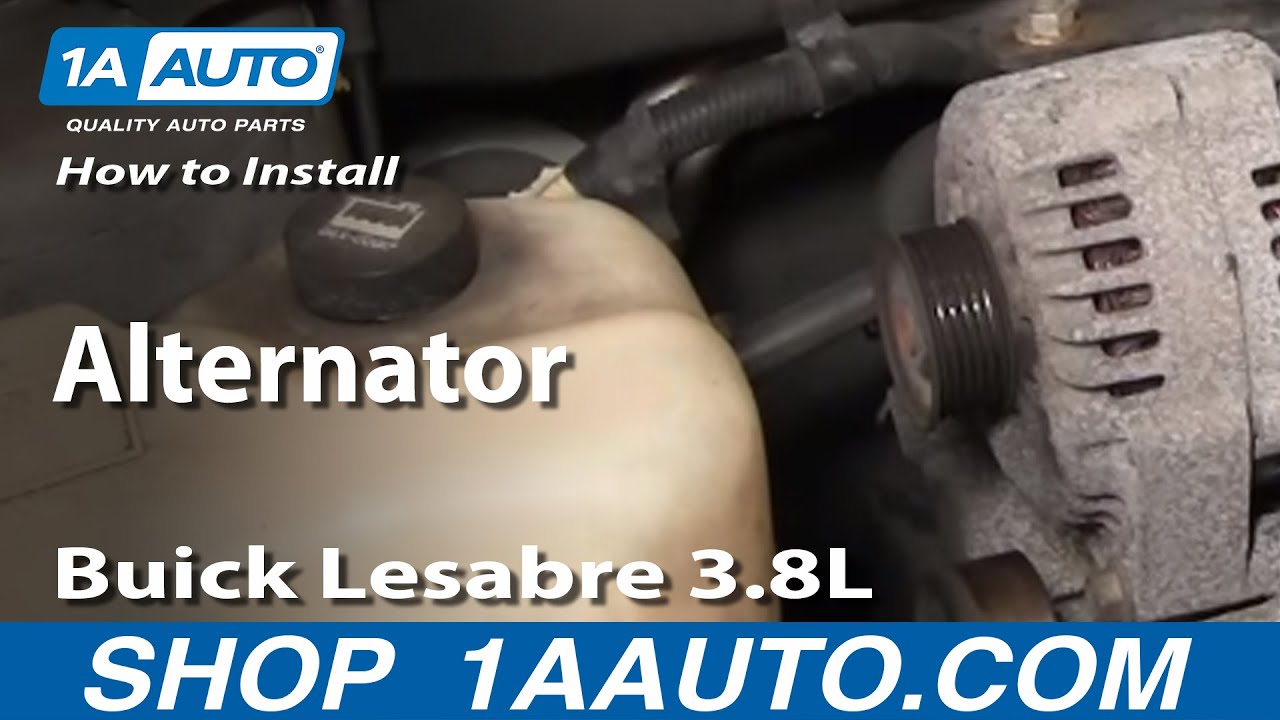
How To Replace Alternator 2000-05 Buick LeSabre 3-8L
Created on: 2011-06-11
Watch this video to learn how to replace the alternator in your 00-05 Buick LeSabre.
-
step 1 :Disconnecting the Battery
- Pull up the rear seat
- Disconnect the negative battery cable with an 8mm socket and ratchet
-
step 2 :Removing the Serpentine Belt
- Attach a 15mm wrench to the serpentine belt tensioner
- Pull the tensioner to loosen the belt
- Pull the belt off the alternator
- Release the tensioner
- Pull off the serpentine belt
-
step 3 :Removing the Alternator
- Remove the oil fill cap
- Pull off the engine cover
- Disconnect the alternator wiring harness
- Disconnect the alternator battery lead with a 10mm socket and ratchet
- Remove the 10mm bolt from the alternator brace
- Remove the 15mm nut from the alternator brace
- Pull the brace to the side
- Remove the 15mm bolt from the alternator
- Remove the 15mm bolt from the front of the alternator
- Loosen the 15mm bolt at the back of the alternator
- Pull off the alternator
-
step 4 :Installing the New Alternator
- Put the new alternator into place
- Slide the alternator onto its bolt
- Start the 15mm bolt into the alternator
- Start the 15mm bolt into the front of the alternator
- Tighten the three 15mm bolts to 35 foot-pounds of torque
- Put the brace into place
- Fasten the 15mm nut
- Tighten the 10mm bolt into the alternator brace
- Connect the alternator battery lead with the 10mm socket and ratchet
- Connect the alternator wiring harness
-
step 5 :Reinstalling the Serpentine Belt
- Loop the belt around the crankshaft pulley and the A/C pulley
- Bring it around the water pump pulley
- Bring it around the tensioner
- Bring it around the power steering pump
- Attach a 15mm wrench to the tensioner
- Pull on the tensioner to loosen the belt
- Pull the belt onto the alternator pulley
- Check that the belt is routed correctly
- Put the engine cover into place
- Twist on the oil fill cap
-
step 6 :Reconnecting the Battery
- Connect the negative battery cable
- Tighten the battery cable nut
- Push the rear seat into place
Tools needed
-
15mm Wrench
Torque Wrench
15mm Socket
8mm Wrench
8mm Socket
10mm Wrench
10mm Socket
Ratchet
Brought to you by 1AAuto.com, your source for quality replacement parts and the best service on the Internet.
Hi, I'm Mike Green. I'm one of the owners of 1A Auto. I want to help you save time and money repairing or maintaining your vehicle. I'm going to use my 20-plus years experience restoring and repairing cars and trucks like this to show you the correct way to install parts from 1AAuto.com. The right parts installed correctly: that's going to save you time and money. Thank you and enjoy the video.
In this video we're going to show you alternator replacement on this 2003 Buick LeSabre with the 3.8 liter motor. This is probably the same procedure for many GM full size front drive cars. Tools you'll need are 8, 10 and 15mm either wrenches or sockets with ratchet.
Looking at the back seat, here, pull up nice and firm on it. Here's the battery right here, use an 8mm socket and ratchet. There's a few sparks from basically the courtesy lights.
To remove your serpentine belt, there's a 15mm bolt right here, hook a wrench right on there, push down hard and pull your belt off nice and slowly. Now at this point, as far as the alternator goes, you don't have to remove the belt any further but I do take it off and then put it back on just to show you.
You want to remove this cover which just is a matter of taking that oil fill off, pulling it up and back. Here on your alternator, there are two connections: a 13mm bolt there and then right here you pull back on a tab and pull that connection right out. We're going to remove this 15mm bolt and then this 15mm bolt. Lossen this 10mm bolt, pull that brace back and then take that other 15mm bolt out of there. There's a 10mm nut here. We'll fast forward as remove that and yes, I did make a mistake before in the video I said that it was a 13mm but it actually is a 10mm nut holding that lead on. Here we're going to use a 10mm socket and ratchet to loosen up the bolt that holds the end of the brace that runs from the engine to the top of the alternator. Again, we'll speed it up as I remove that nut that holds the brace at the top and then after I remove that, pull the brace to the side then remove the 15mm bolt that's underneath and you can see I'm using a combination wrench because you need a deep socket to reach in over that bolt. After that I will remove the lower bolt again starting with the wrench and then just twisting it out with my fingers. Here comes that bolt out and now, I turn my attention to the lower bolt. There is one more bolt right back here, another 15mm. This bolt you just have to loosen a few turns. Loosen that one up fully good, slide your alternator forward and it comes right out.
That bolt's still in there, like I said there's nothing wrong with this alternator. I'm just showing you how to do it. Put the alternator in, slide it back onto that bolt. Start that bolt in. Well speed it up here again as I thread in those bolts by hand first then get them all snug and then tighten them up. The spec on them is probably about 35 foot pounds as far as torque. I just use a combination wrench, get them nice and tight with that. Then, tighten up all three of those bolts then make sure that the bolts are in for that brace that runs from the engine up to the top of the alternator. Put that on and tighten it up. I'm just going to tighten up this 10mm brace. Speed it up again here as I tighten up that 10mm nut that holds the battery lead on.
It's a little hard to film, but I'll just kind of say what I'm doing. Take a big loop and you want to put it way down right side to the front of the engine here. There's two pulleys. There's the AC compressor pulley which is over here to the right and then the big crank pulley which is kind of in the center. Put it down and around those, reach down, make sure you get all the way under the crank pulley then it comes up around your water pump here then up and around onto your tensioner there. Then take another loop and go down around your power steering pump and that's how it routes. Just make sure you get everything in the grooves where it should be. You have your belt right there. Now, firmly grab your belt. I'm just going to hold my belt up, and put my wrench onto my tensioner here. Sorry, I've kind of got the camera on an angle but basically all I'm doing is I'm pulling up on the belt with my right hand then I push down on that wrench with my left then pull the belt up and onto the alternator pulley. Just check make sure it's on all the pulleys correctly. It's actually not on my crank pulley correctly. I'm just going to put my wrench on, and, taking tension off, reach down, push it on there a little bit and let back off. Now it looks good. Put this cover back on. Reconnect, take your . you are going to get some sparking in here a little bit. It's nothing to be concerned about; its not going to hurt you. Hook up your seat belts, and put your seat back into place.
We hope this video helps you out. Brought to you by www.1AAuto.com, your source for quality replacement parts and the best service on the Internet. Please feel free to call us toll-free, 888-844-3393. We're the company that's here for you on the Internet and in person.

How to Replace Alternator 1998-2000 Chevy Blazer S10
In this video, 1A Auto shows you how to replace a broken or bad alternator in a 98-00 Chevy Blazer S10.

