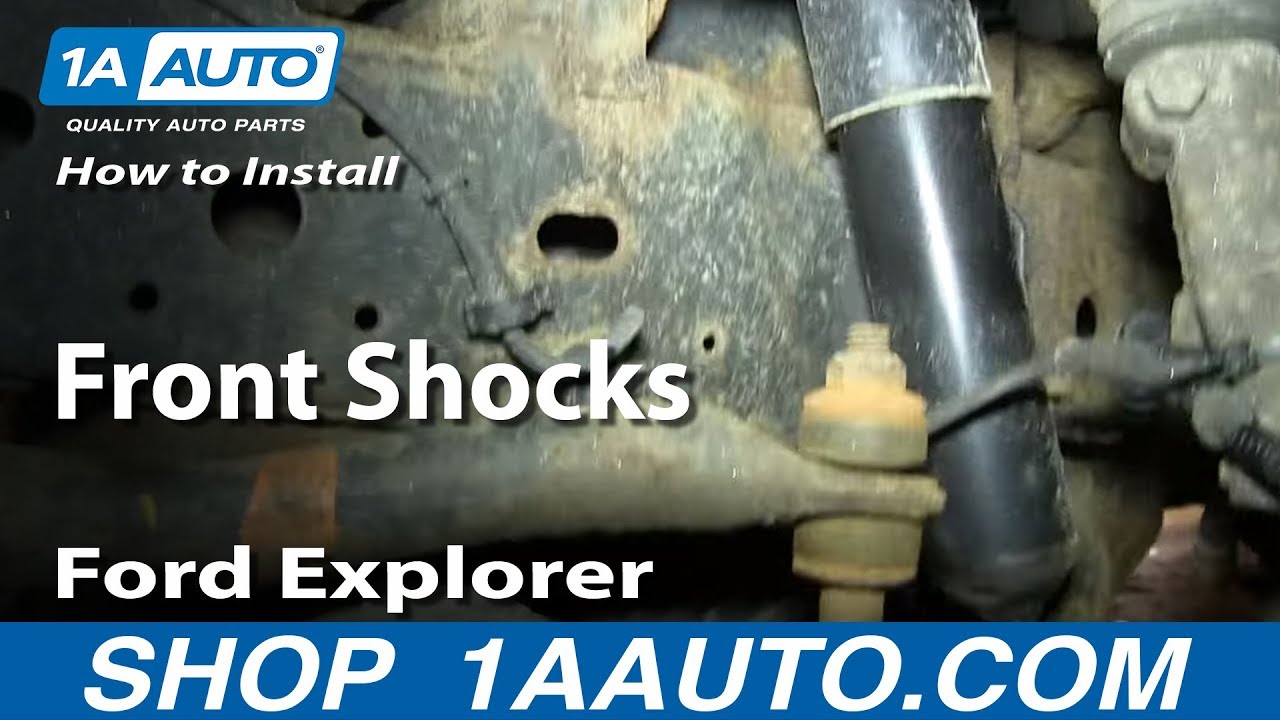
How to Replace Shock Absorber 2001-05 Ford Explorer Sport Trac
Created on: 2015-05-02
If the front shocks absorbers need to be replaced, this video has the steps to complete the repair
-
step 1 :Removing the Front Shock
- Spray the top of the shock with rust penetrant
- Clip a par of locking pliers to the shaft
- Remove the 14mm nut, washer, and bushing from the top of the shock
- Remove the two 10mm nuts from the lower part of the shock
- Pull the shock up and out
-
step 2 :Installing the New Front Shock
- Insert a washer and a bushing onto the top of the strut
- Insert the strut into place
- Tighten the two 10mm nuts to the lower part of the shock
- Tighten the 14mm nut to the top of the strut
Tools needed
-
14mm Wrench
14mm Socket
Rust Penetrant
10mm Wrench
10mm Socket
Ratchet
Brought to you by 1AAuto.com, your source for quality replacement parts and the best service on the Internet.
Hi, I'm Mike from 1A Auto. I hope this how-to video helps you out, and next time you need parts for your vehicle, think of 1AAuto.com. Thanks.
In this video, we're going to show you front shock replacement on this Ford Explorer Sport Trac. It's the same for the Sport Trac as well as a lot of Explorers, Mountaineers, and Rangers. We show you the left side, but the right side's the same procedure. You'll need new front shocks from 1AAuto.com, penetrating oil, 10 to 14 millimeter wrenches and sockets and ratchets, and you may need a reciprocating saw if your shock is in rough shape, although we avoid using it in this video.
Okay, we were checking some other things on the suspension of our truck. As we come under here, if you look at the shock, you can see it's got some oil down below that section, and that is a sign that your shock is either bad or it's wearing out and will soon be bad. To replace it, we're going to start spraying down the top of the shock there. We can see it's in pretty good shape. If yours was pretty rusty or old, you may want to use a reciprocating saw and just cut the bolt and the top of that shaft right off. It can be a lot easier sometimes but, again, ours look to be in pretty good shape, so we'll lock a set of pliers onto the top to hold the shaft from spinning. Then it's a 14mm bolt on this shock. It could be different on yours. Remove that nut. Once it starts going, we'll just fast-forward here. Once we get to a certain point we can take the lock pliers off and then the nut comes off the rest of the way. Also remove the top washer and bushing.
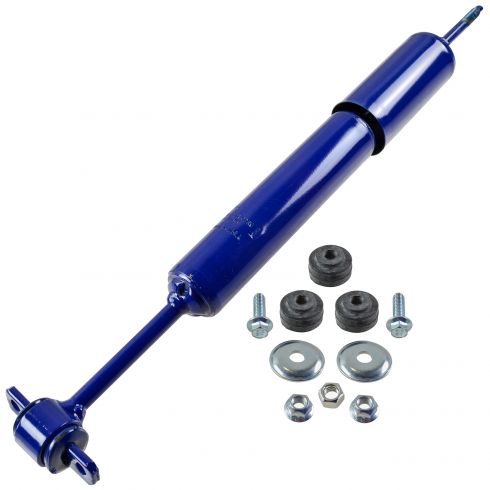
Underneath the shock's held on by two bolts. I have it up on a lift just to make it easier to show you, but the two bolts you can see here. I'm going to spray them down a little bit on the bottom, and then you need to hold them on the top as well see one up there. I'm using a wrench to put it on the bolt at the top and then a socket and ratchet with an extension to remove the nut on the bottom. Once you have both nuts off, you can pull one of the bolts out pretty easy, but the other one kind of stays in there. You have to force the shock up, compress it a little bit, and then pull it back and out. Take your new shock from 1A Auto, you want to put a washer on top first, and then one of the rubber cushions. Then put the shock up into place. You're going to have to kind of force it up in, compress it some once you put it up into, obviously where it goes, the shock mount at the top, you'll have to force it up and then into the mount at the bottom.
Once you have it in place, you're going to start the nuts and bolts on. On some shock designs it may be good to put a bolt into place first. If the shock kind of has an open end to the bolts and sometimes if the shock has a closed hole for the bolts, you'll want to put a bolt into the shock first and then install it into the car. Now tighten up both lower bolts; again, you're going to want to have a wrench at the top, hold the wrench, and then tighten up the nuts nice and firm. Don't over-tighten them; you don't want to break the bolts. Back up top, you want to make sure that the lower bushing's lined up in the center of the hole. Put the upper bushing on and then the washer and then thread the nut on. We'll fast-forward as I tighten up that nut. You want to tighten the nut until those two bushings compress and are basically the same diameter as the washer. You can see that they're a smaller diameter than the washer now. You compress them down and they kind of get basically smooshed out until they're the same diameter as the washer.
The particular shocks I'm installing come with a second nut that goes on. You tighten it down onto the other one to lock them in place. Here I'm just putting an adjustable wrench on the bottom one and then tightening up the top one down onto it. Repeat everything for the other side.
Thanks for tuning in. We hope this video helped you out. Next time you need parts for your car, please visit 1AAuto.com. Also check out our other helpful "how to" as well as diagnoses videos.
Thanks for tuning in. We hope this video helped you out. Next time you need parts for your car, please visit 1AAuto.com. Also check out our other helpful how-to and diagnosis videos.
Shop Products


How to Replace Strut Assembly 2000-05 Ford Focus
Watch this video to learn how to fix a sagging or loose suspension. The experts at 1A Auto show how to replace the front shocks in your 00-05 Ford Focus.

